Notebook templates
In this section, we will discover how to create and edit notebook templates. They are based on word (docx), excel (xlsx), power point (pptx) or pdf documents.
You can link your notebook templates to entities, so every time you select the notebook template, it will be displayed on your program, project, step, study or experiment. This will create a standard that can be used every place needed, saving time.
Creation
In order to create a notebook template, ther first step is to find the module on the dashboard:
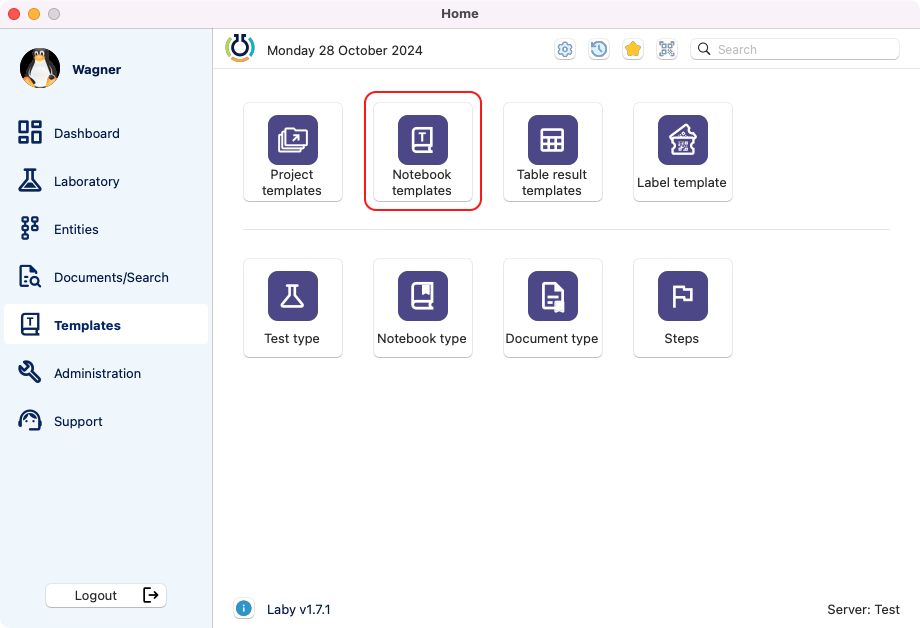
View of the templates section in the dashboard.
Inside the module, you will have a list with the templates created. Here you can search, filter by types and status. Also there are the buttons to create a new template and to delete as well.

View of the page after selecting the notebook template module.
After clicking on the add button, a new window will appear. On this window, is possible to choose a title, a notebook type and a file that will be used as template.
As you can see in the image, the template can be also chosen from a quality document.
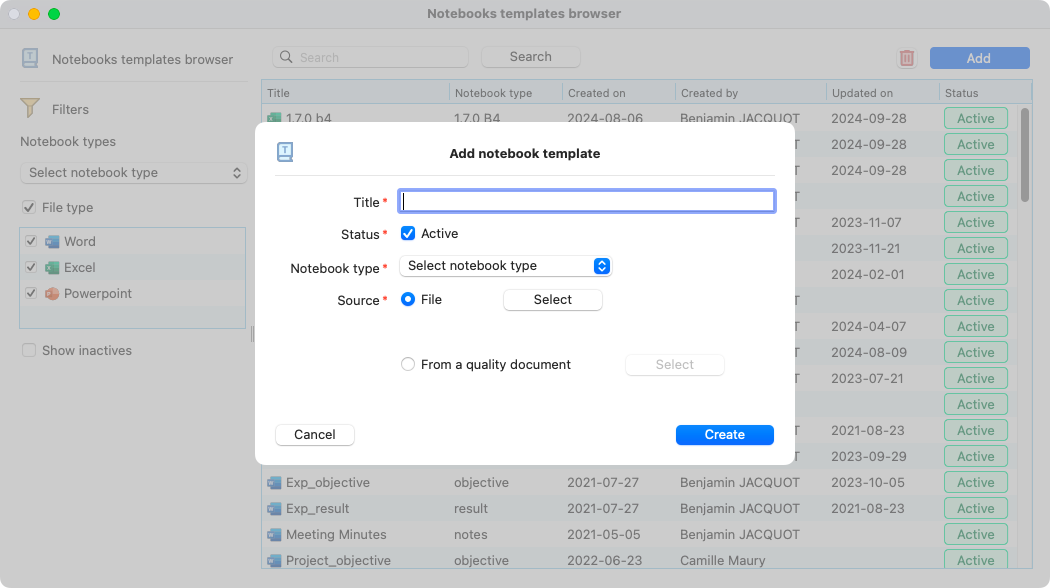
View of the window to add a new notebook template.
Edition
To edit an already created template, you need to select one from the notebooks templates browser. A detailed window will open, here it will possible to edit the name, status, templates and more.
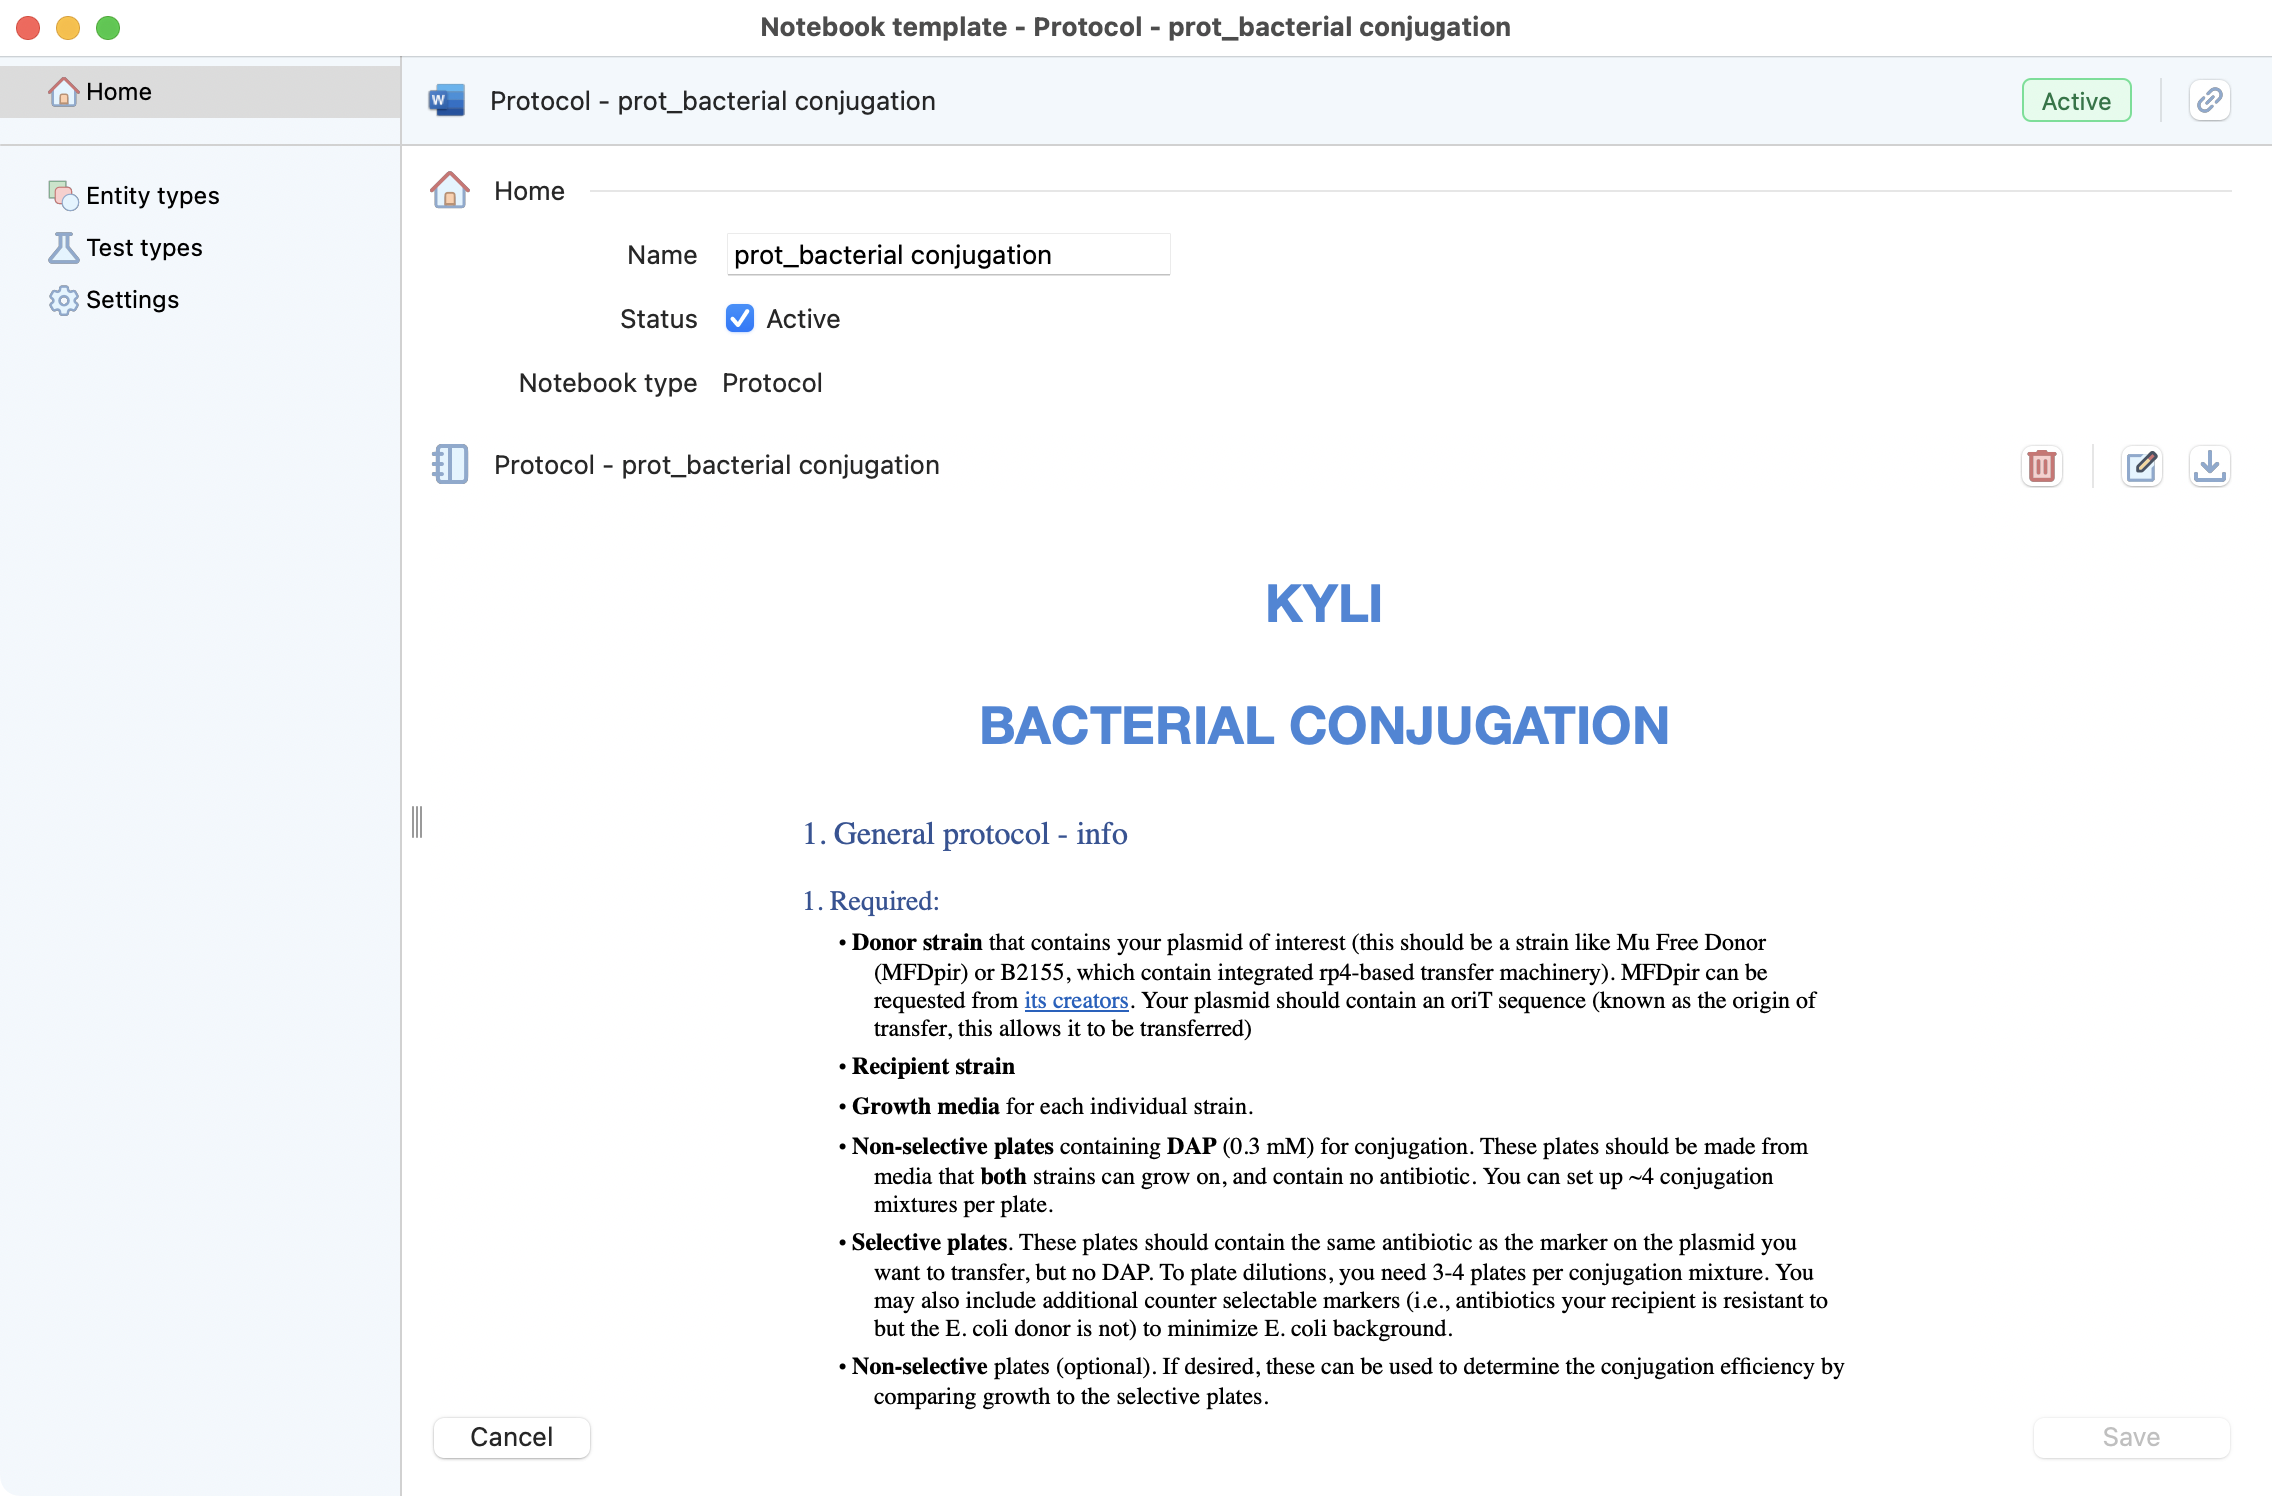
View of the template detailed window.
To edit the entities that will be eligible to this template, the tab entity types is available on the left menu:
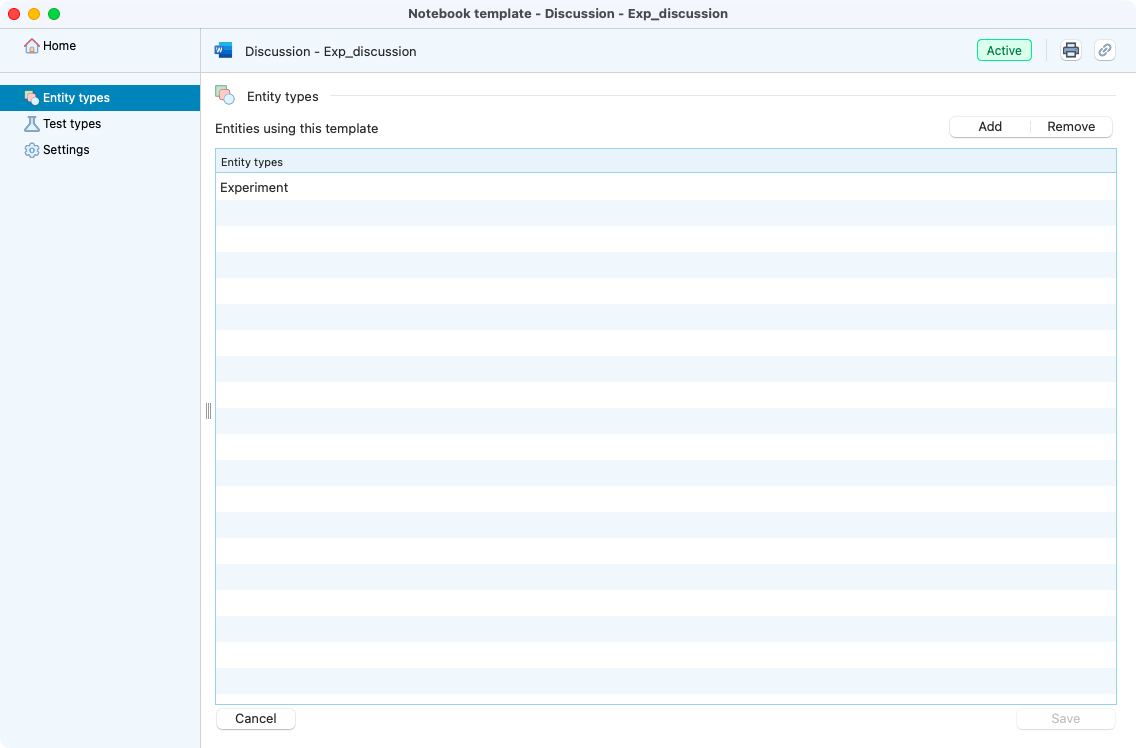
Entity types inside a notebook template.
To link more entities, simply click on the add button to edit them:

View of the entity type picker.
Good practices on office templates Edition
Laby uses the functionnalities of your operating system to manage the preview of your documents. When creating or editing office templates, it is important to follow some good practices to ensure consistency and usability across your documents.
Here are some recommendations to ensure the best compatibility accross different platforms and devices:
1. Always insert images properly (avoid drag & drop)
Dragging an image into Word often creates inconsistent internal links or anchors.
Best practice: Insert → Pictures → From file Use PNG or JPEG (avoid heavy TIFFs).
2. Control the text wrapping mode
Mac and Windows don’t interpret default wrapping the same way.
Safest option: In line with text (totally stable)
If you need layout flexibility: Square + locked anchor
3. Lock the image’s position
On Mac, anchors move more easily, which breaks layouts.
Do this: Right-click → Size and Position → Position tab → ✔ Lock anchor ✔ Do not move object with text (if you want a fixed layout)
Note
ensure to sert the anchor on the correct position before locking it.
4. Don’t use empty line breaks to position images
Using 5 line breaks to “push an image down” works differently on each OS.
Correct way: Adjust spacing using image margins or paragraph spacing. Incorrect: Multiple blank lines.
5. Use Word’s built-in styles
Styles create a consistent structure that behaves the same on Mac and Windows. Manual formatting = inconsistent behavior.
6. Make sure the file is a real .docx
Some files stay in “compatibility mode” or originate from Mac Pages or Google Docs, which causes layout corruption.
Best practice: File → Save As → Choose .docx Never work from .doc or converted files.
7. Avoid pasting images from the clipboard
Pasted images (from browsers, screenshots, PDFs) often contain inconsistent metadata.
Better: Save the image and insert it. Avoid: Paste from clipboard.
8. For critical layouts: use invisible tables or frames
Many R&D teams rely on this trick for rock-solid formatting.
Technique: Insert a 1x1 borderless table → Place text + image inside This creates a stable “block” that doesn’t shift between OS.
9. Use cross-platform fonts
Different system fonts = layout shifts.
Safe choices: Arial, Calibri, Times New Roman, Helvetica Avoid: Mac-only or exotic fonts.