
Creating and Printing
Here you will discover how to manage templates and print labels.
Templates
In order to create, edit and delete label templates, you should go to the right module. It is located inside the templates section on the dashboard.
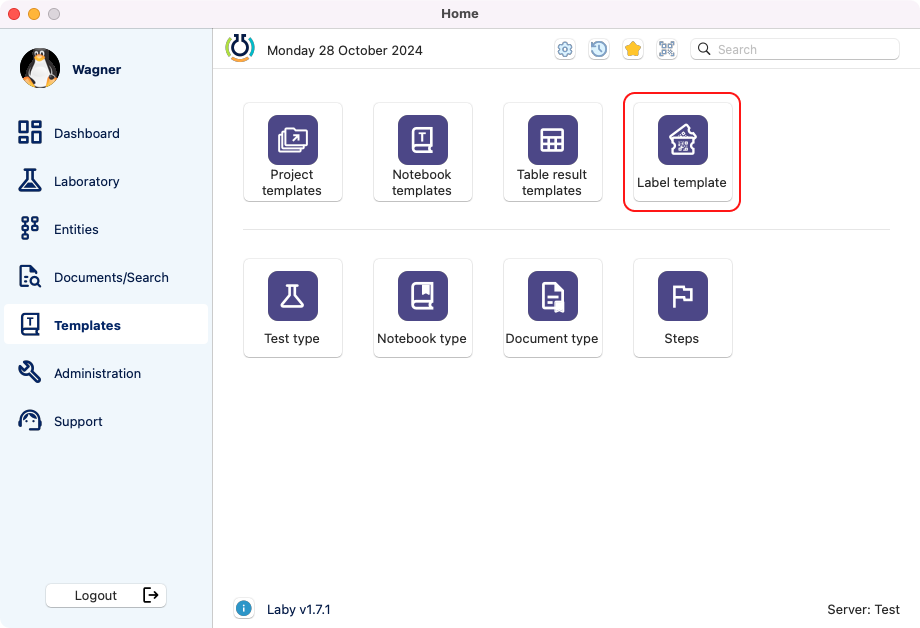
View of the dashboard where the module is located.
Creation
Once that you have opened the module, the label templates browser will be displayed. In this page there is a list with all the label templates created. To add a new one, click on the “add” button.

View of the label template browser.
After filling the fields marked with a red asterisk and clicking the create button, the label will be generated.
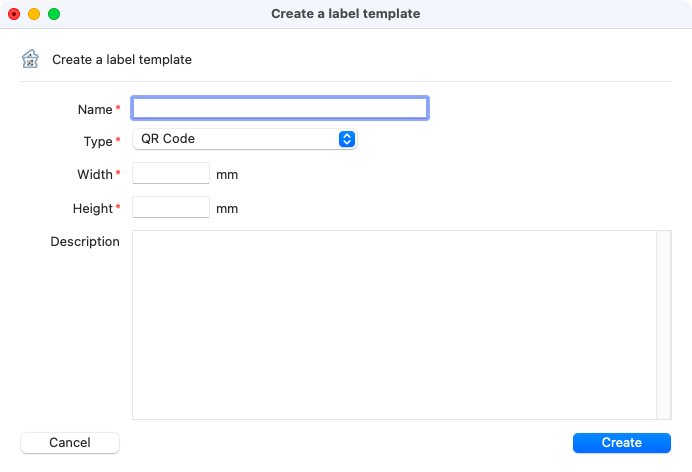
View of the window that appears when creating a new label template.
Edition
To edit a label template, you can select one and click on the “edit” button or simply double click on the label.
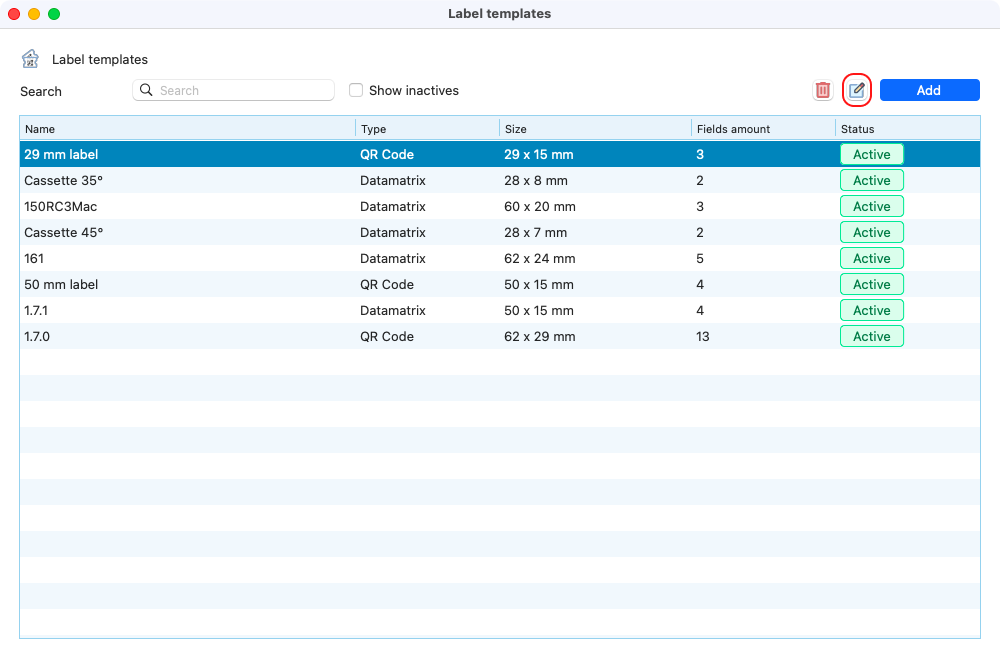
View of the label template browser, whith the edit button highlighted.
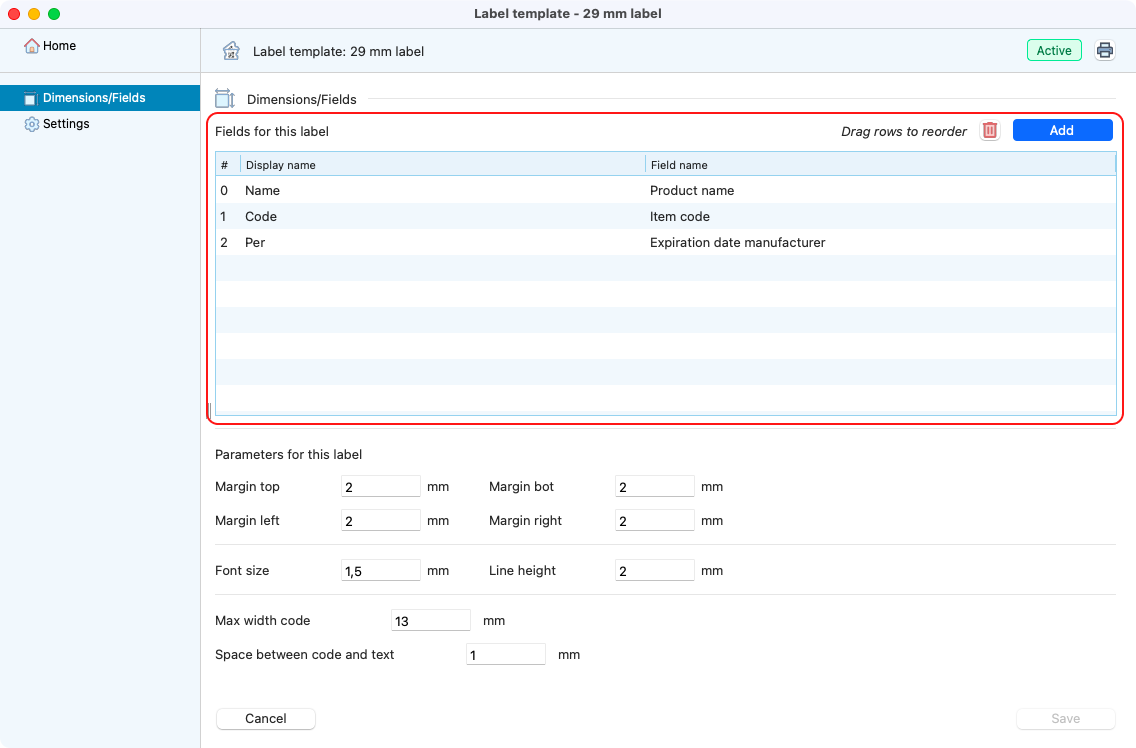
The window with all the details will open, here you can see the information that you filled while creating it. There is also a preview of the label, with all the dimensions and content.
Note
The preview is only available after filling the informations inside the Dimensions/Fields tab.

View of the label home, after open/edit one.
The Dimensions/Fields is where you specify the label’s content and size. Here are some examples of content to be placed:
Product name
Product code
Batch code
Item code
Item internal reference
Quantity
Opening date
Expiration date
Location
UFI #
And many more…
You can reorder the rows to choose which information will be placed first in the label. Also you can define which name will be displayed in the label (left column).
Note
Display name: a whitespace will be set on the label if no name is filled.
View of the Dimensions/Fields tab, with the fields highlighted.
Attention
Pay attention on the length of your product name, depending on the size, it won’t fit the label.
To add a new field, you need to click on the add button.
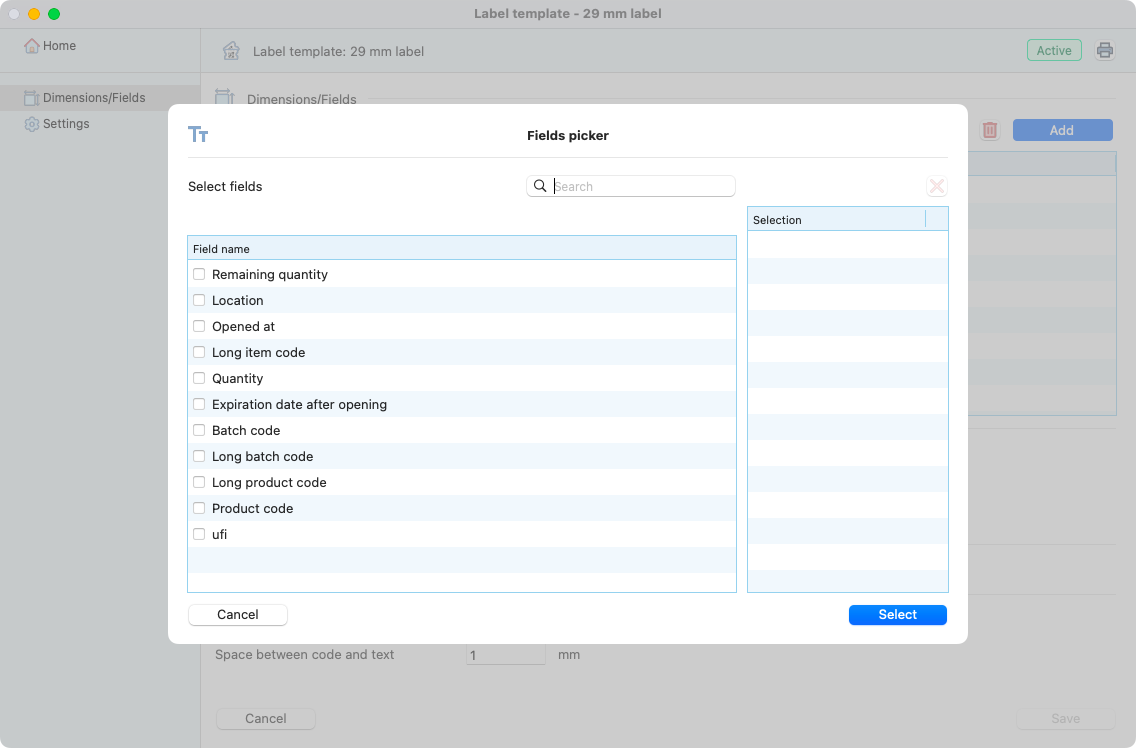
View of the fields picker, after pressing add on the previous screen.
For the parameters that will define the size of the label, you need to set:
Margin (top, bottom, left and right).
Font size.
Line height.
Max width for the code.
Space between the code and the text.
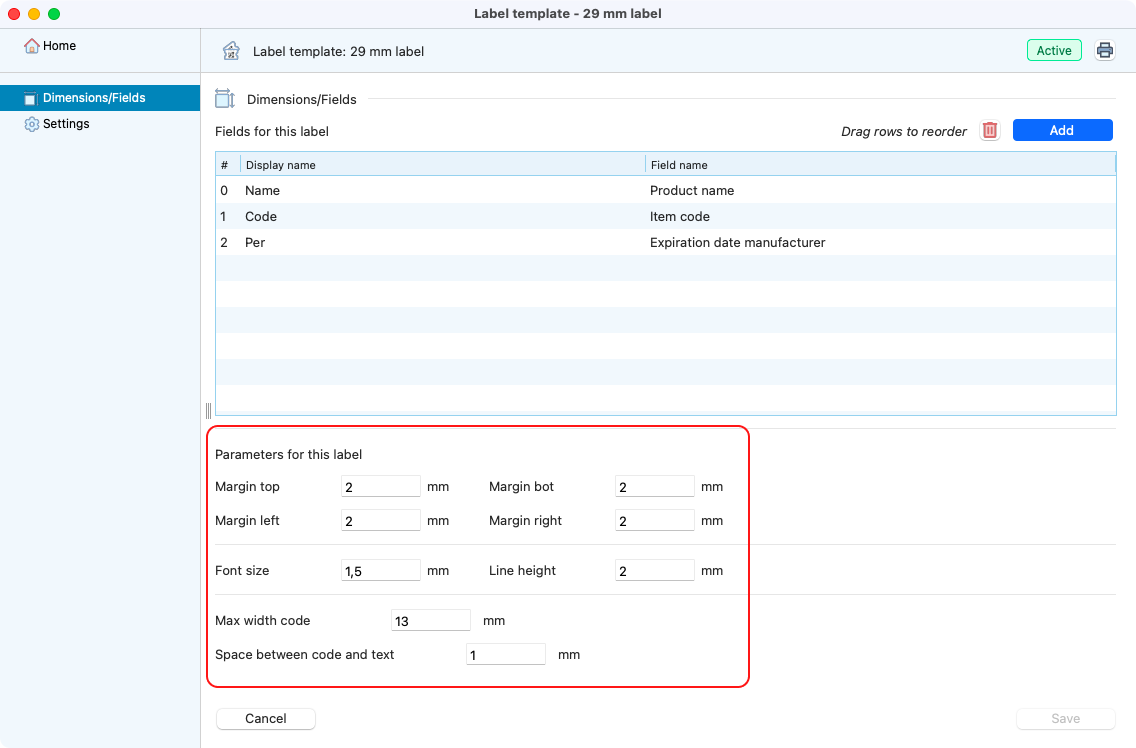
View of the Dimensions/Fields tab, with the parameters highlighted.
Tip
As reference you can use 2mm for all margins, font size, line height and space between code and text.
Remember that it is the value recorded at the time of printing that appears on the labels, and that some information may change over time.
Example: the location of your item may be “general stock” at the time of printing, but a few days later, the item may have been placed in the laboratory’s working stock.
Note
A standard template has been installed by default. You can rely on it to create your on or simply rename and add some info to use it directly!
Places to print
You can print labels for stock items at three different places:
Stocks
Just after having imported items into your inventory or in a stock import detailed window inside the “history” tab:
Import

View of the stocks import page.
After clicking on the print labels button:
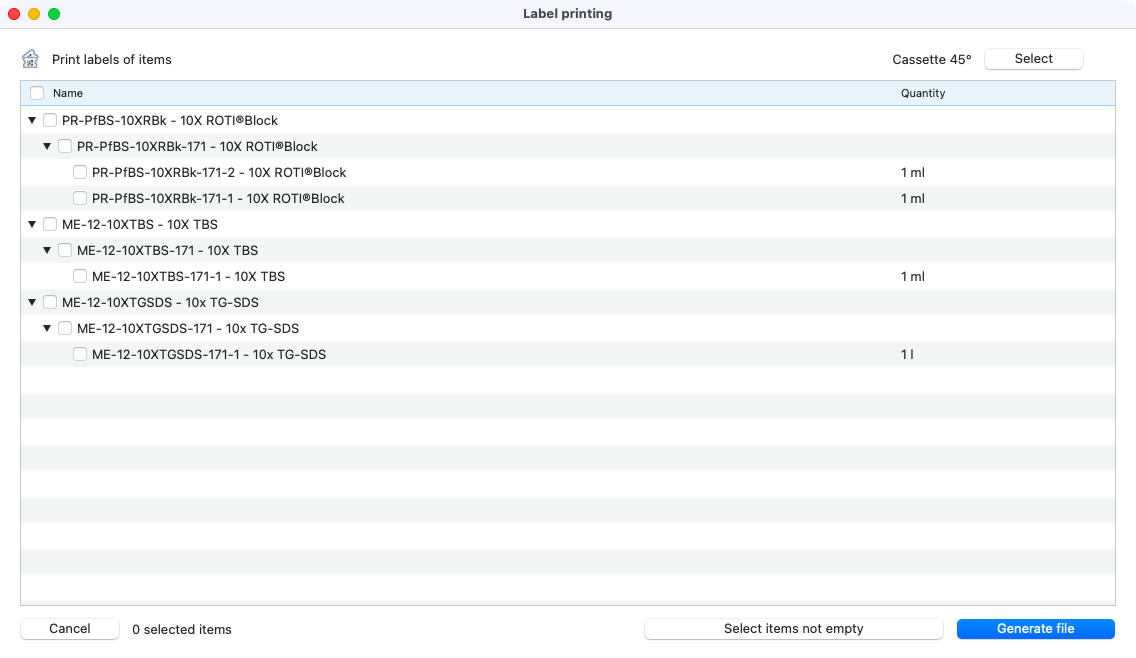
Labels ready to be printed after importing.
History
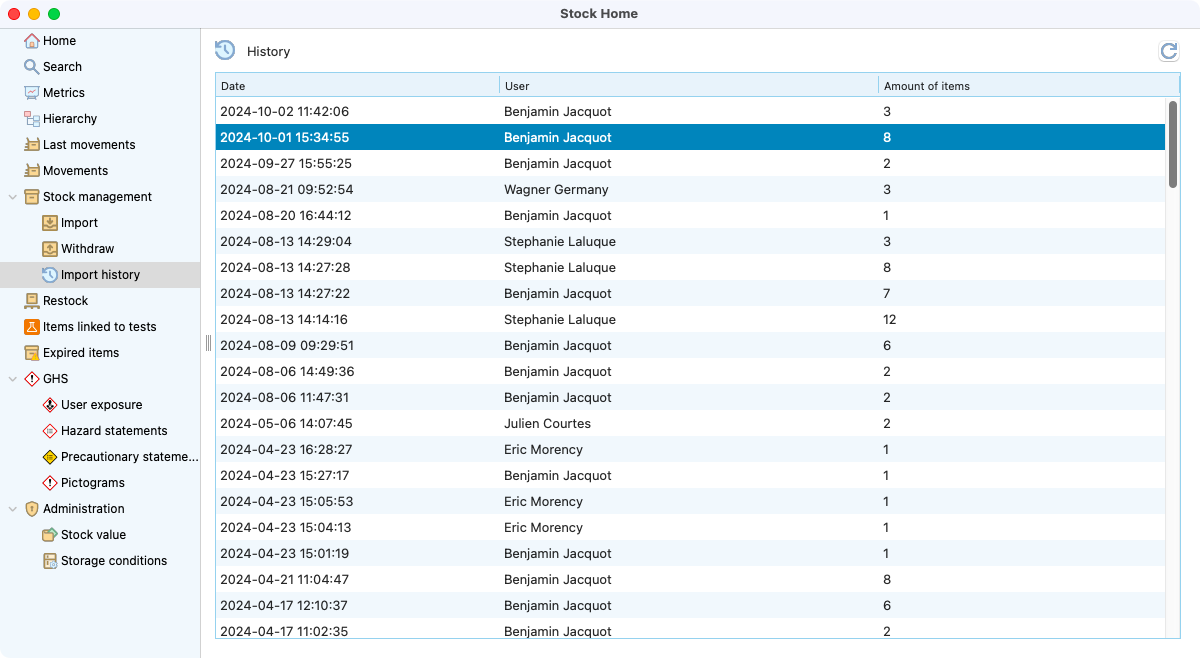
View of the import history page, on the stocks.
After clicking on the labels button (on the top right, close from the add button and the red bin):
Labels ready to be printed after selecting one file from the history import.
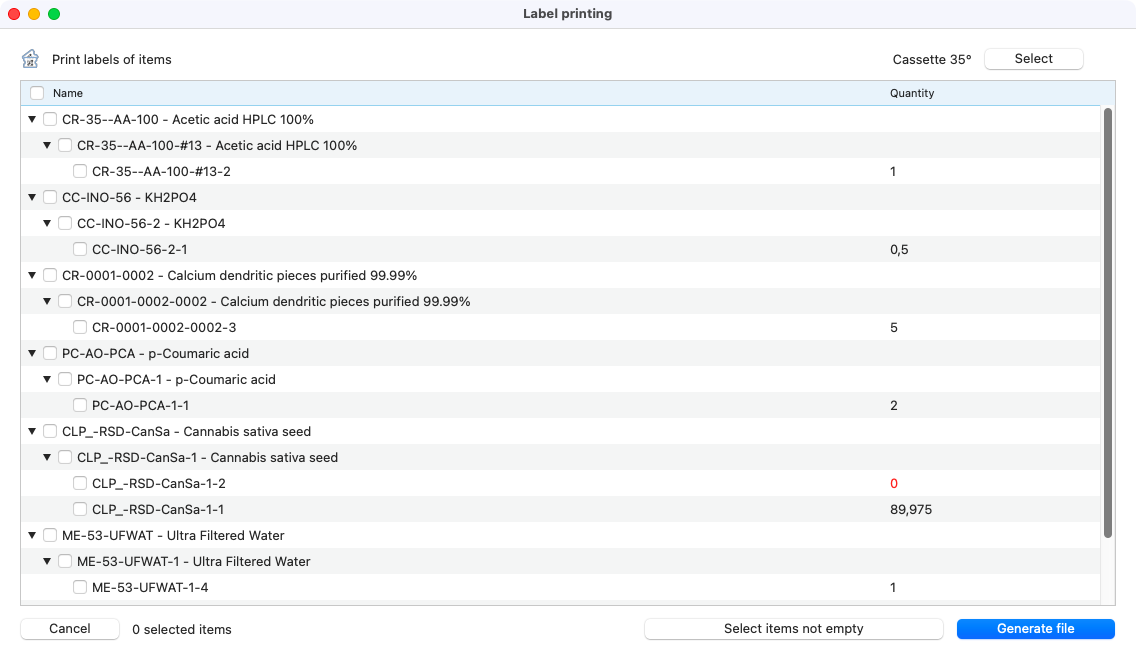
Batch
On a batch detailed window, inside the “items” tab:
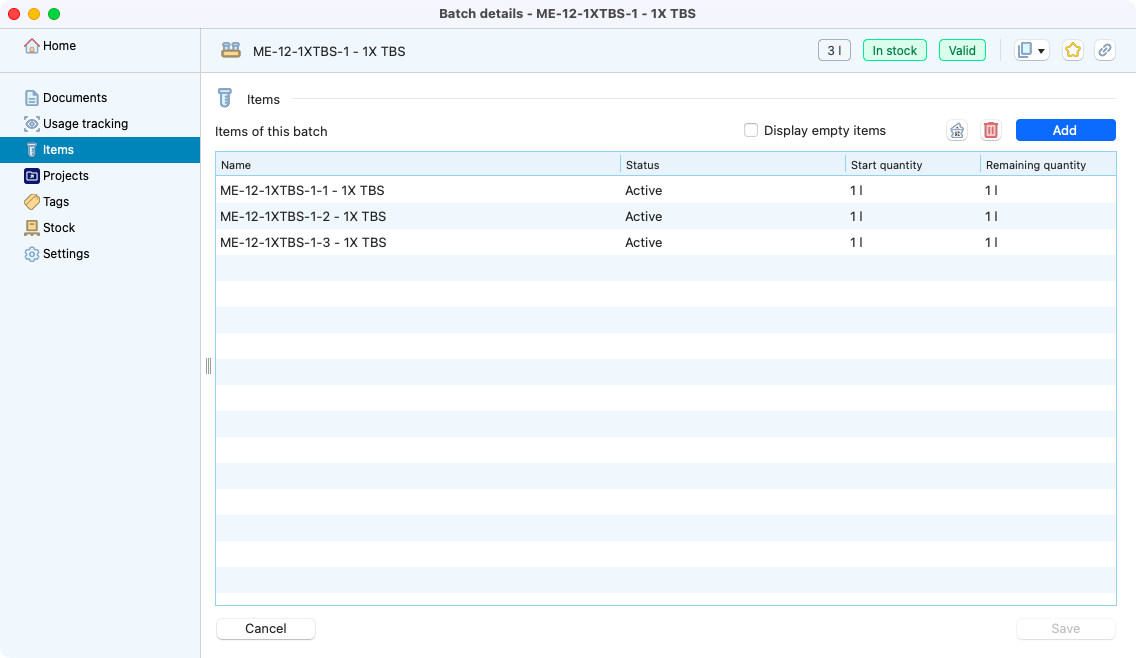
View of the list of items from a batch.
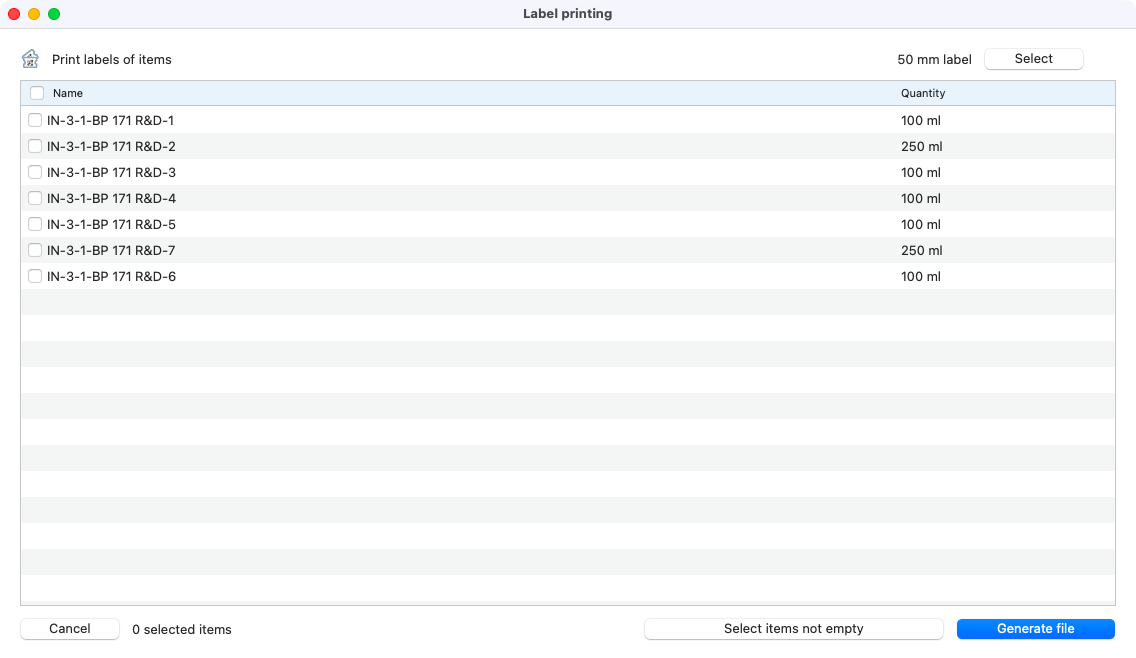
After clicking on the labels button (on the top right, close from the add button and the red bin):
Labels ready to be printed from a batch.
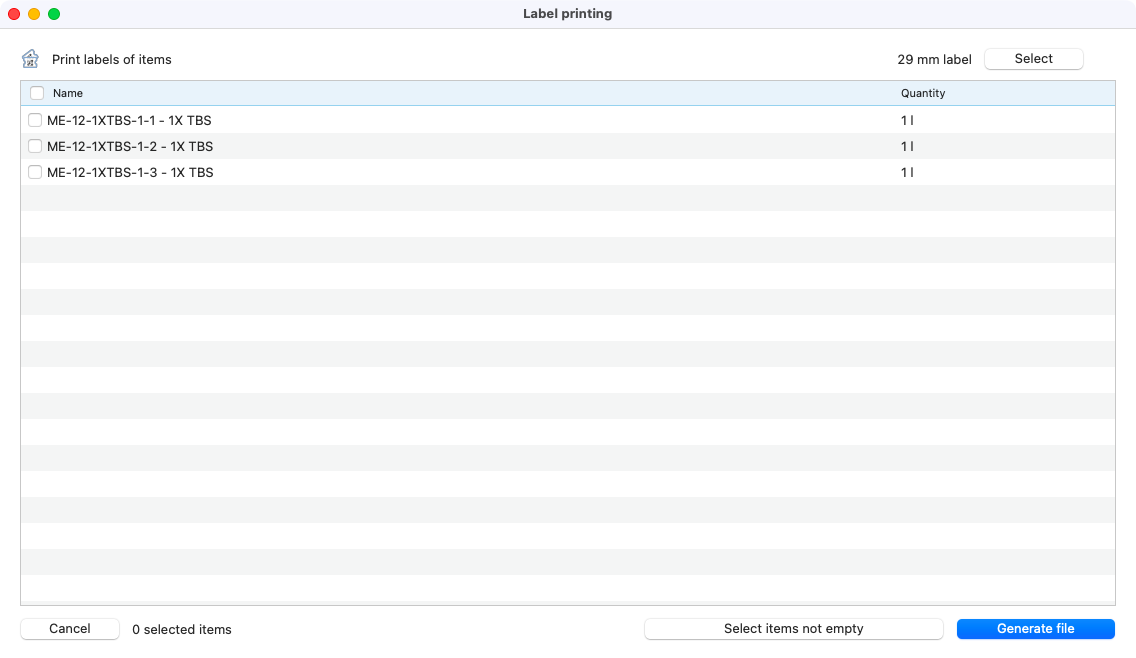
Batch prep
On a batch prep detail window, inside the “items” tab:
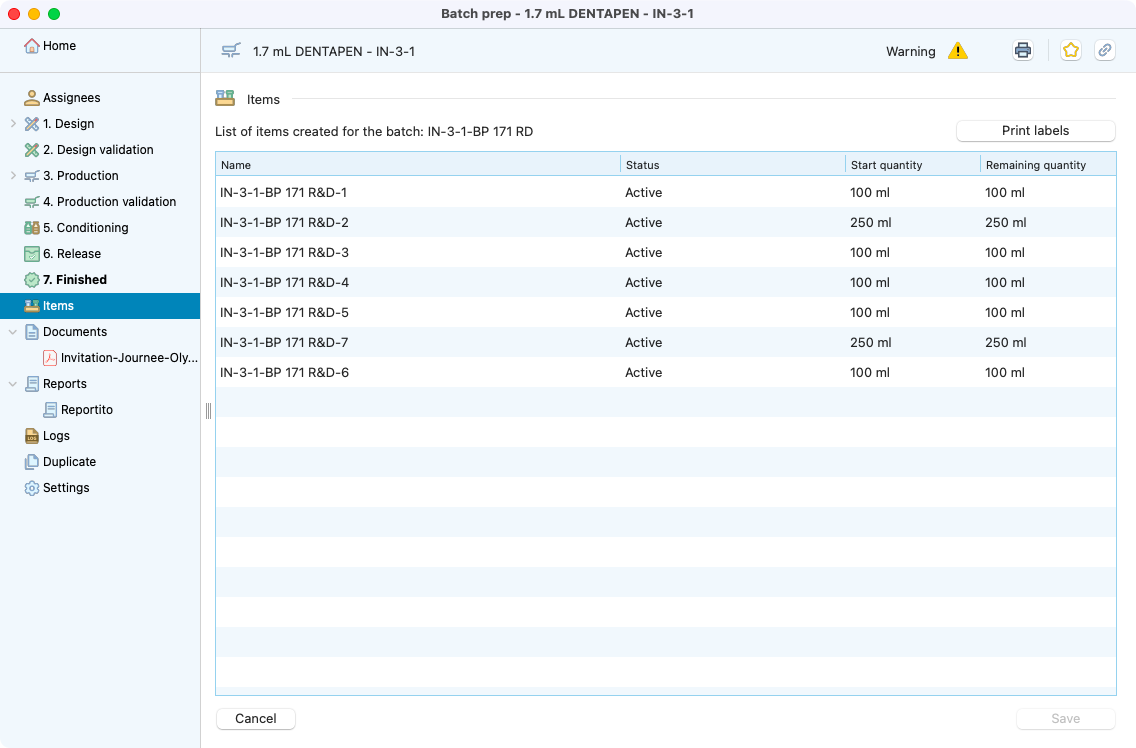
View of the list of items created from a batch prep.
After clicking on the print labels button:
Labels ready to be printed from a batch prep.