Users
Introduction
The main purpose of this module is to create and manage users. Also, to consult the information related to a user, to check the status of their rights and permissions.
User creation
Note
Only Admin or Superadmin are allowed to create users.
To perform this action, the first step needed is to go to the users module.
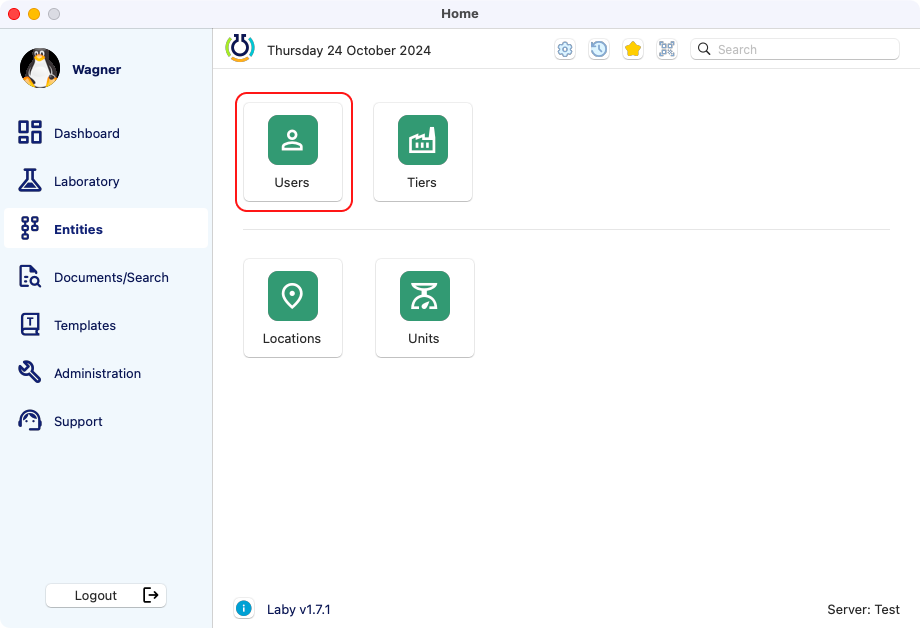
Dashboard view, with the users module highlighted.
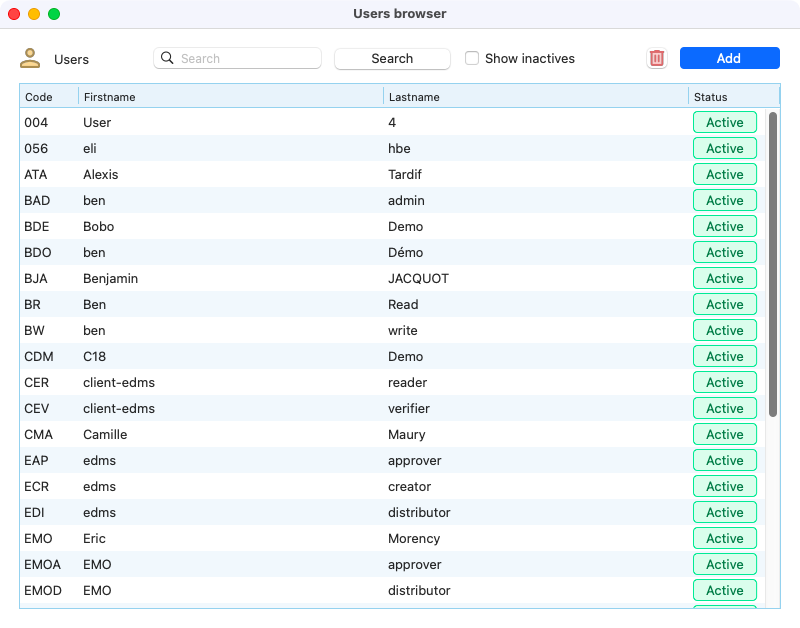
View of the list of users, after opening the users module.

Filling process for a new user.
Tip
By marking the “Send invitation mail” checkbox, the new user will receive an email with instructions to install and setup Laby for the first time.
User detailed access
Depending on your role in the company, the information to which you will have access for each user will be different:
As a non admin user, you can access to the general part of any users, in read only.
If you access to you own detailed window, you can access to all your personal information, your rights, and your password.
If you are an admin, you access and edit all the users information, except the password which is manageable only by the user itself.
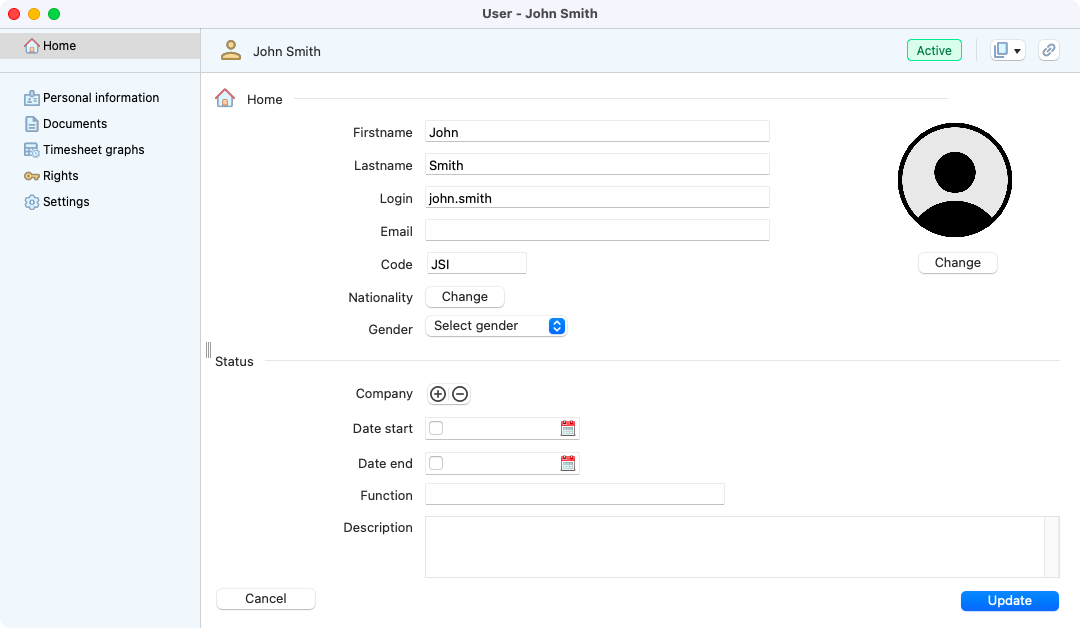
View that the user has on its personal space.
Edition
The module offers several editable fields. Some will only be accessible as an Admin of the module. This table shows what a regular user can see compared to an admin.
Information |
User |
Admin |
|---|---|---|
FirstName |
X |
X |
Lastname |
X |
X |
Login |
X |
|
X |
X |
|
Code |
X |
|
Nationality |
X |
X |
Gender |
X |
X |
Company |
X |
X |
Date start |
X |
|
Date end |
X |
|
Function |
X |
X |
Description |
X |
X |
Personal information |
X |
X |
Password |
X |
|
Active/Inactive |
X |
Note
- An inactive user:
Will no longer be able to login.
Will be removed from the groups he was part of.
Will loose all rights.
Mail invitation
Inside the settings tab, you can send an email with instructions about the installation and setup of Laby. This is specially useful after creating an user for the first time.
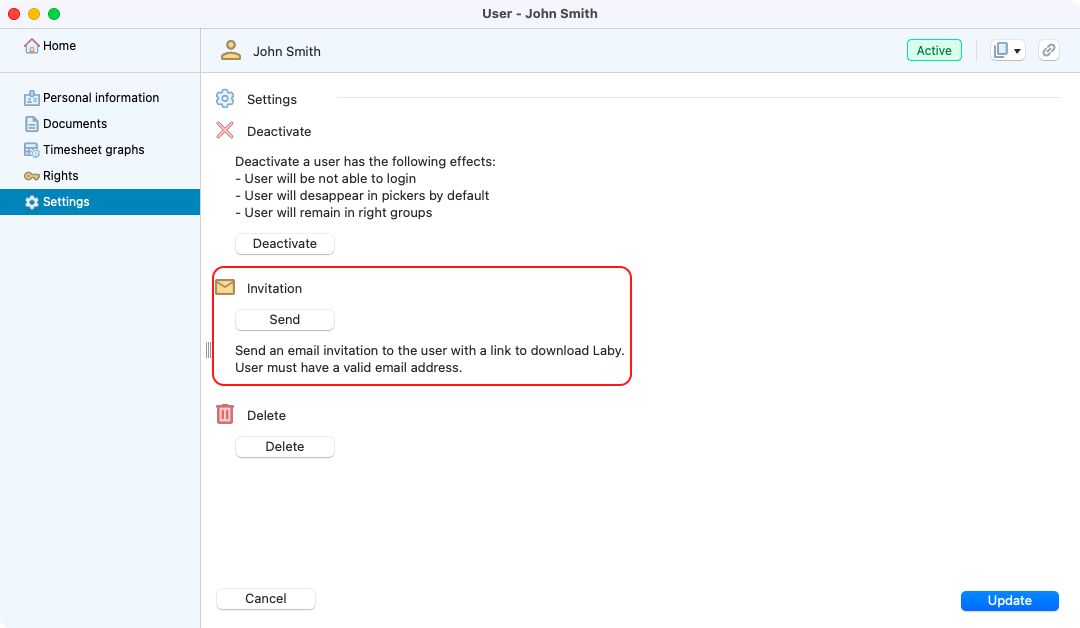
View of the user settings, with the invitation section highlighted.
Note
Remember that you can send this email during the user creation, or in this tab at anytime you need it.
Deletion and Deactivation
The user who has the rights can delete the account or deactivate it. In case of deletion, it will no longer be possible to recover the data and documents inside it.
Important
In order to delete an user, there must be nothing linked to it (equipment, tests, projects, etc.).
In case of deactivation, the user will not appear as available/visible in the software modules, but the data will continue to be saved and the person responsible can reactivate it later. Other effects:
User will be not able to login.
User will disappear in user selections (pickers) by default.
User will remain in the right groups.
Below is the screen where it is possible to carry out both actions using the “Delete” and “Deactivate” buttons.
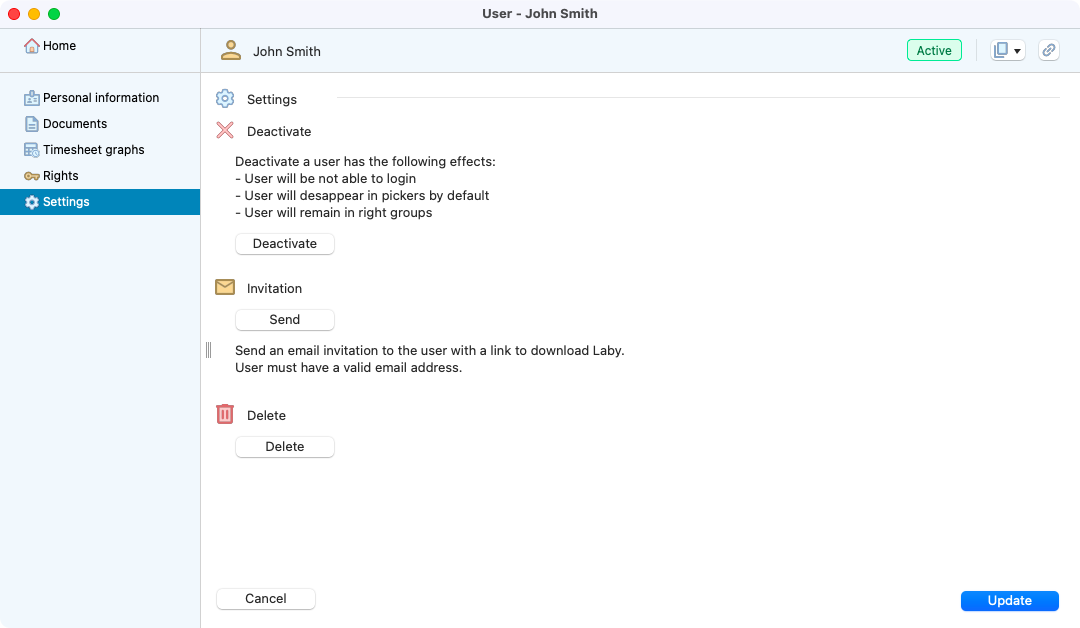
View of the user settings.