Locations
Module overview
In this section we will discover how to create and edit locations. These are used to distribute and organize items from your stock/inventory according to the desired places in your organization.
Module in Laby
Here is how to find the module Laby : Entities / Locations.
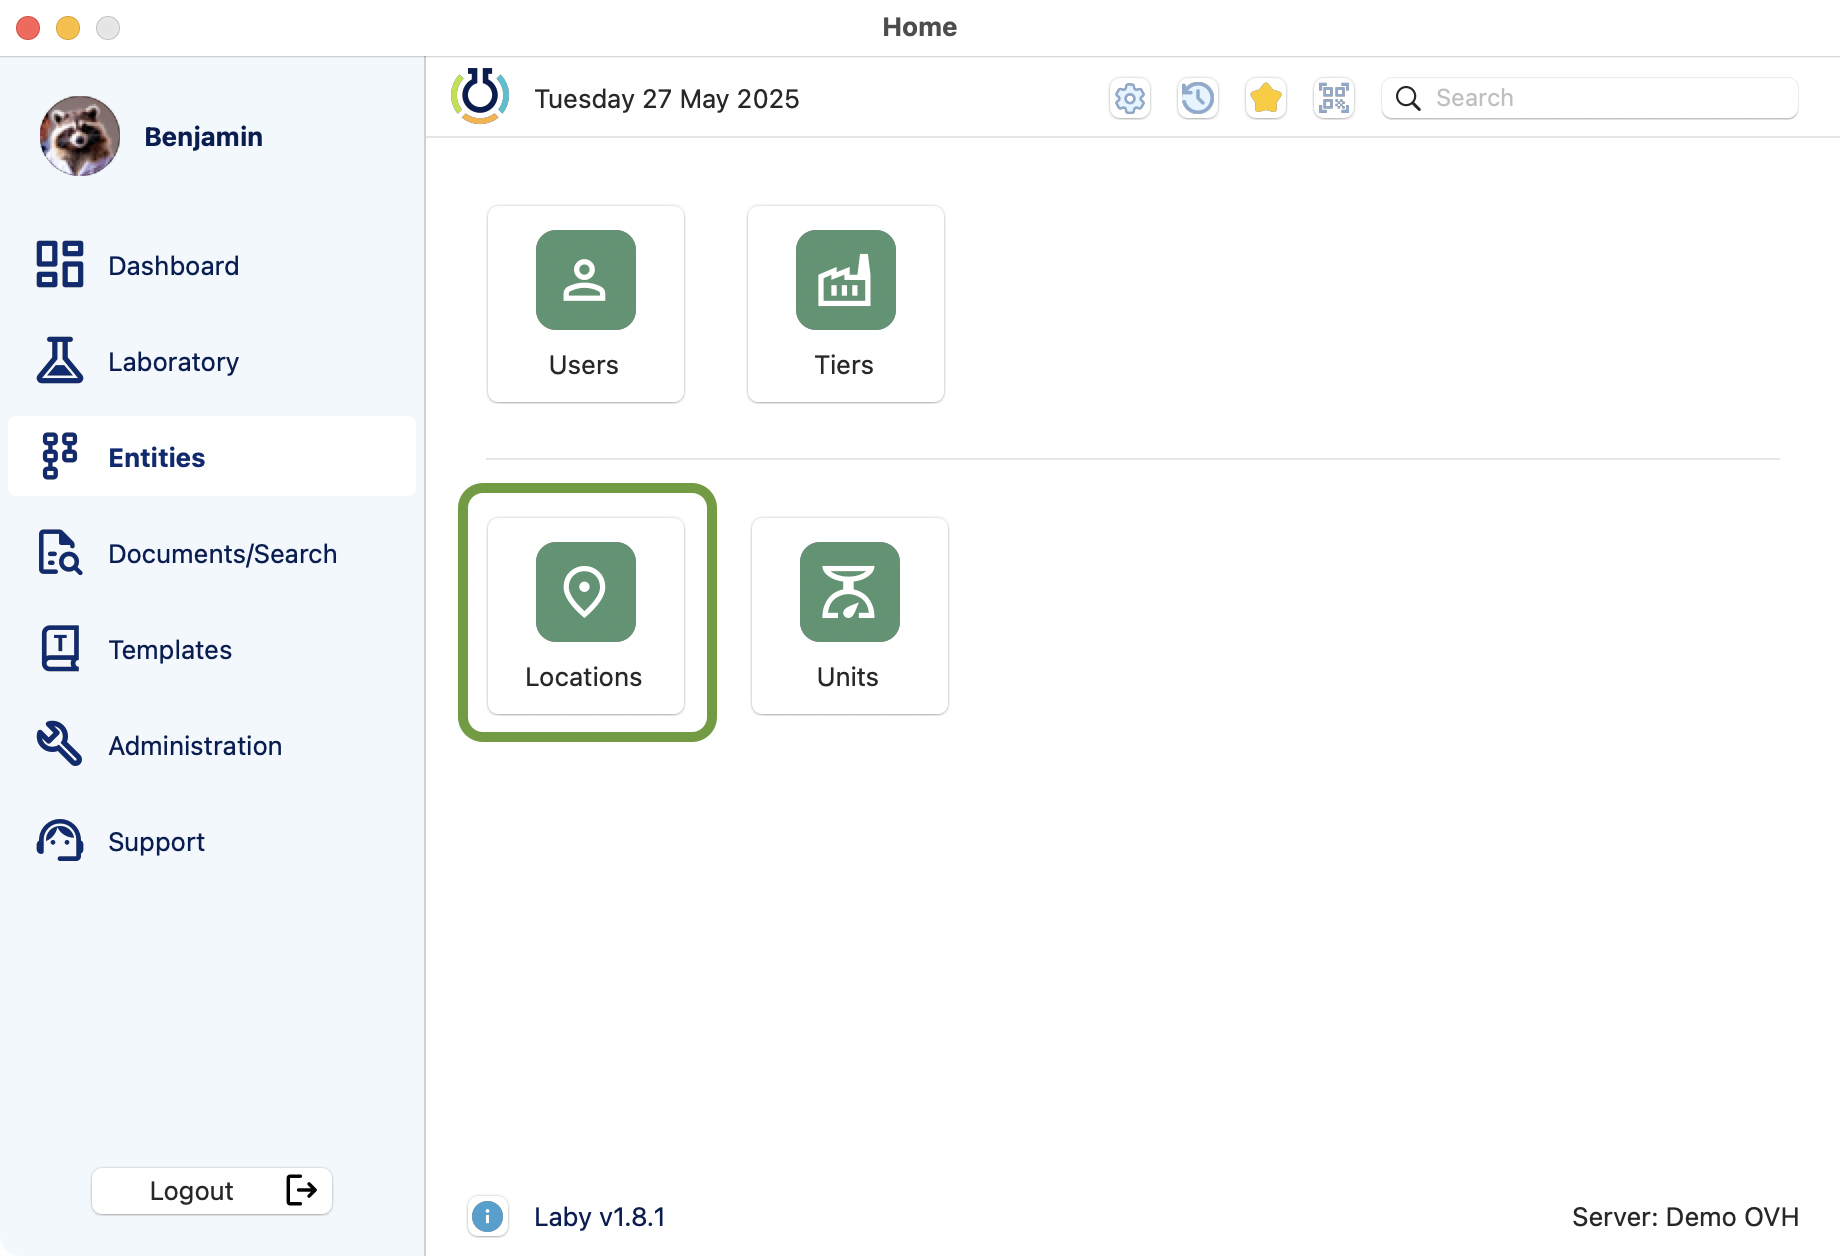
View of the Entities section on the dashboard. The location module is highlighted.
Note
The locations hierarchy follows this order:
![]() Building >
Building > ![]() Location >
Location > ![]() Spot >
Spot > ![]() Rack >
Rack > ![]() box
box
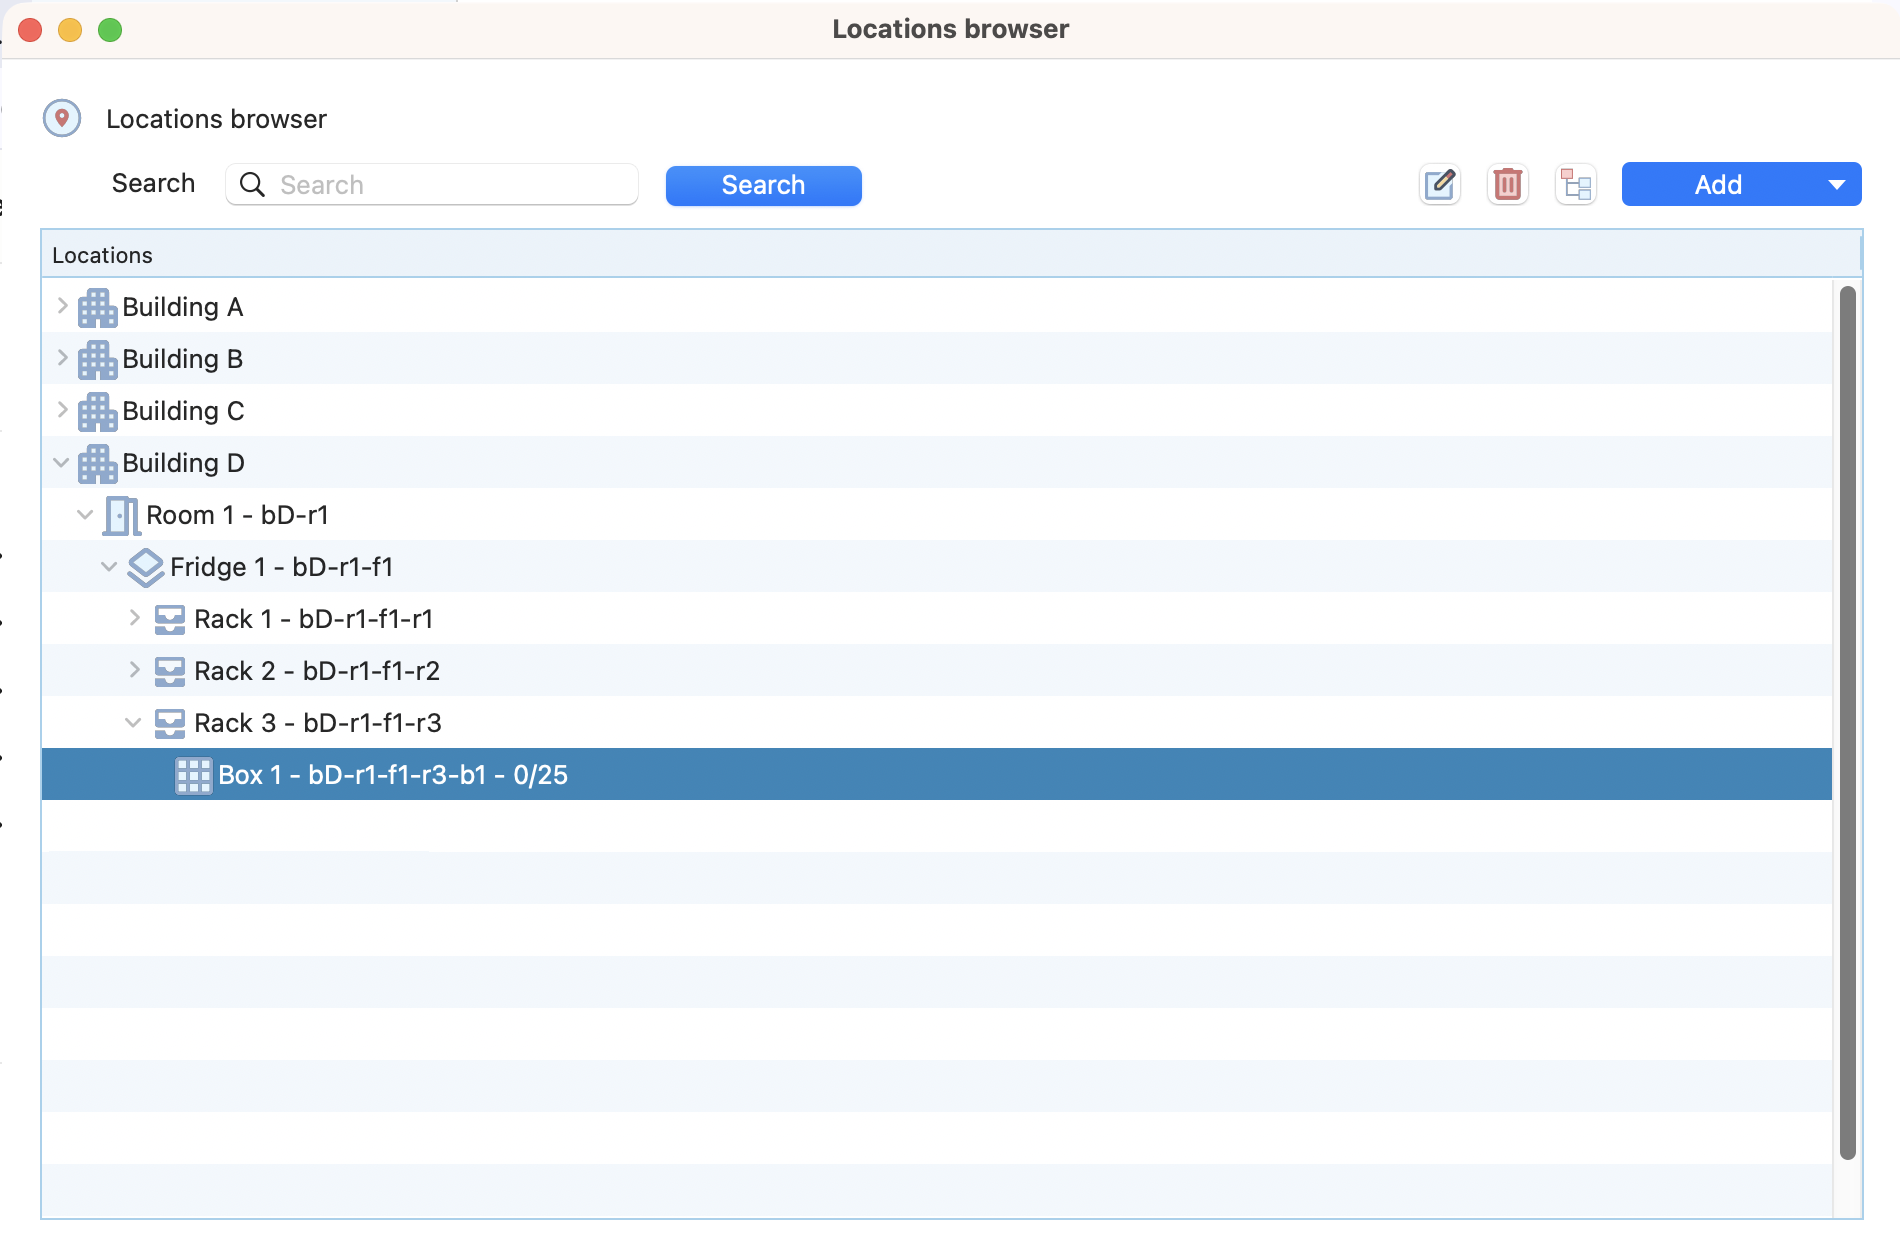
View of an example of locations hierarchy.
Note
a box can be link to a spot or a rack
Usage in Laby
Entity type |
Location |
|---|---|
Item |
location |
Equipment |
location |
Quality document |
location |
Building
Building creation
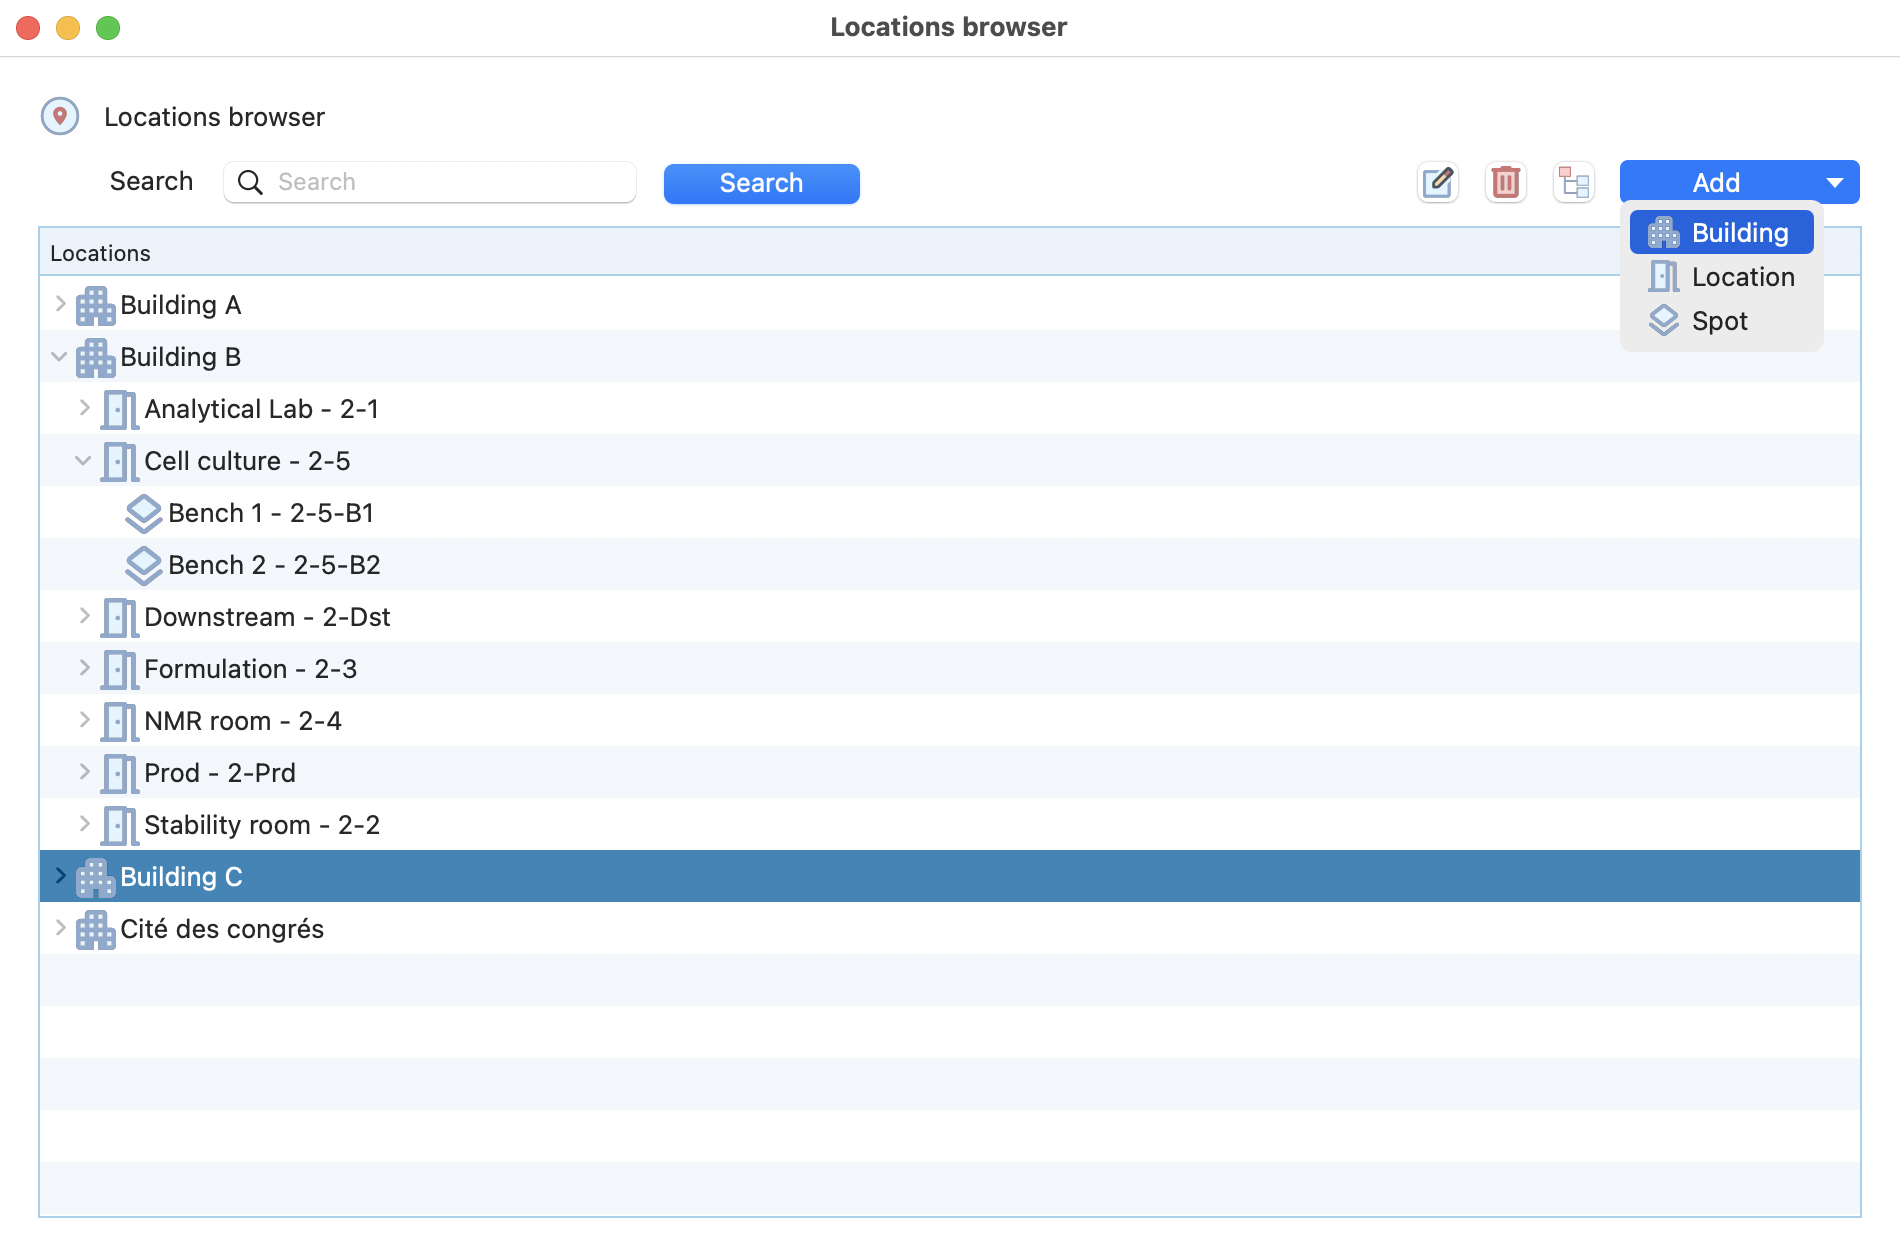
To create a building, location or spot, the process is the same.
Simply click on the button add, select the type and fill the information requested.

Location browser, with all the locations included.
The button to add is also pressed, showing the options to add a new building, location or spot.
Information requested when creating a bulding.
Building details
Double click on a building to see its details and the entities linked to it.
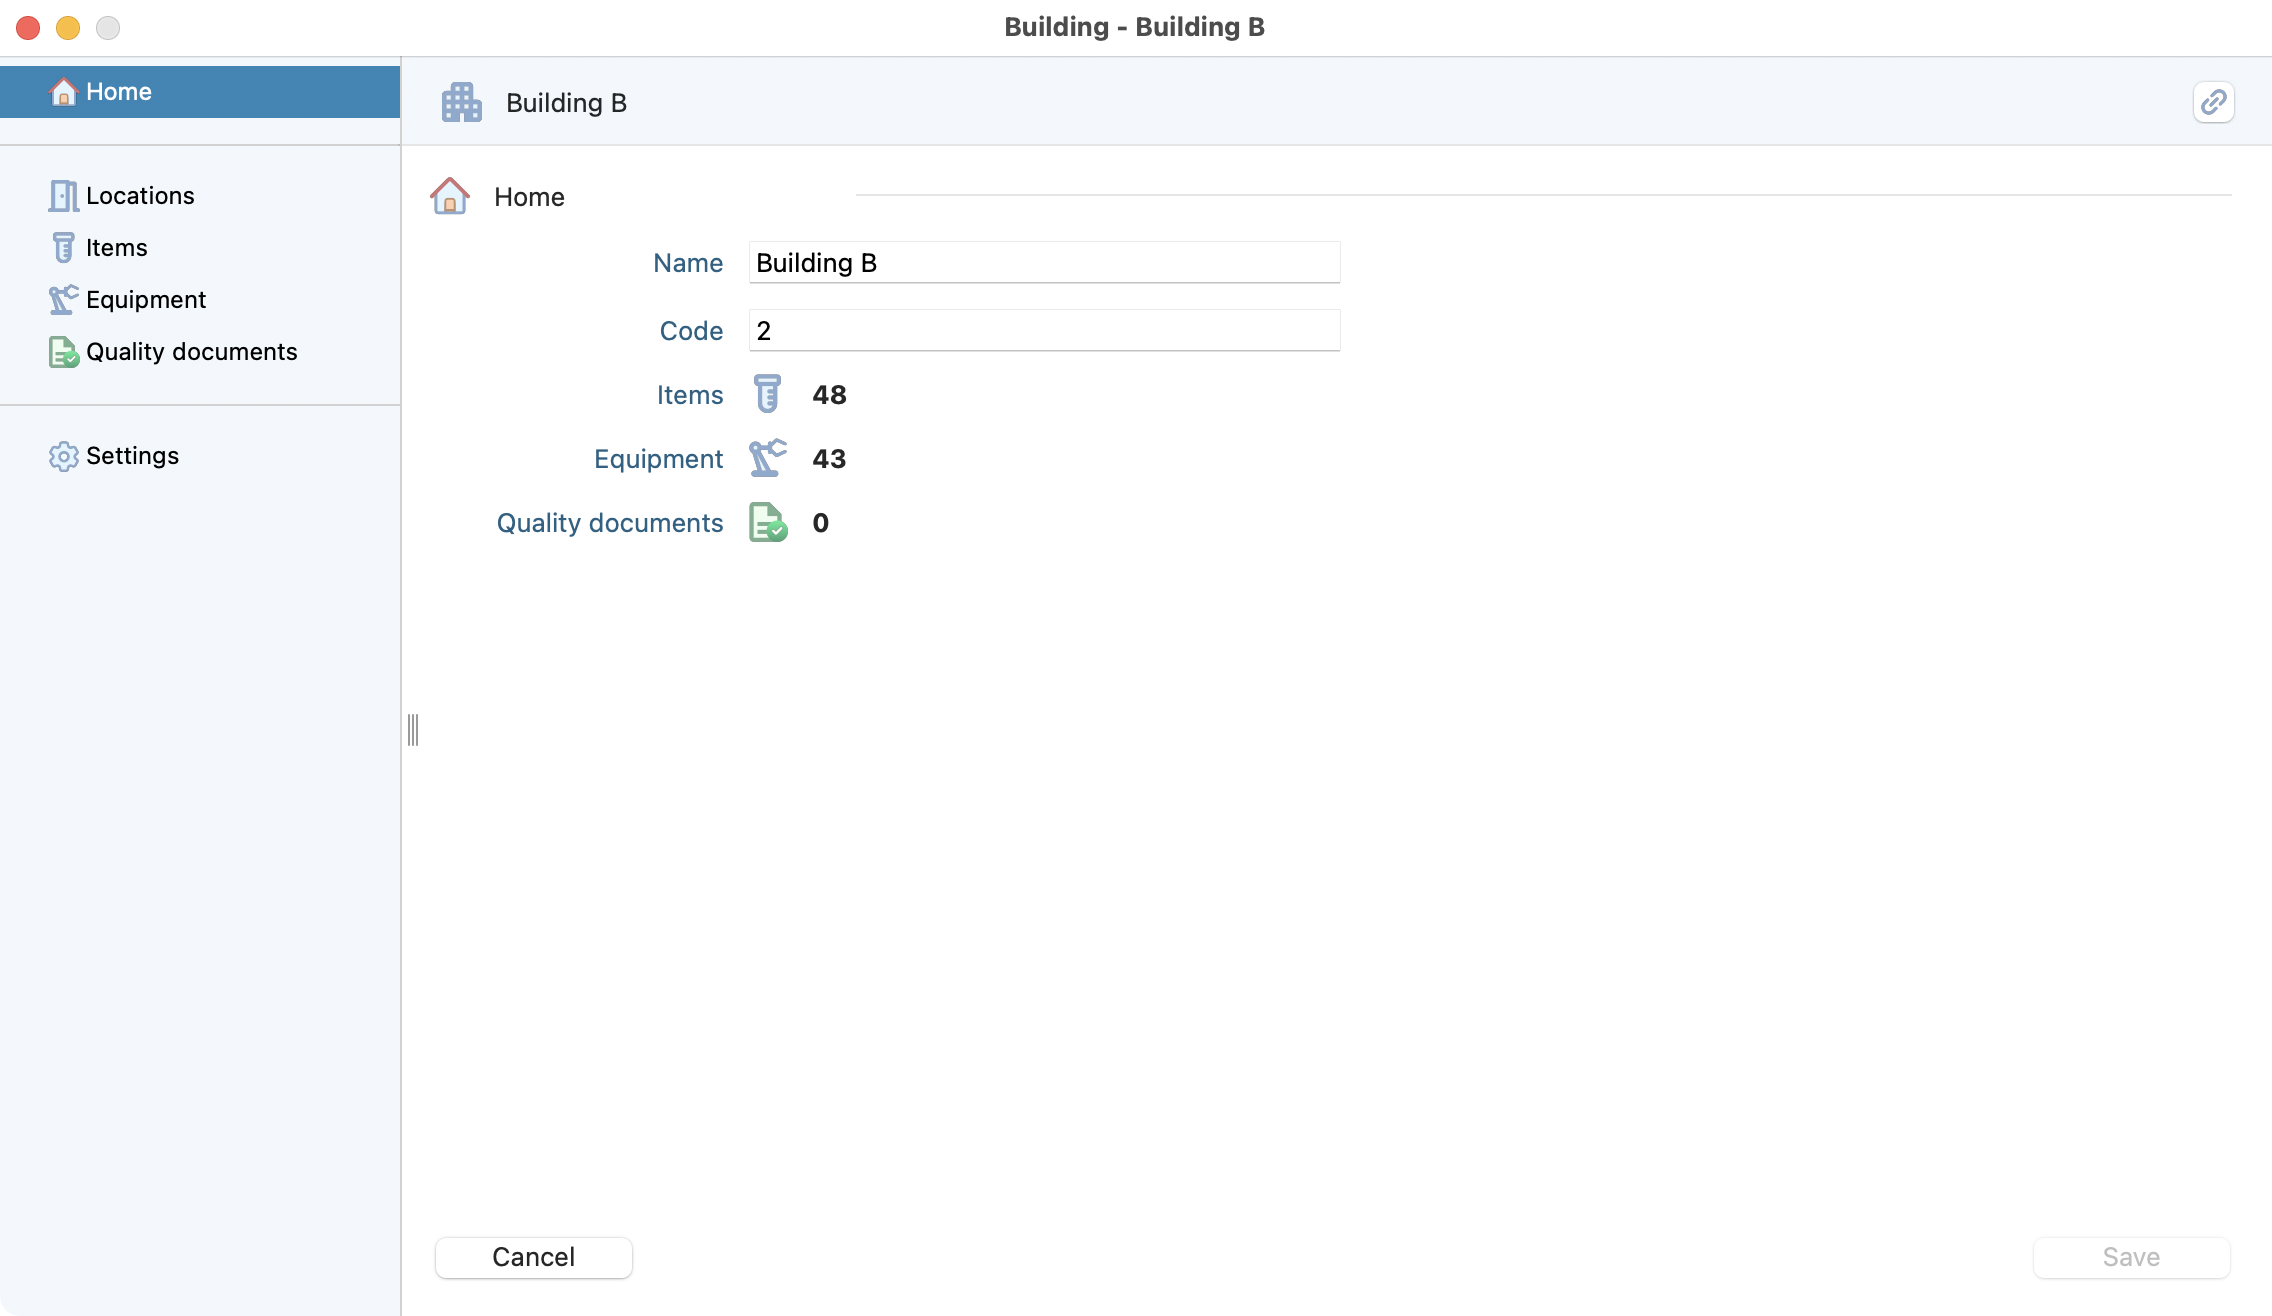
View of the détails and entitiies within a building.

List of locations within a building.
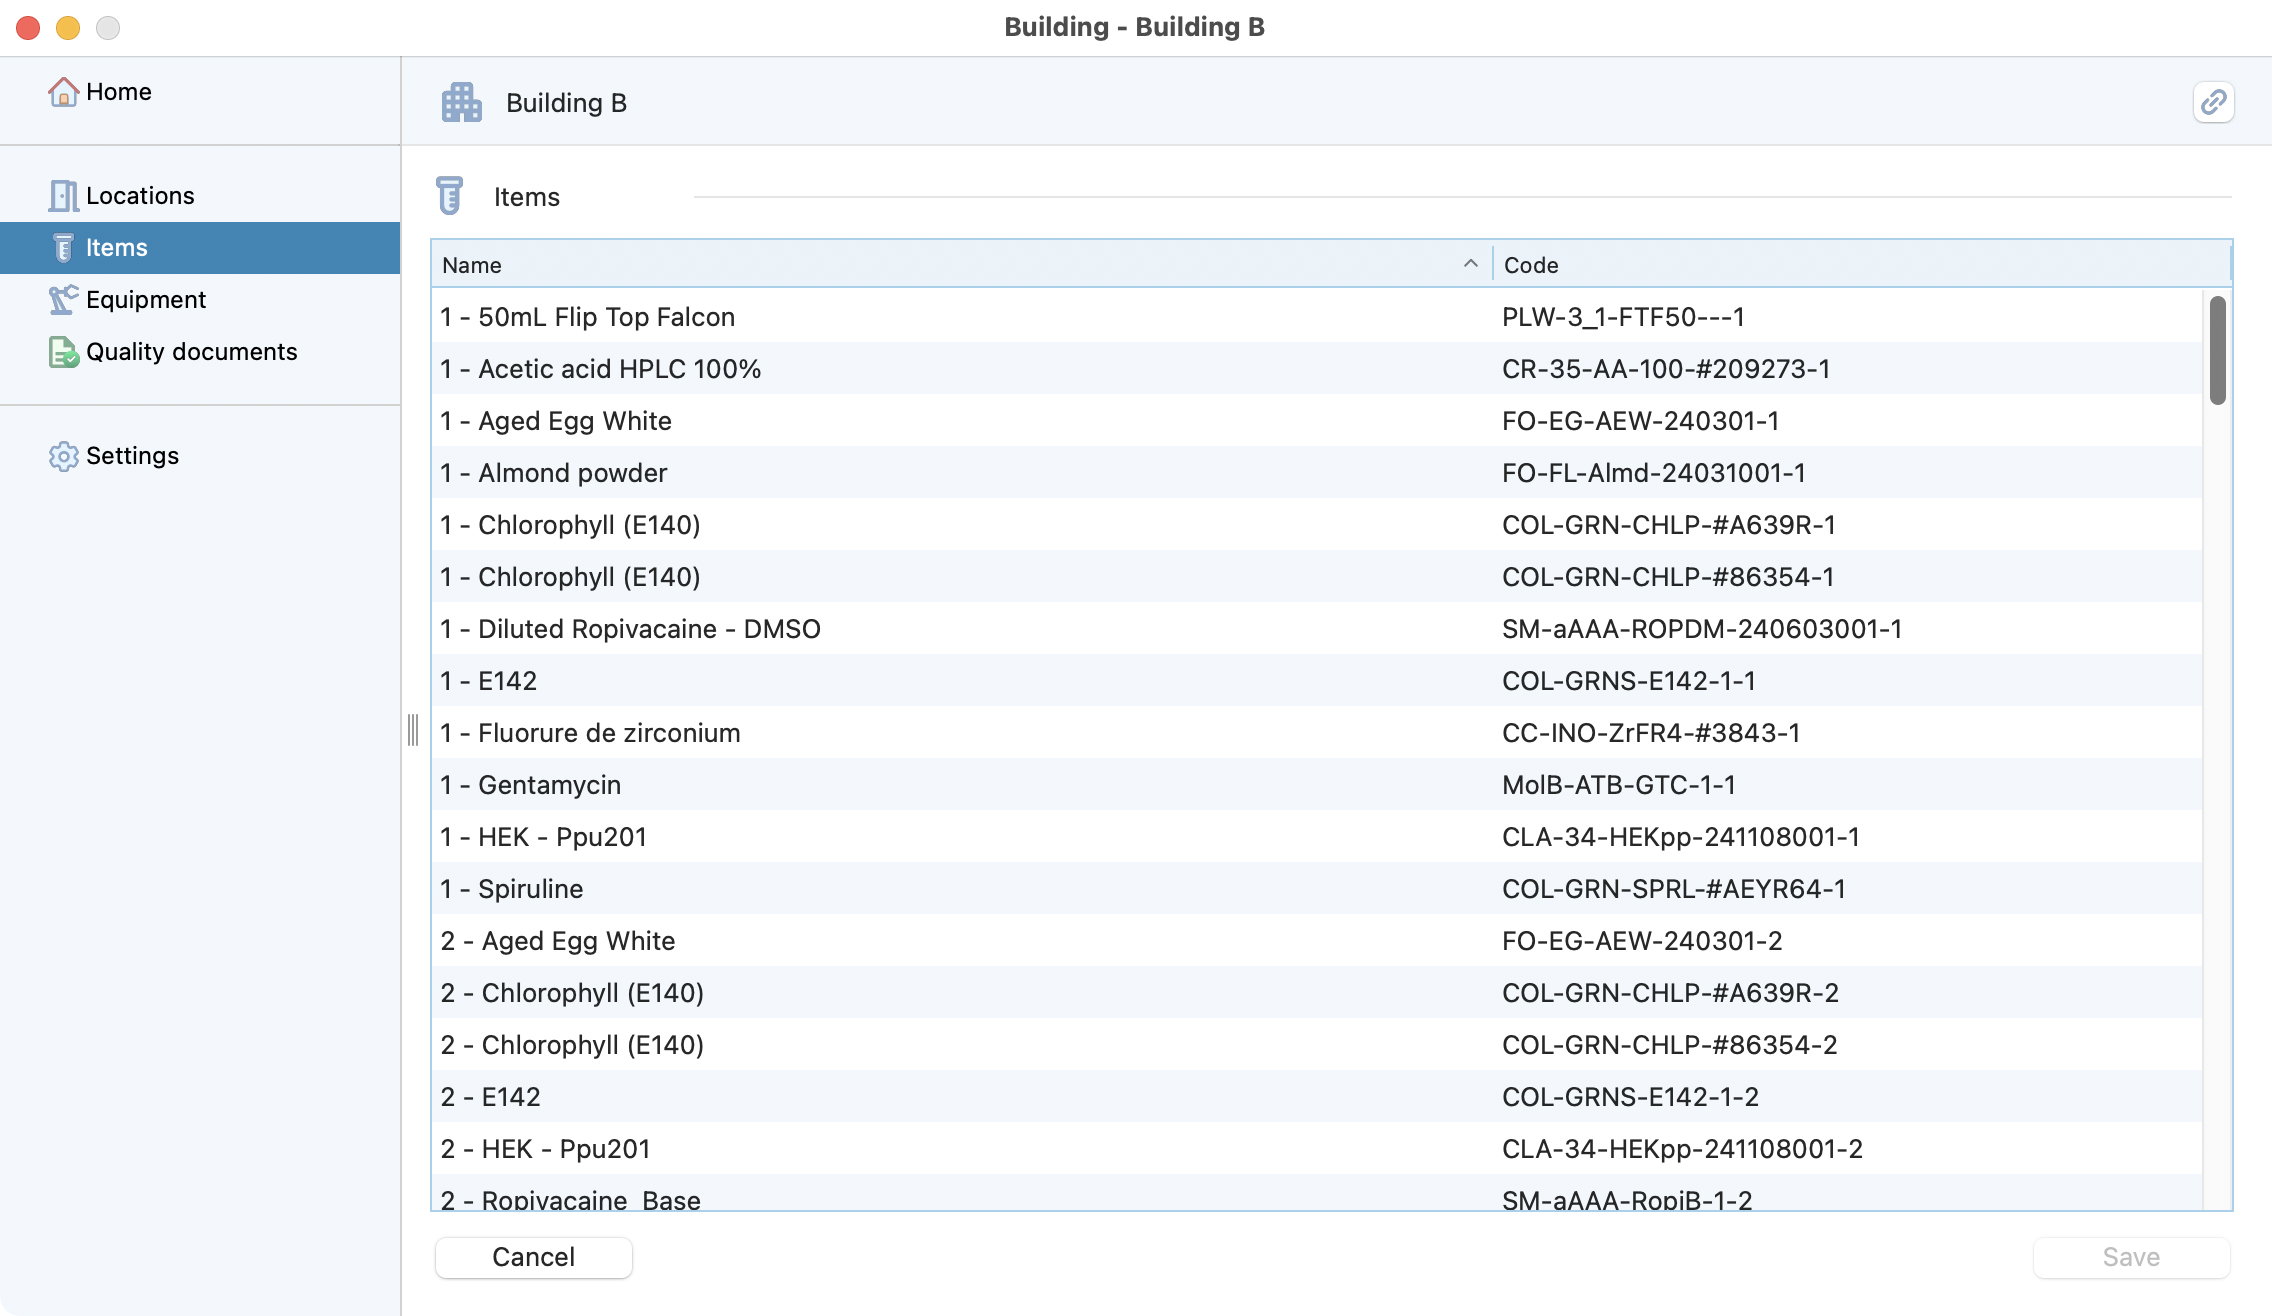
List of items within a building.
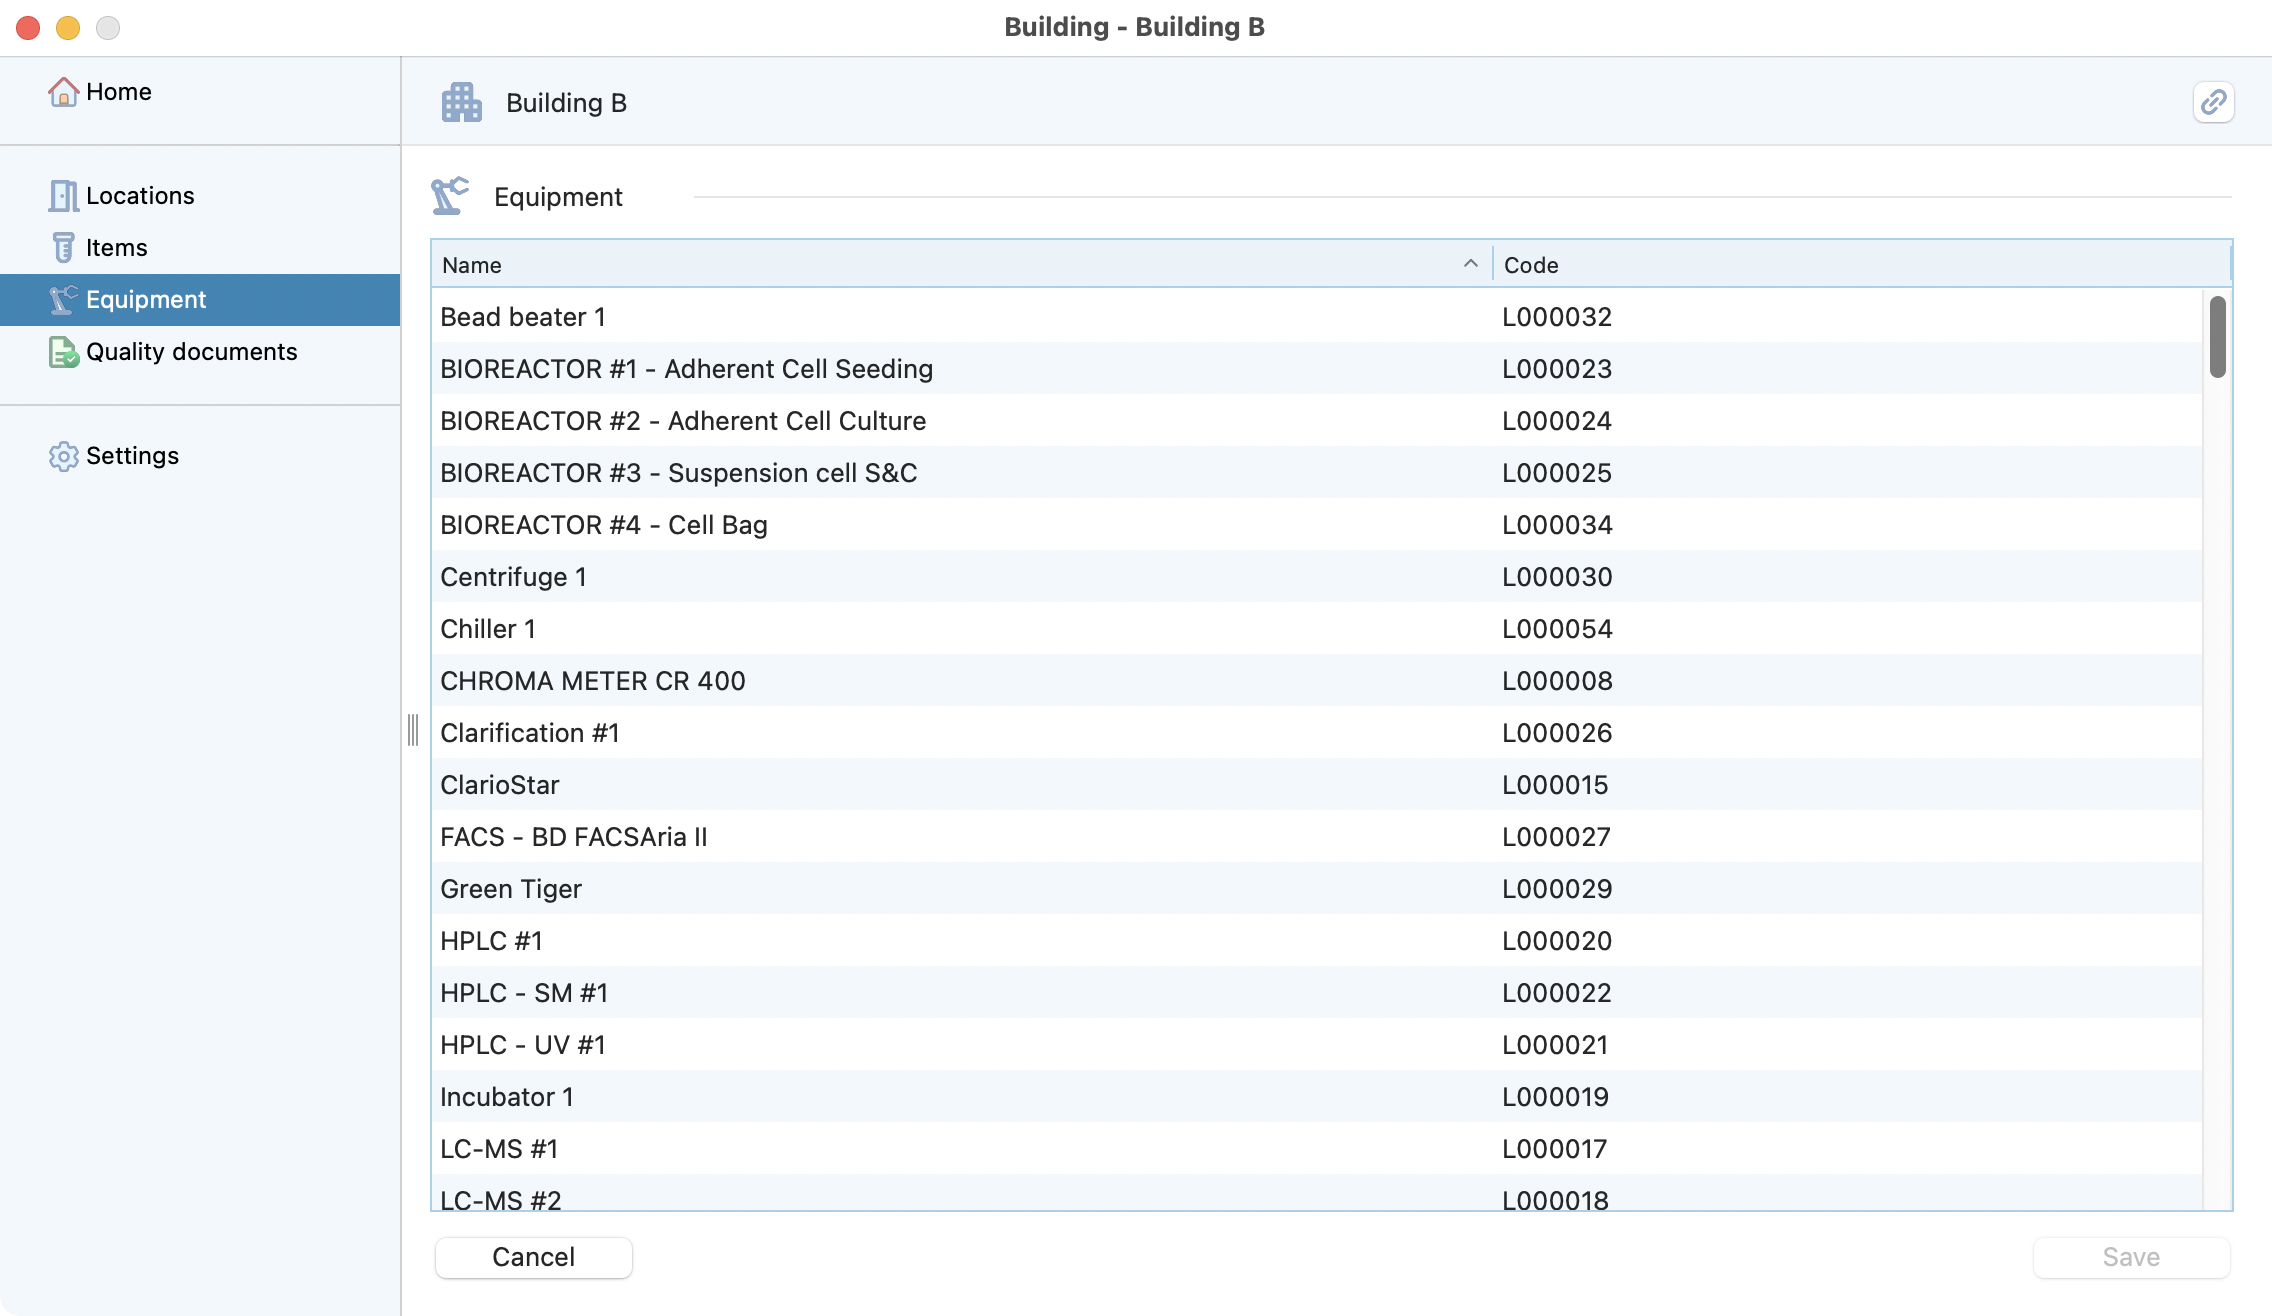
List of equipments within a building.
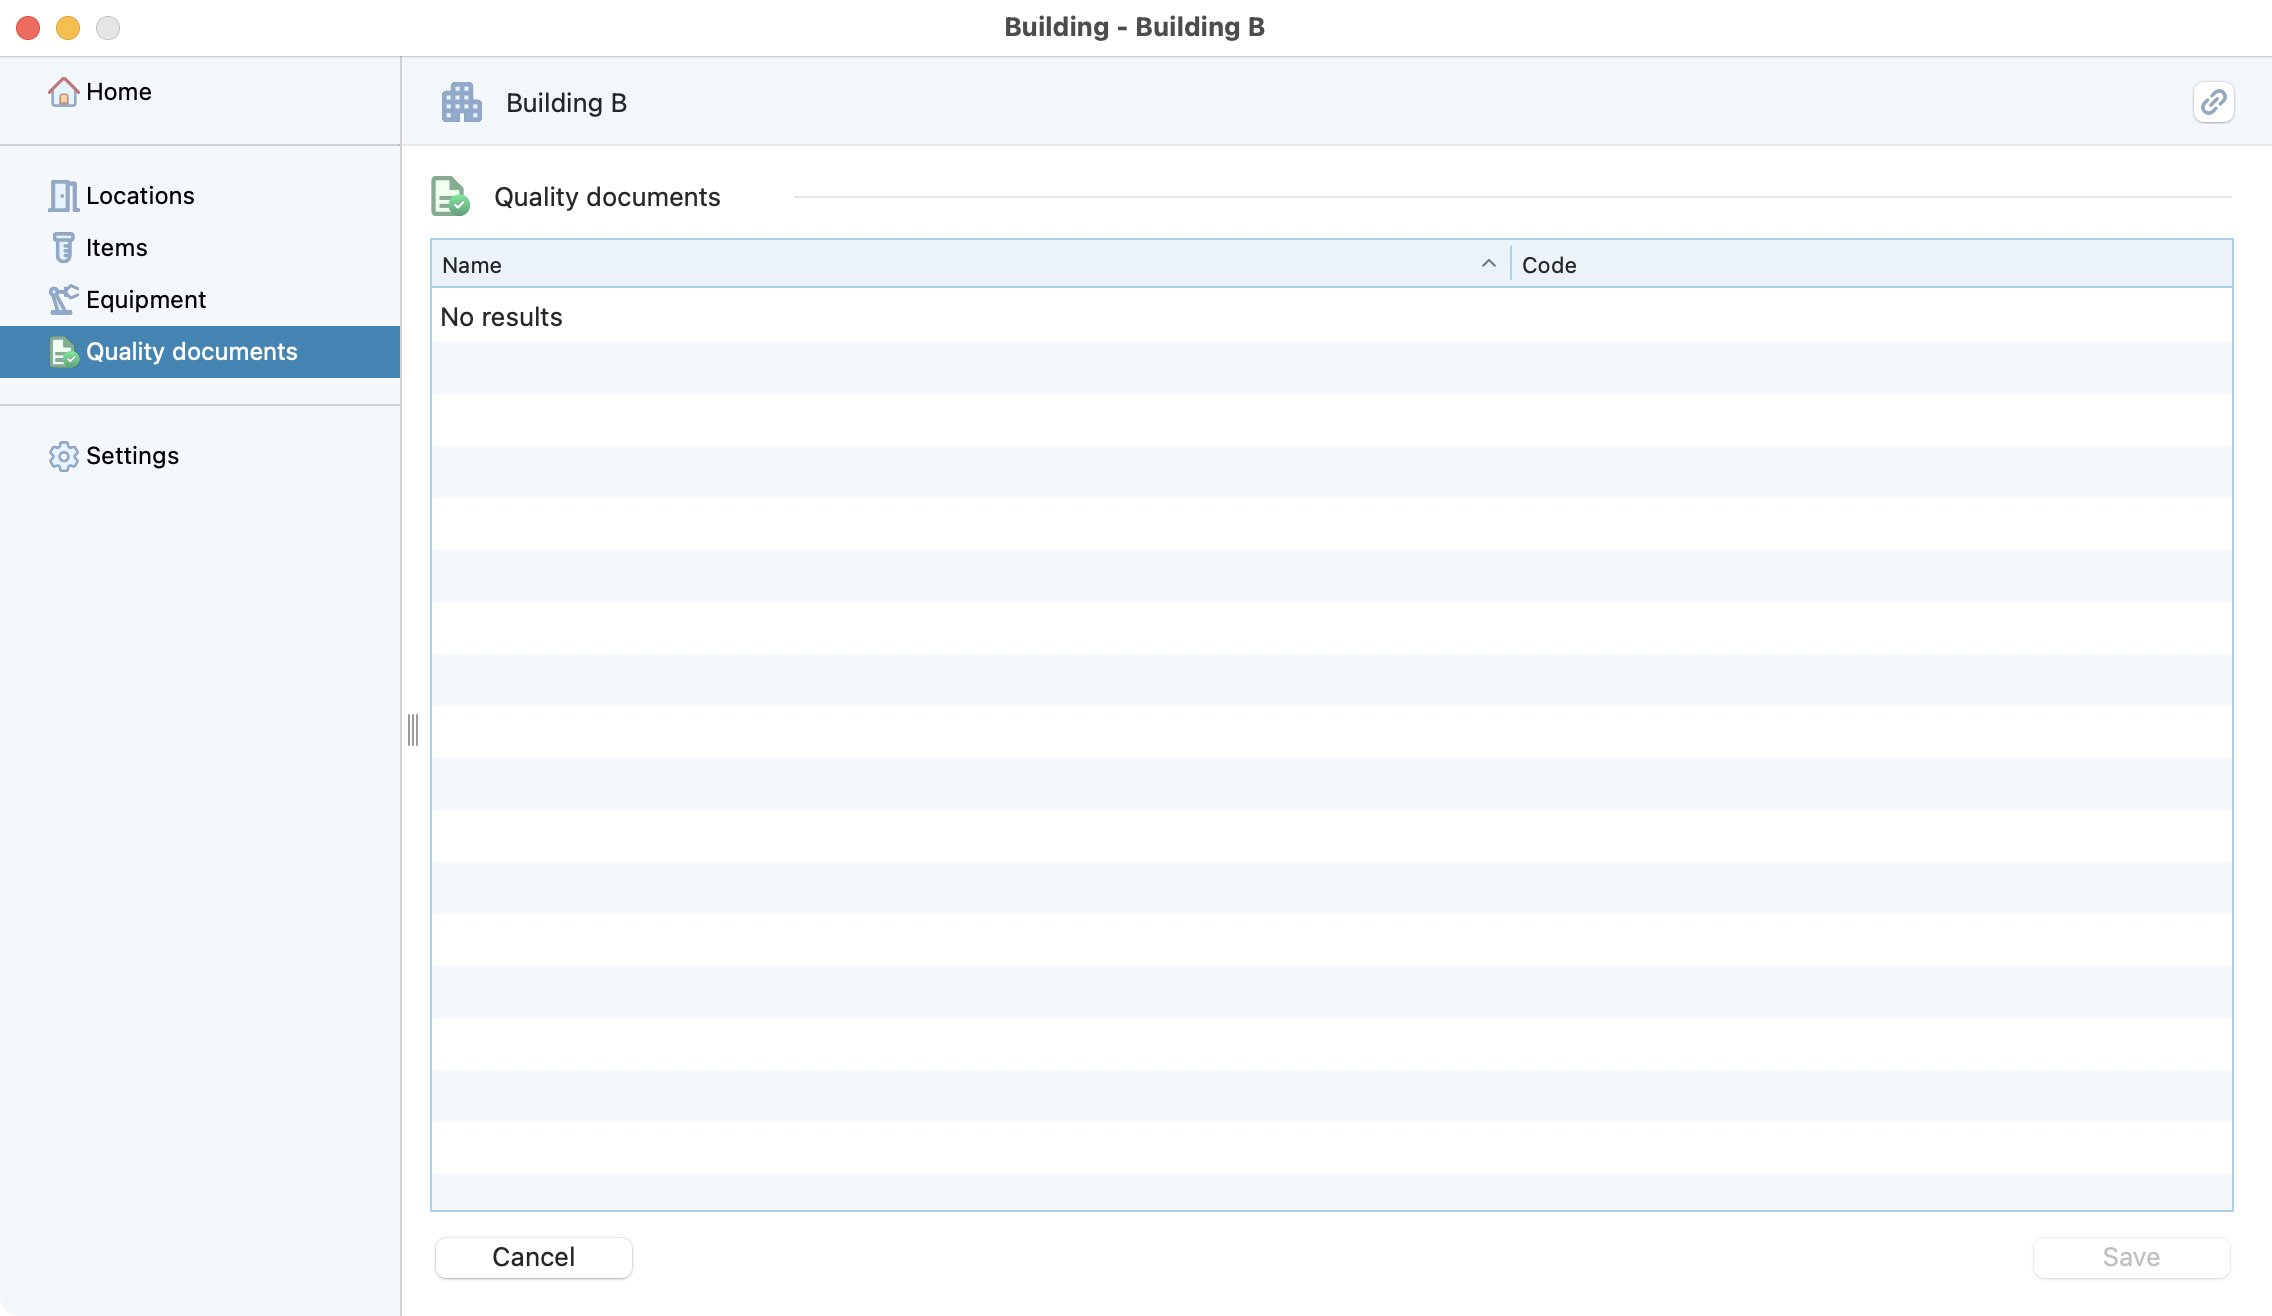
List of quality documents with a printed version within a building.
Location
Location creation
To create it, select a building, location or spot where you want to create a location. Laby will automatically understand where the location should be created and will perform the action correclty.
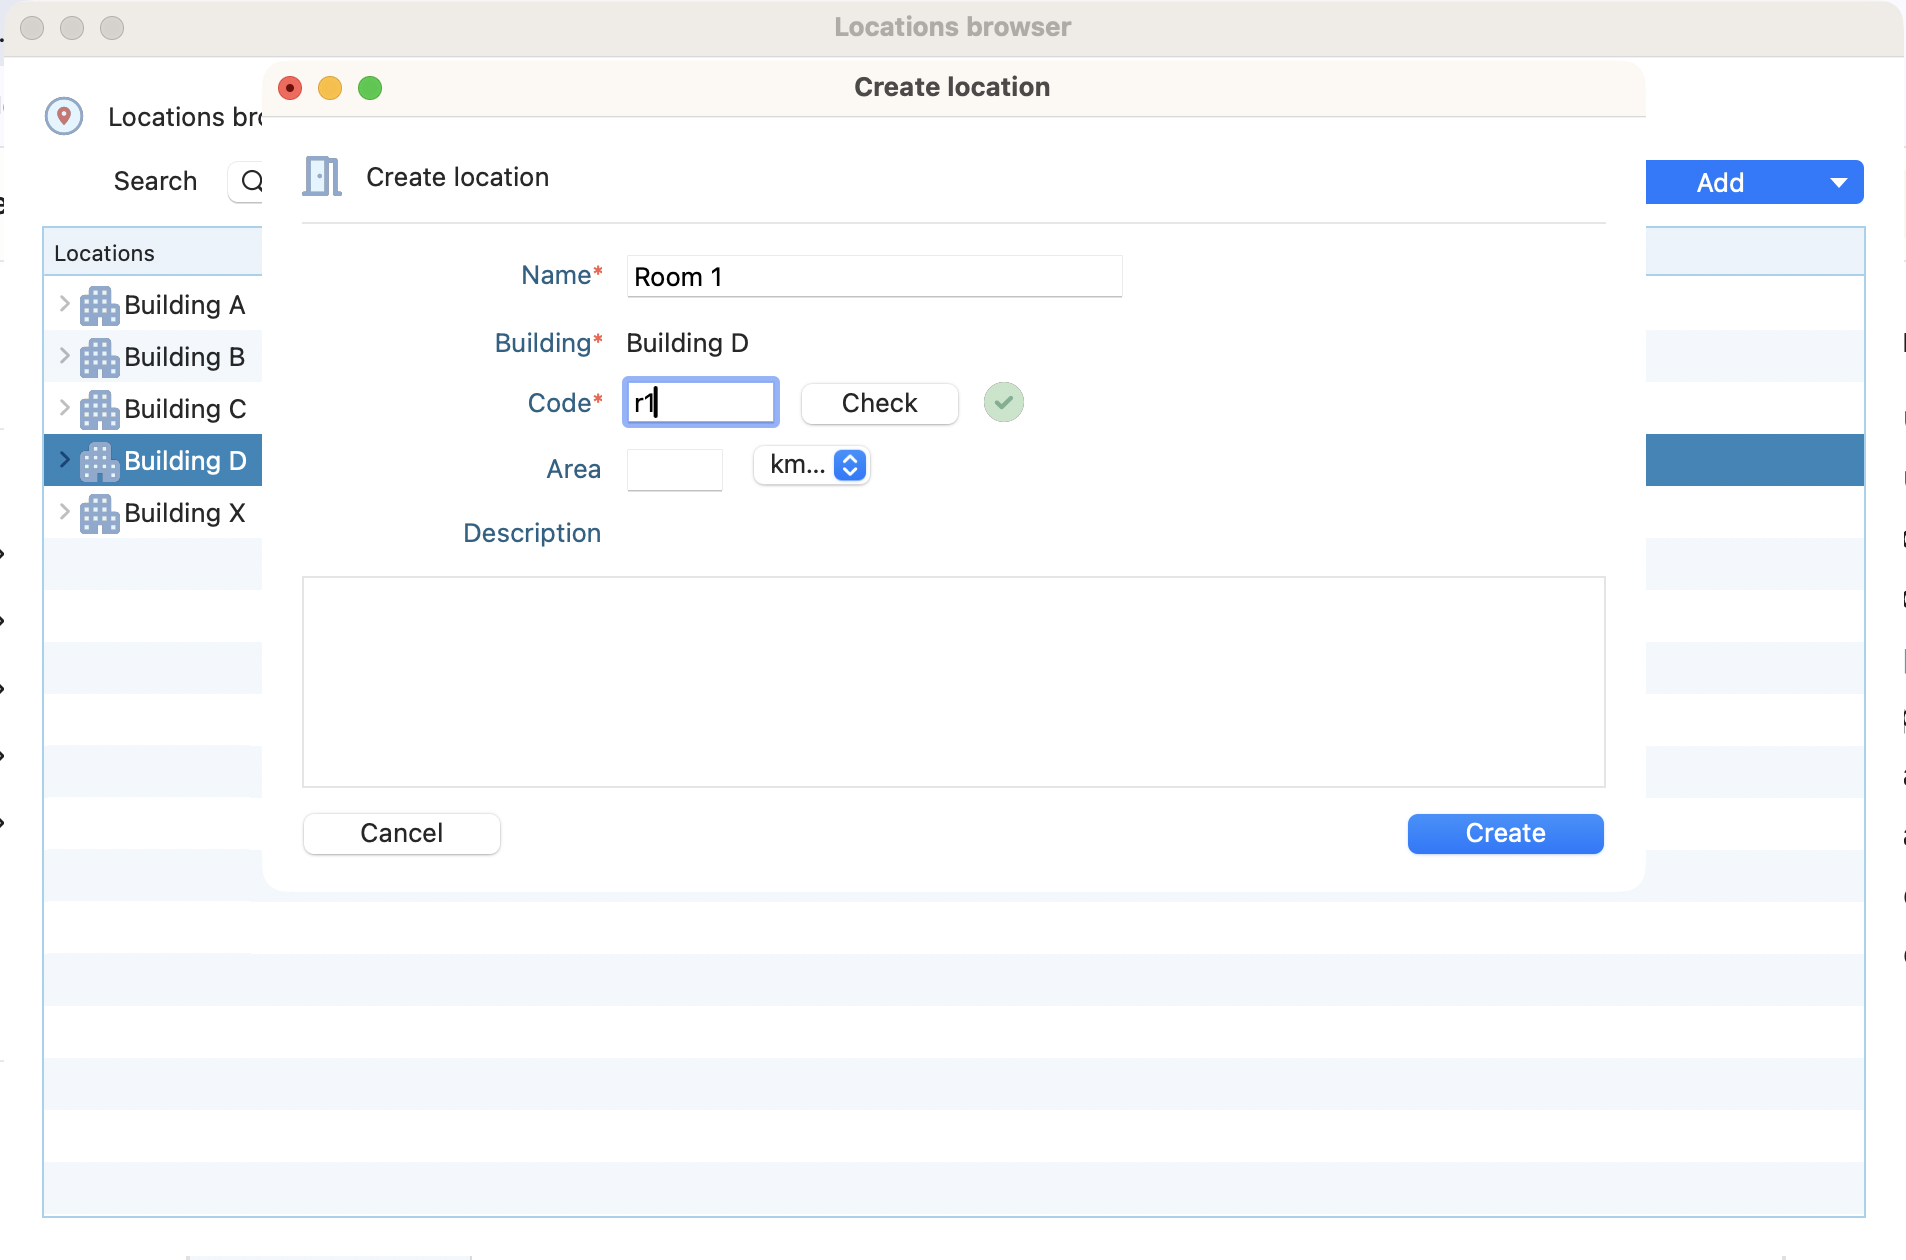
Information requested when creating a location.
Location details
Similar to the building, double click on a location to see its details and the entities linked to it.
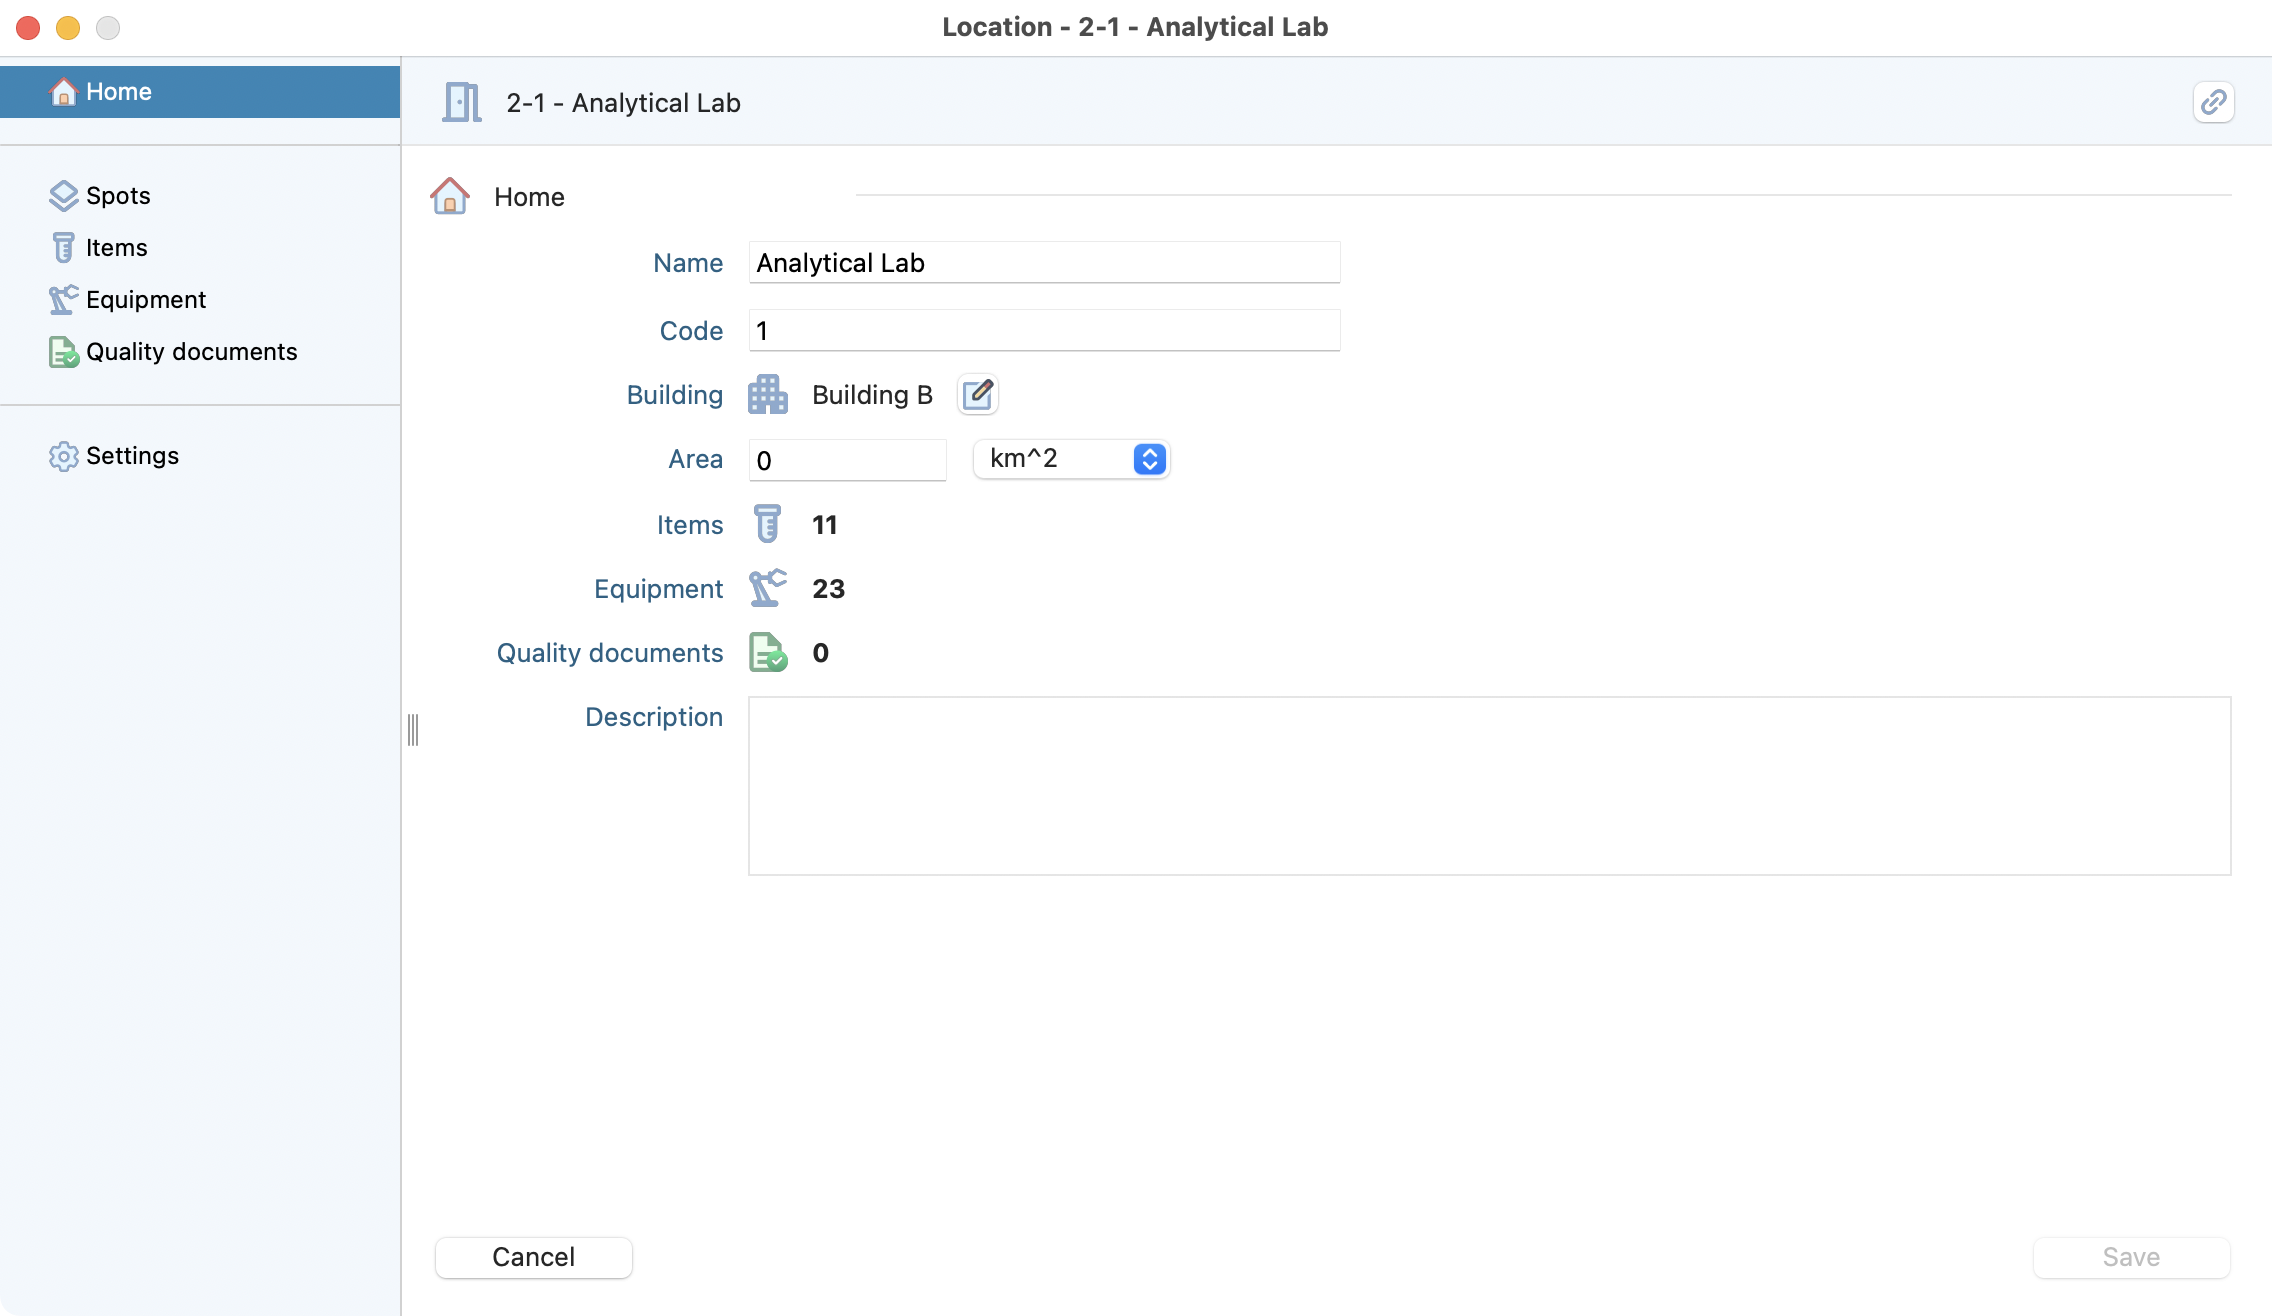
View of the détails and entitiies within a location.
Spot
Spot creation
Select a building and location where you want to create a spot.
Laby will automatically understand where the spot should be created and will perform the action correclty.
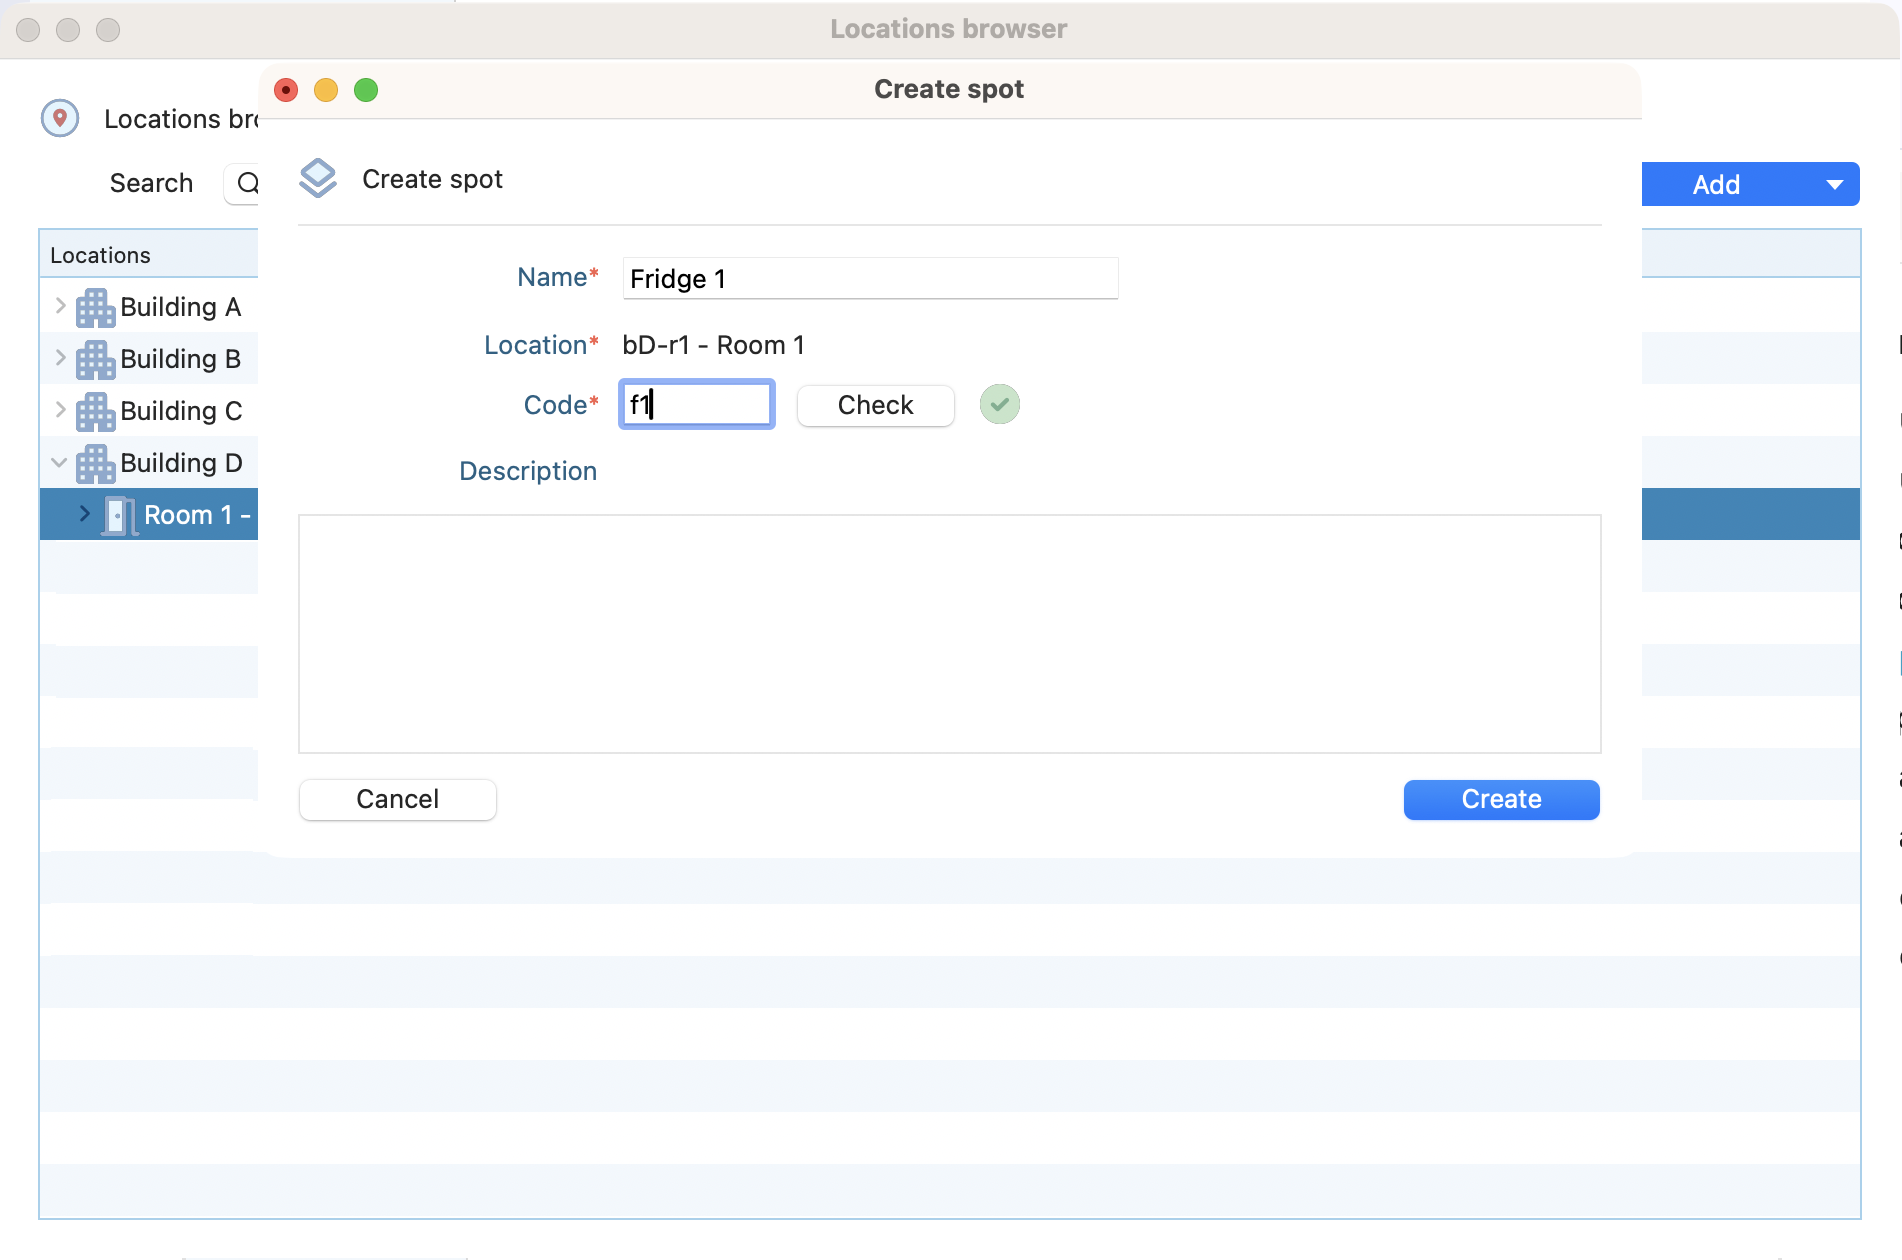
Information requested when creating a spot.
spot details
Double click on a spot to see its details and the entities linked to it.
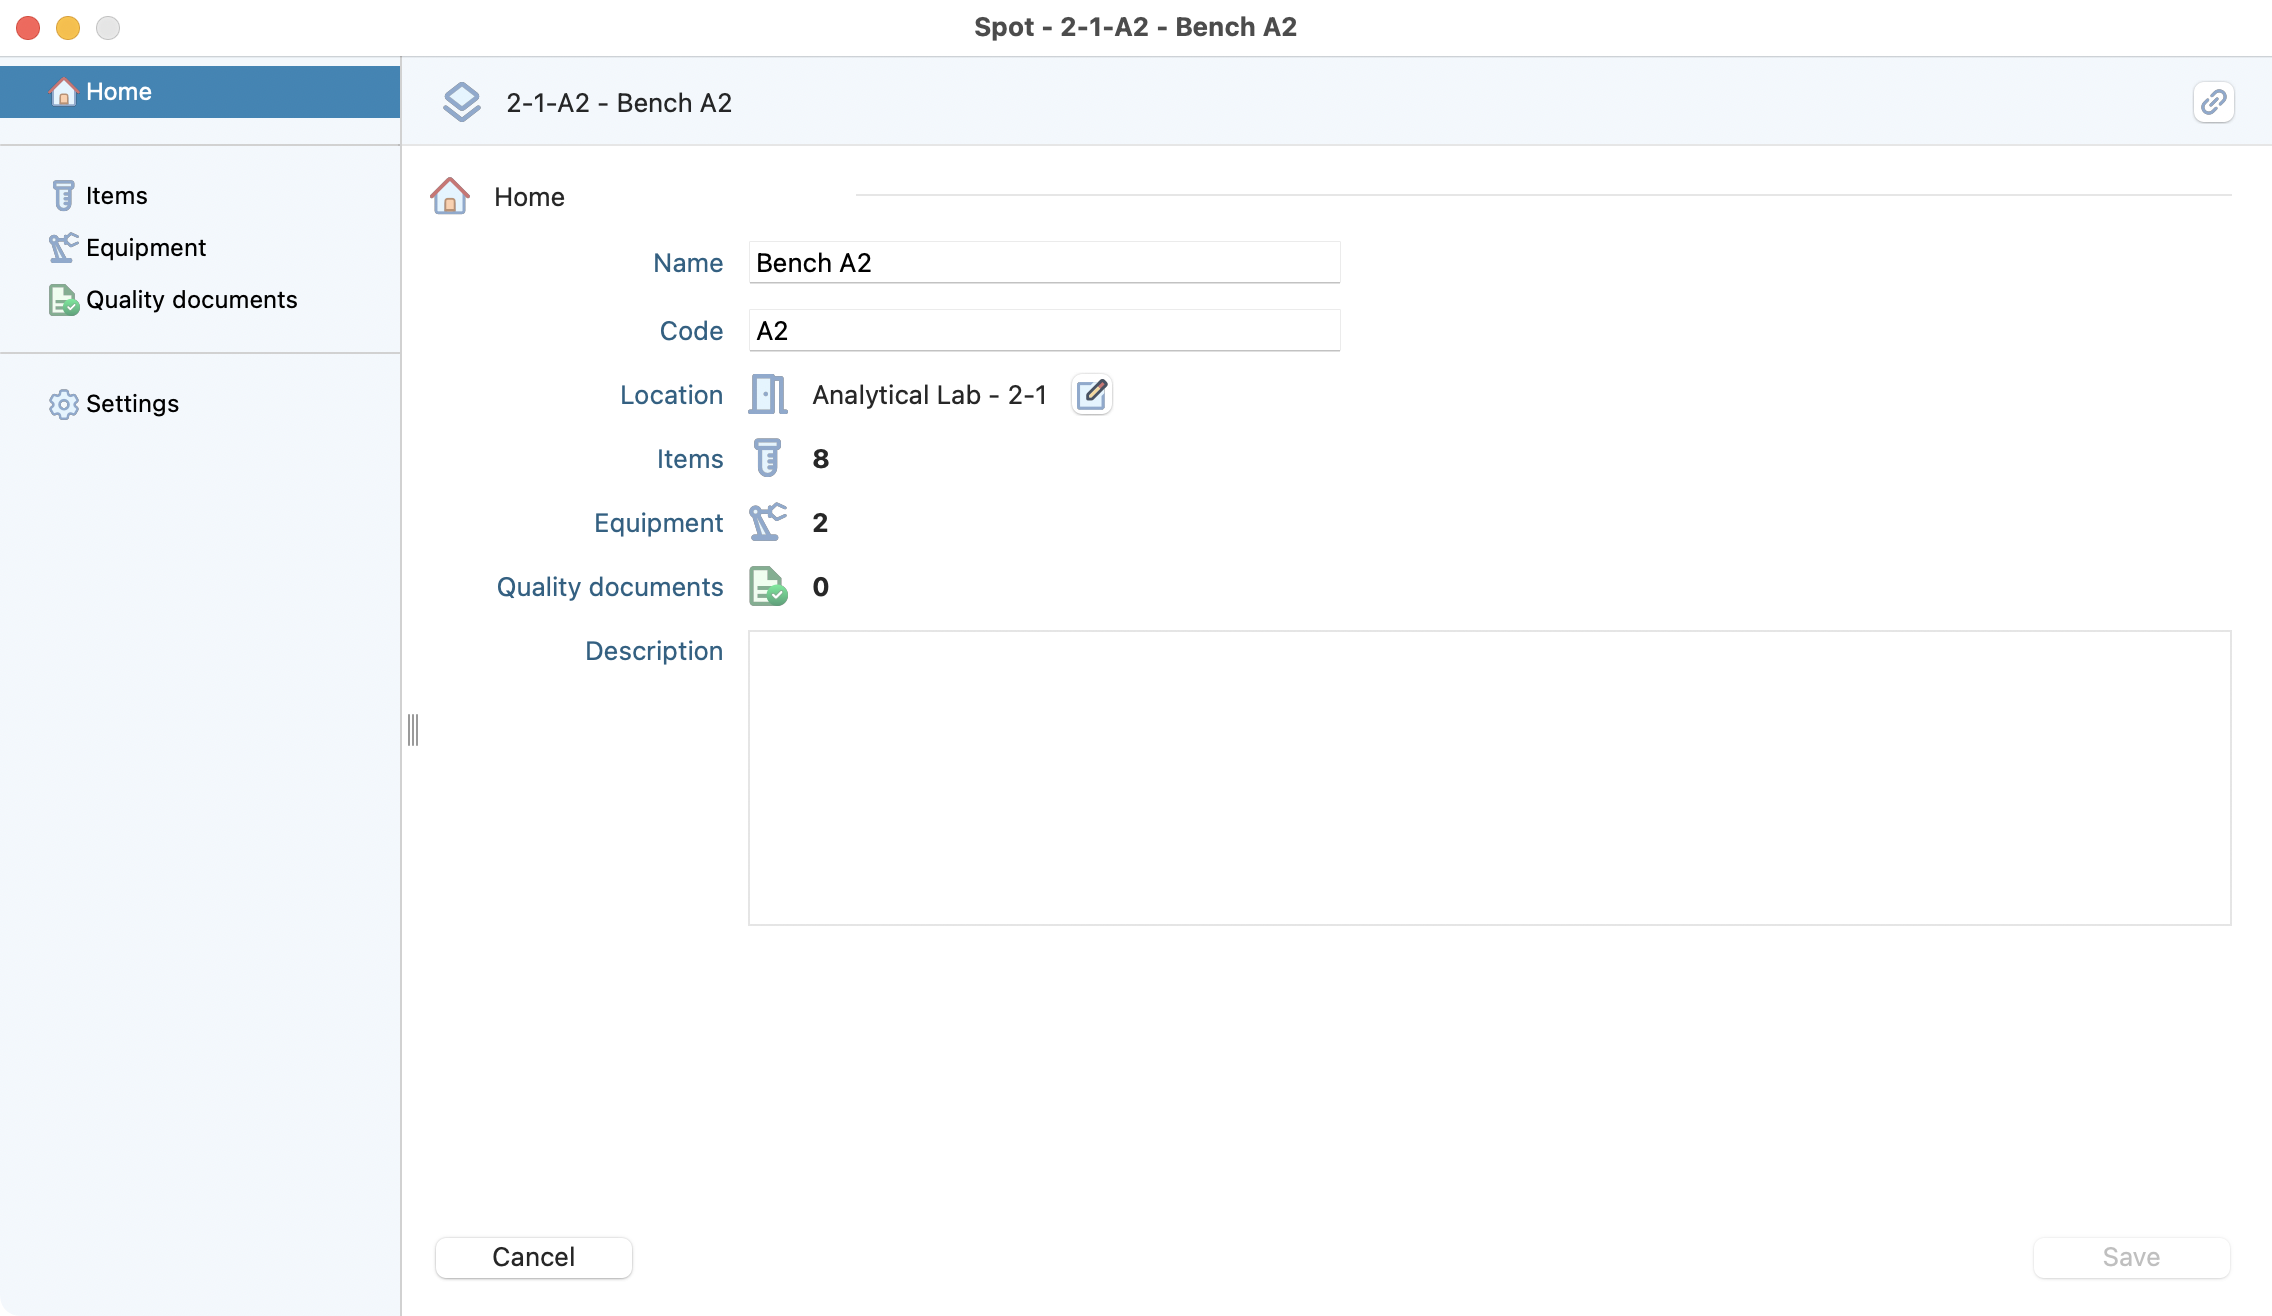
View of the détails and entitiies within a spot.
Rack
Rack creation
Click on the add button from the selection of a spot. - Define a name and a code (unique per spot).
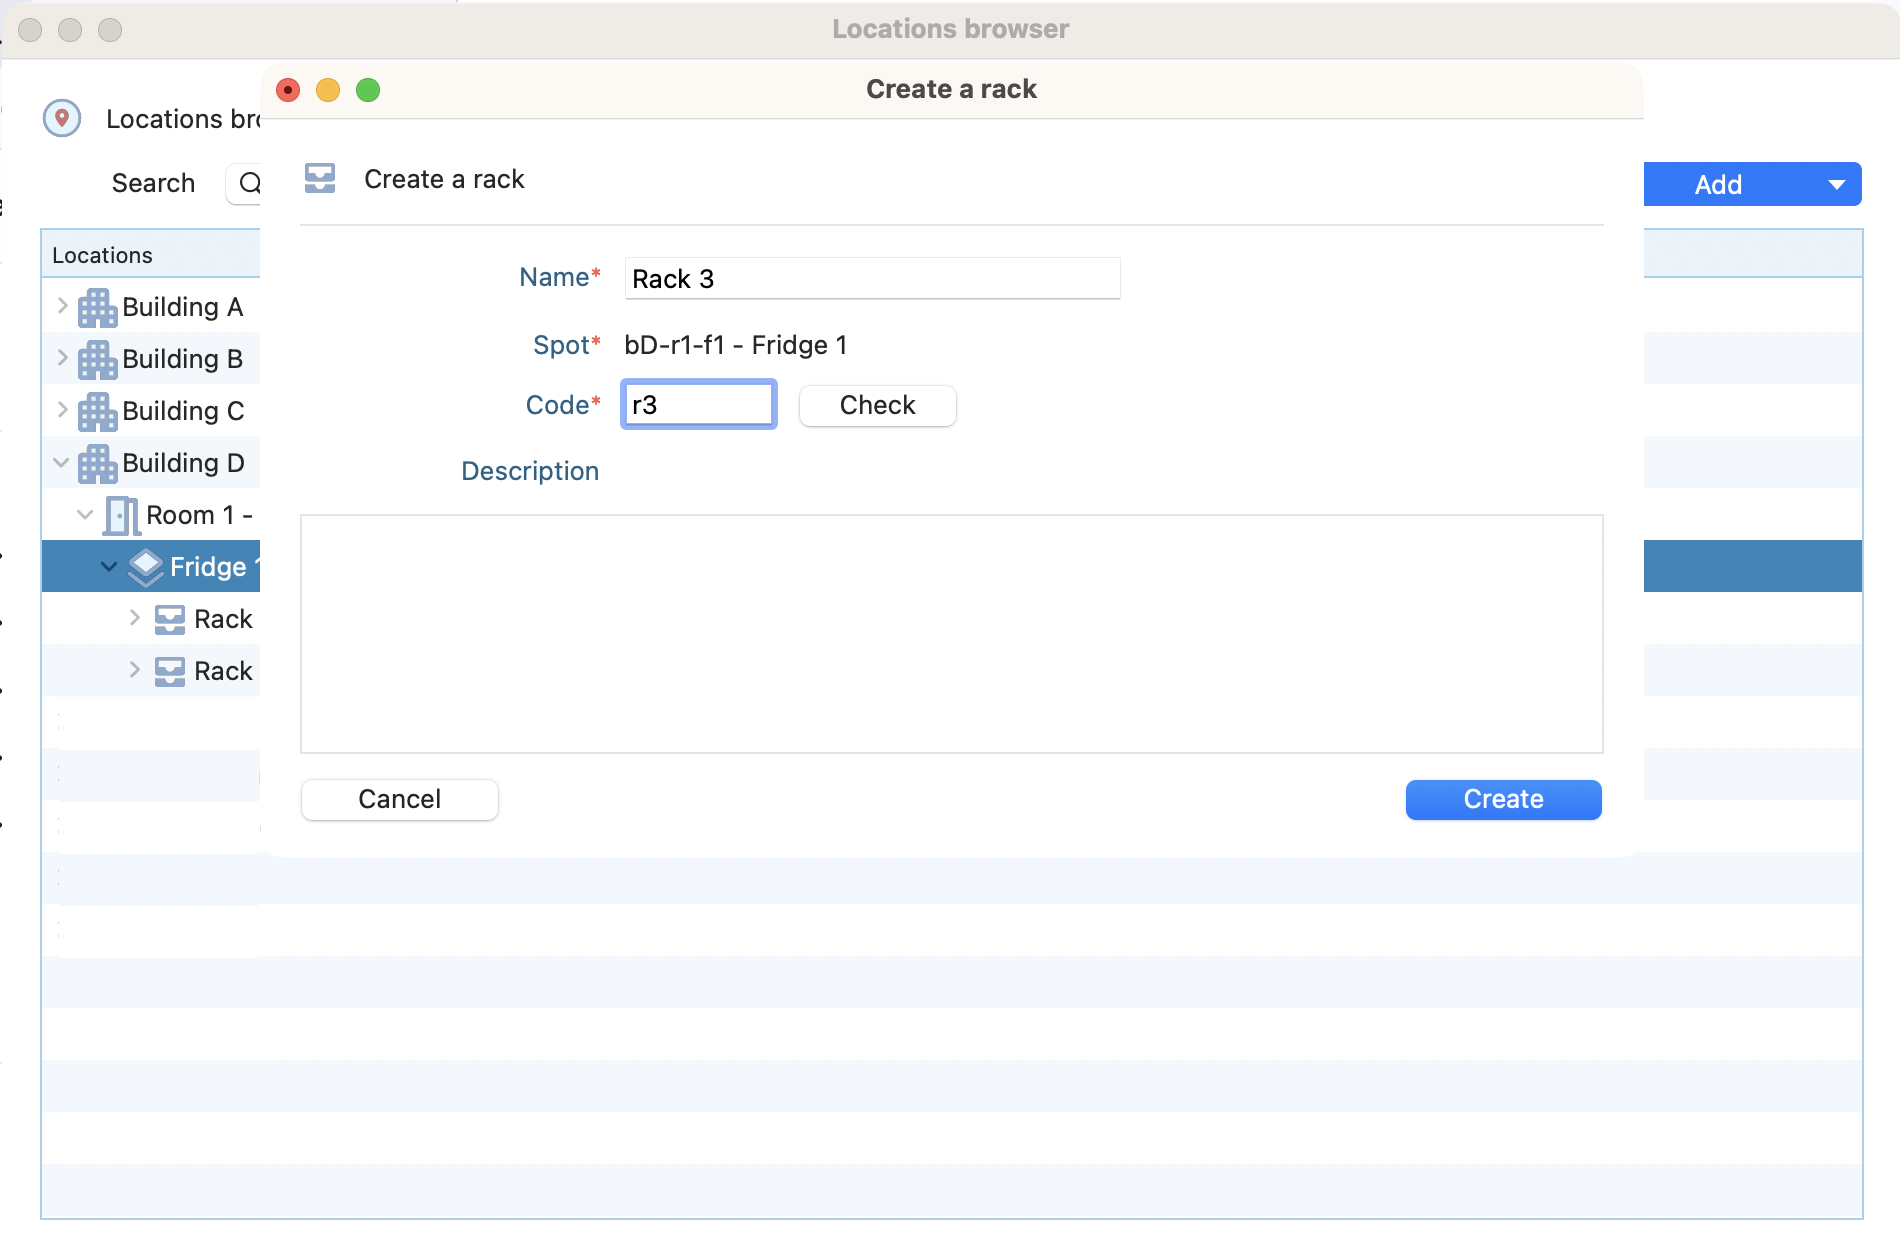
Information requested when creating a rack.
Rack details
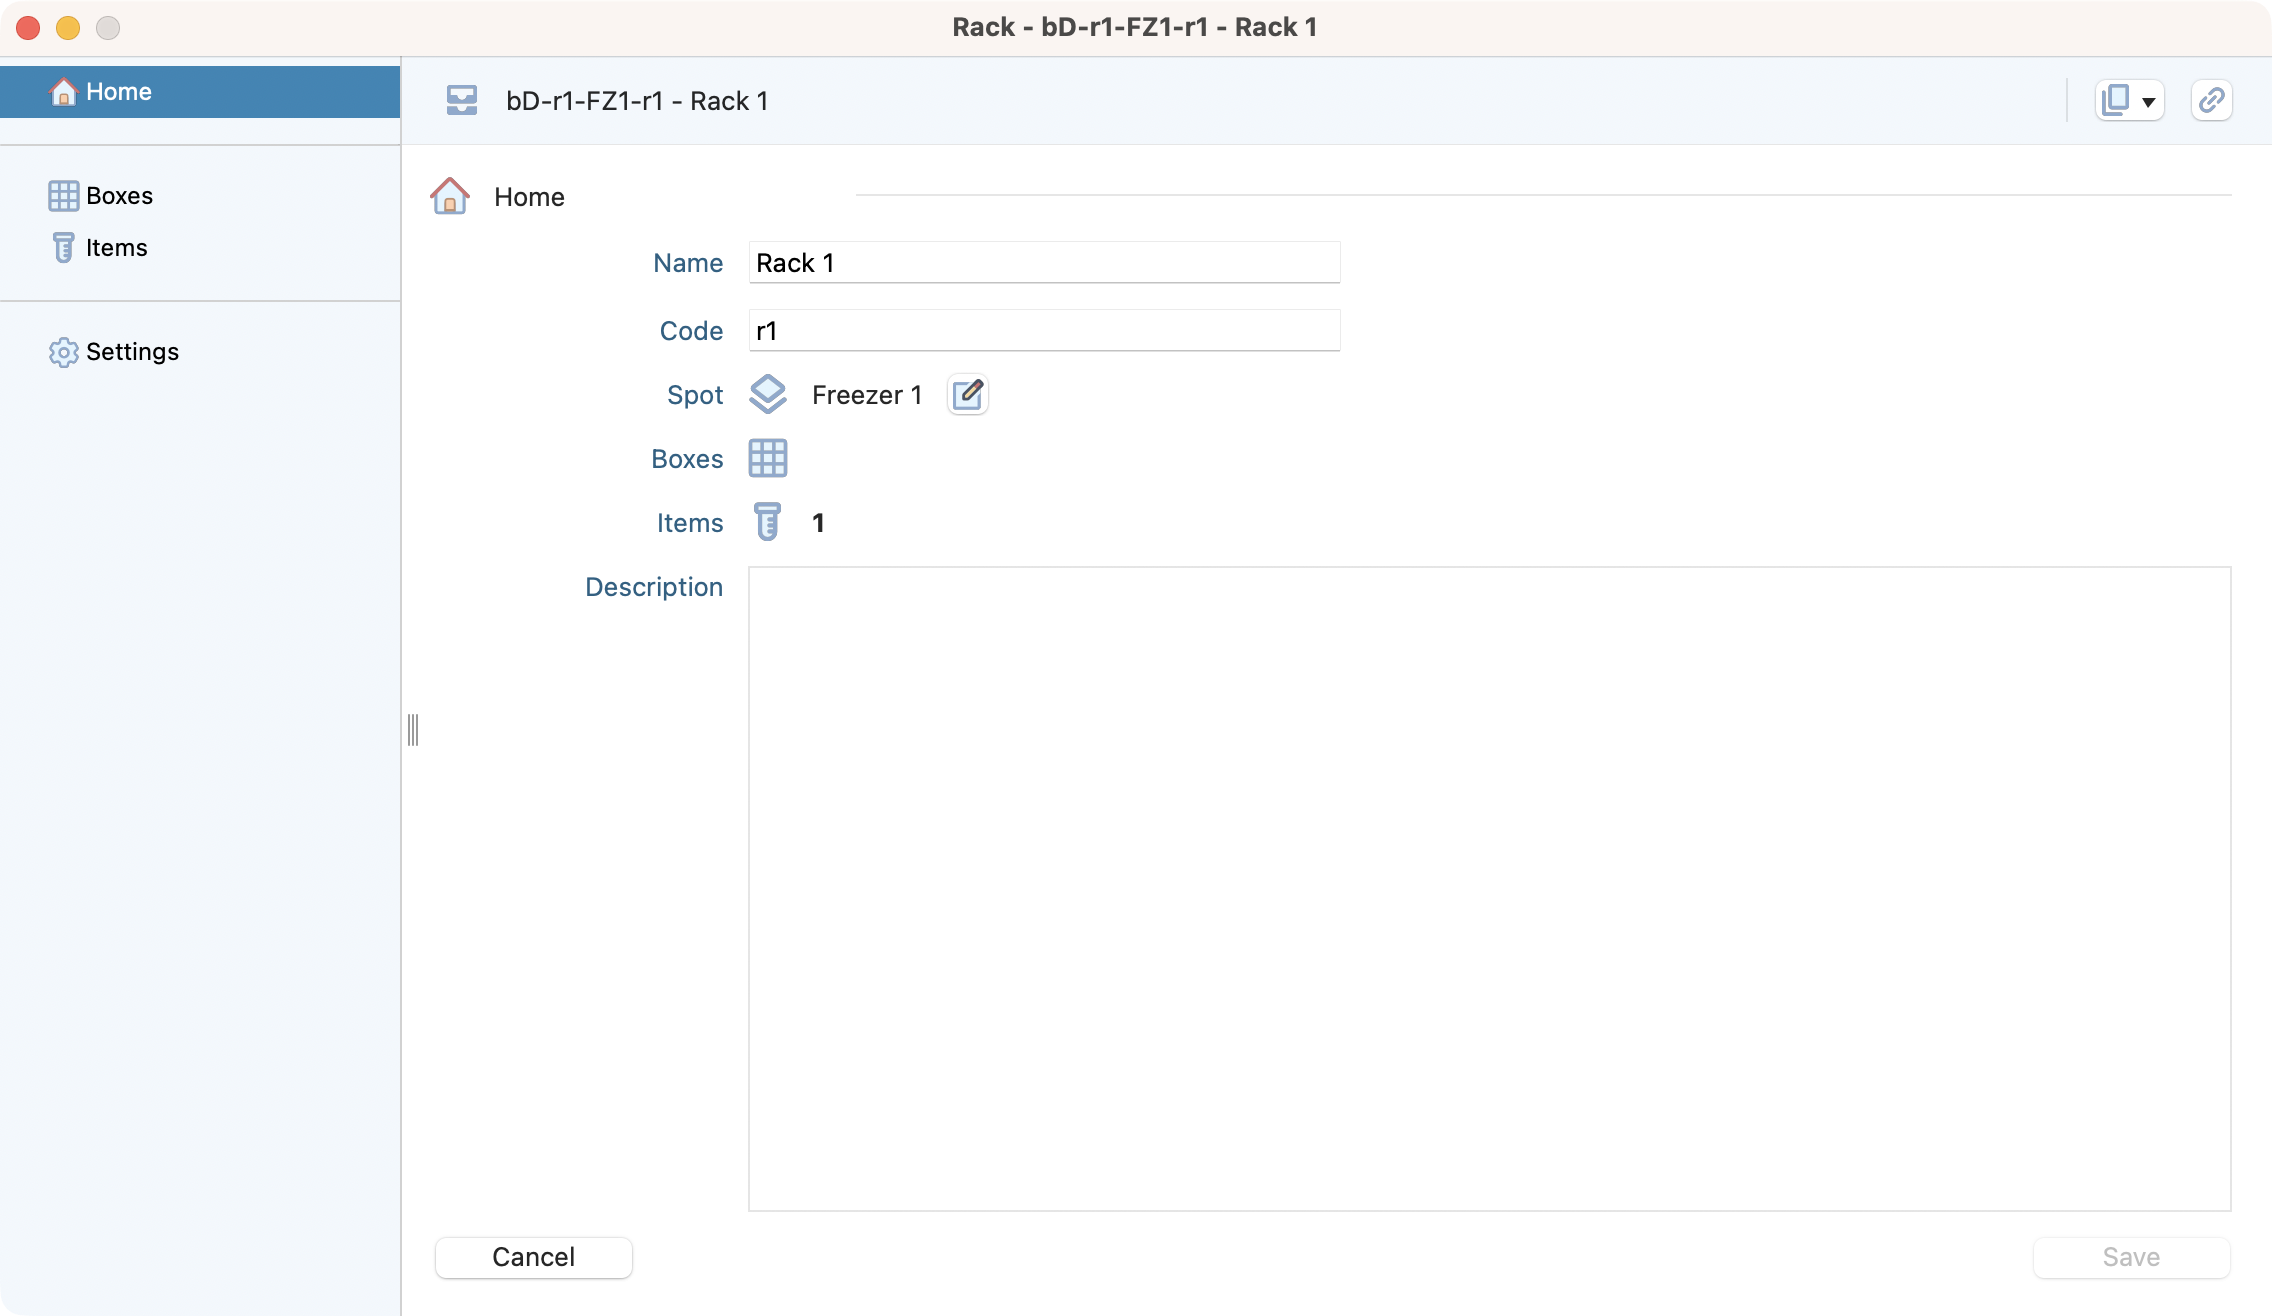
View of the détails and entitiies within a rack.
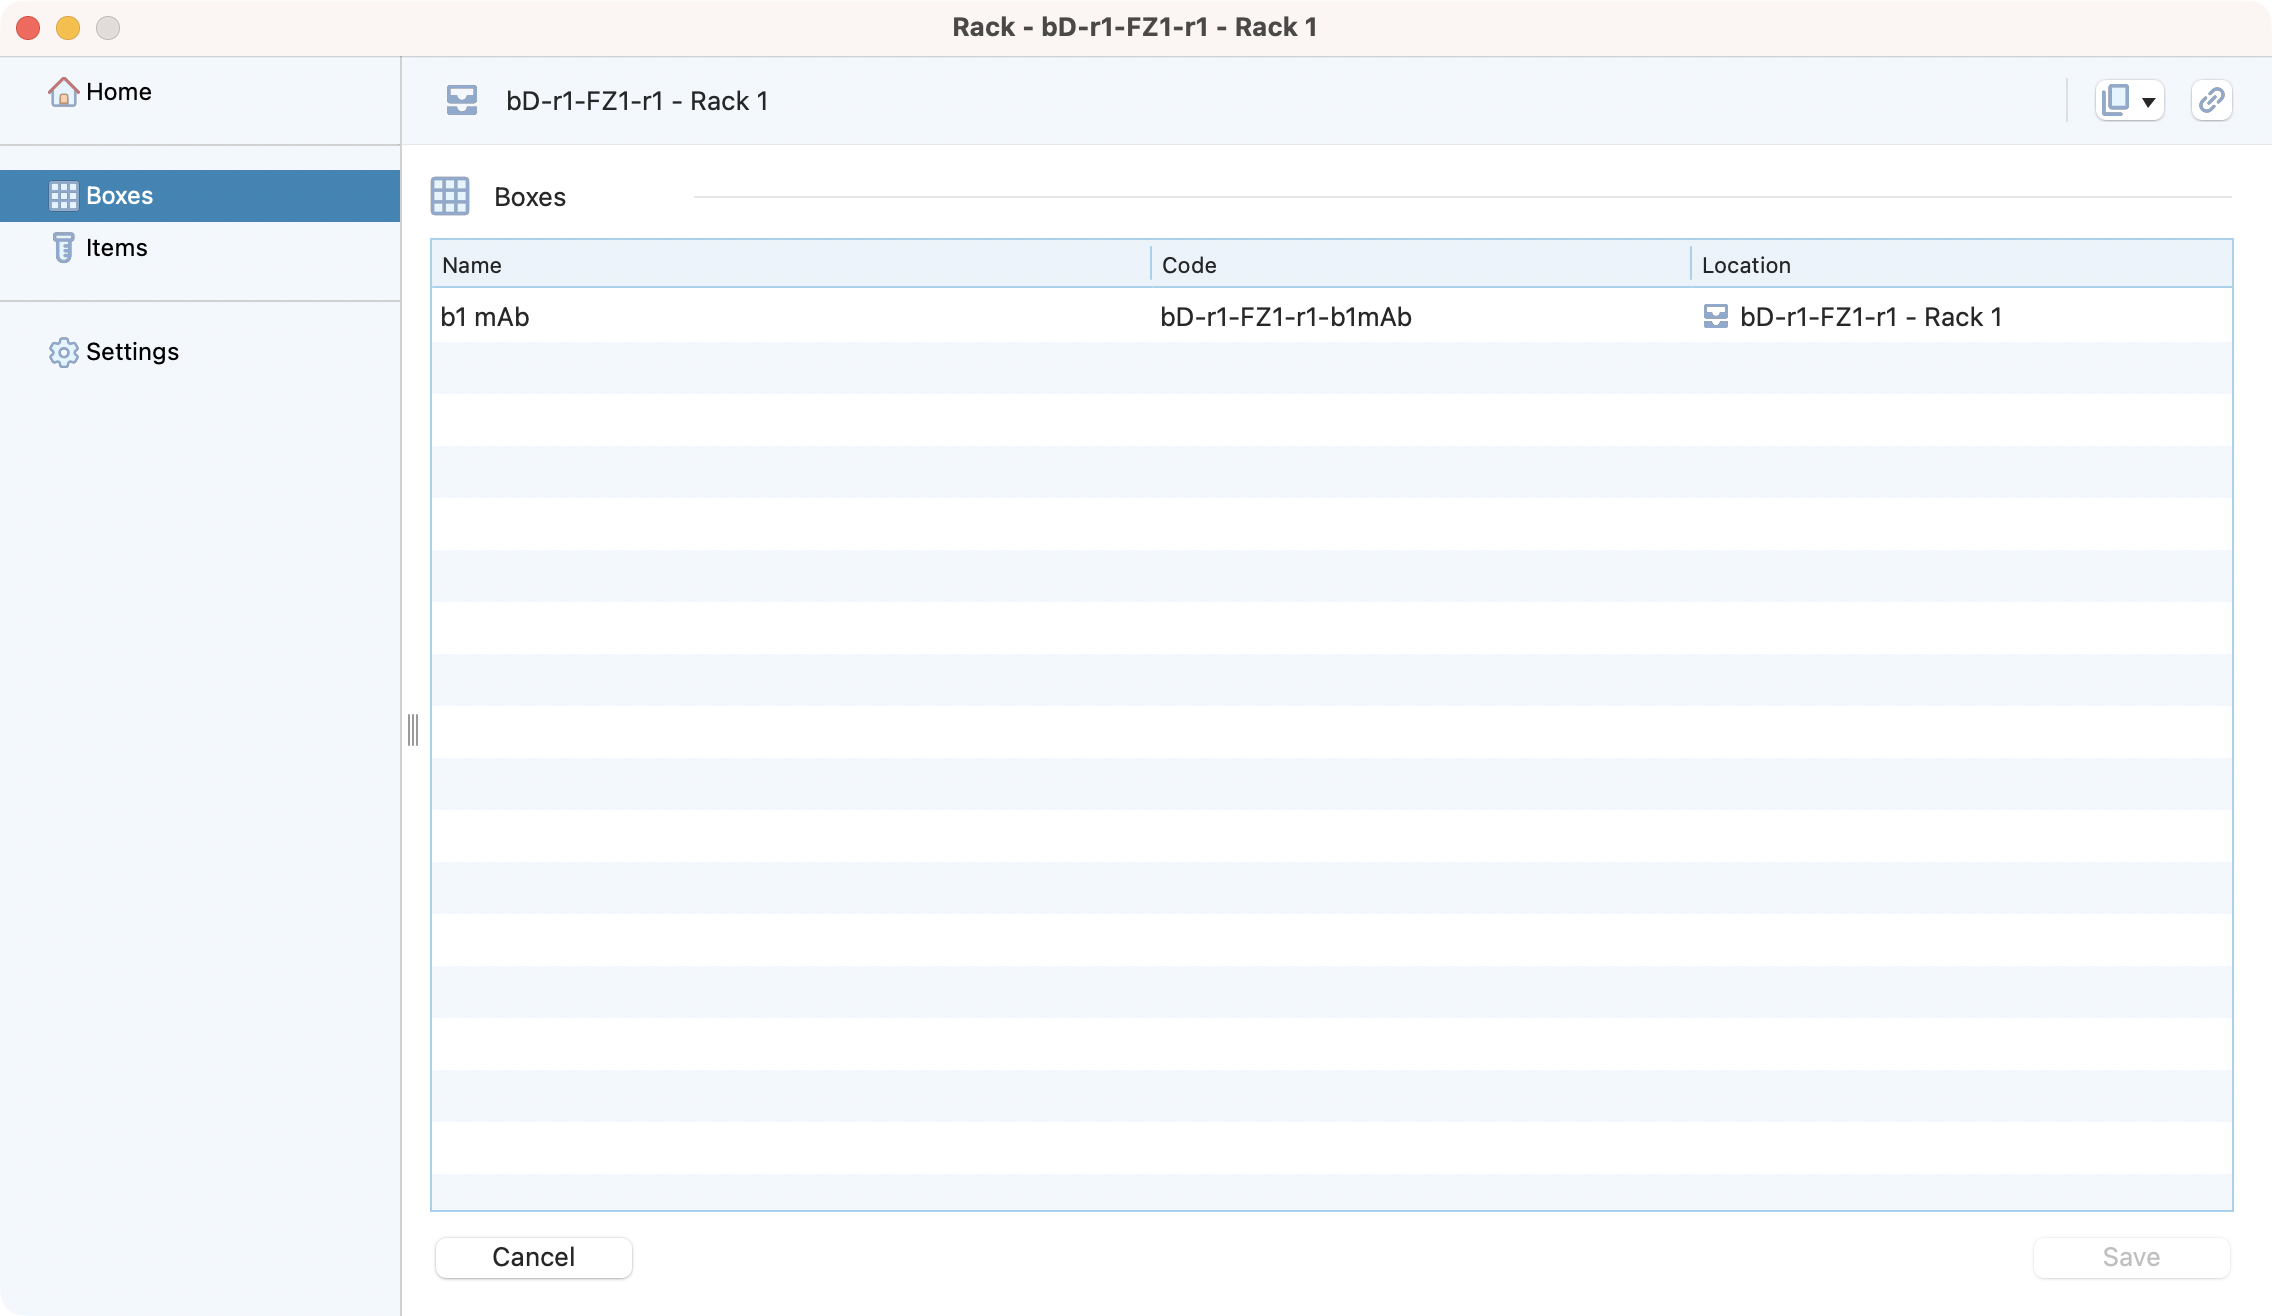
View of the box(es) in a rack.
Box
Box creation
To create a box, you need to :
select the building, location, spot, and optionnaly the rack where you want to create a box.
click on the add button.
Select between creating a blank box (custom) or a template (recommanded) Box templates.
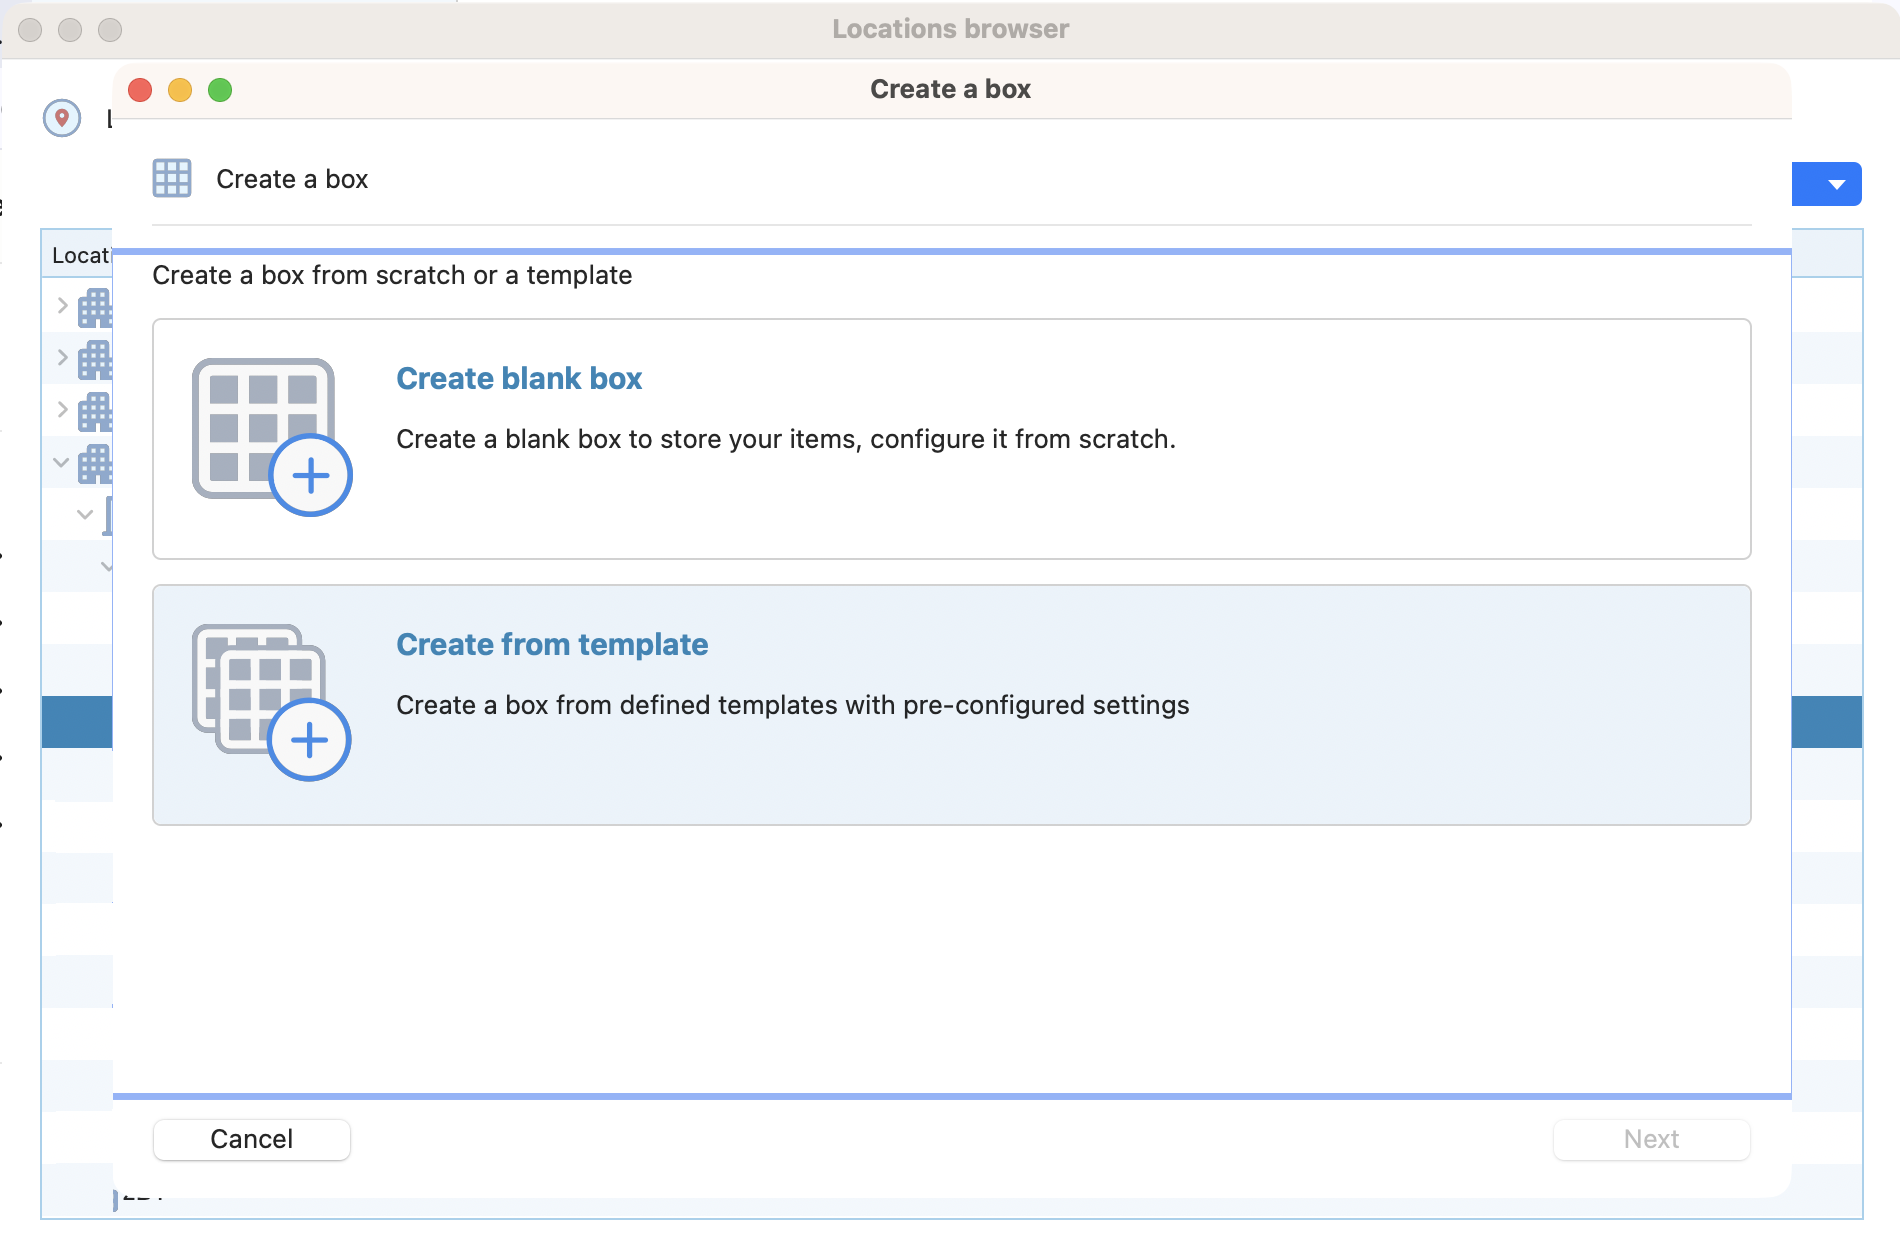
Assistant of the box creation
If you select the template option, you will need to select one of the templates already created.
If you select the custom option, you will need to fill the information requested.
Define a name for the box and a code (unique per spot).
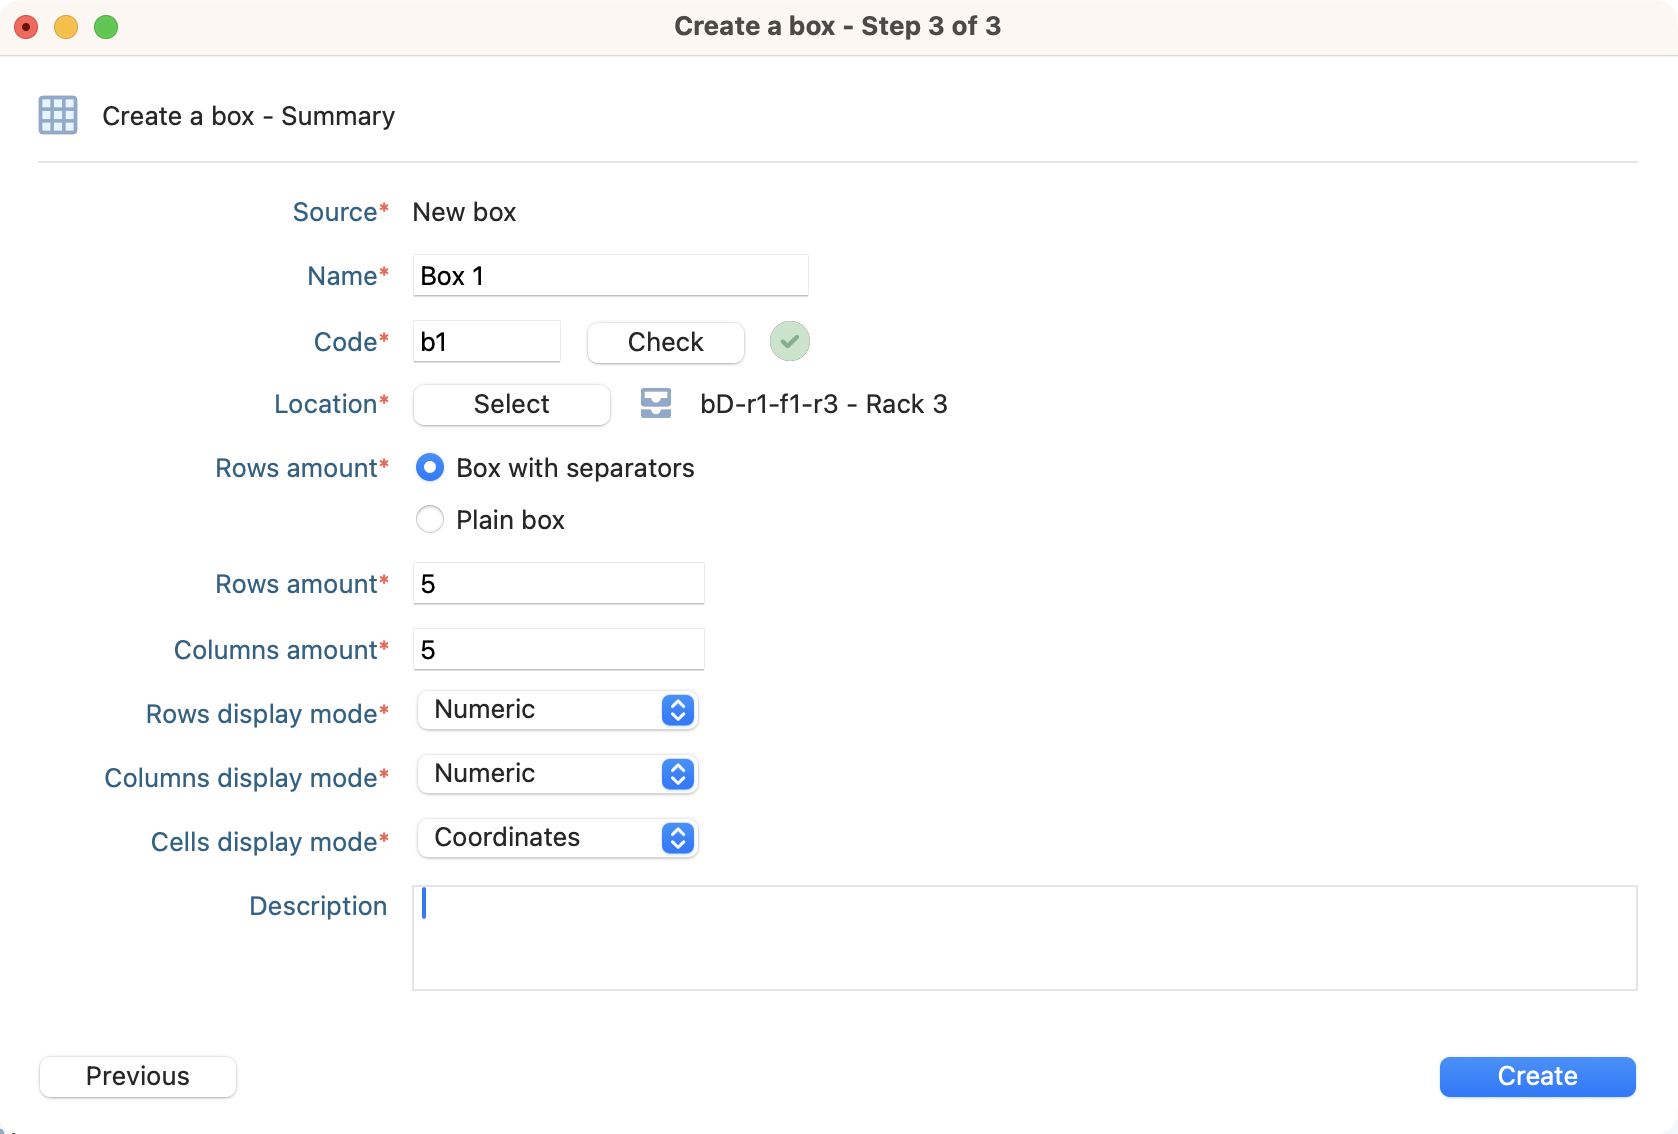
Information requested when creating a box.
Box details
Open a box to see its details and the entities linked to it
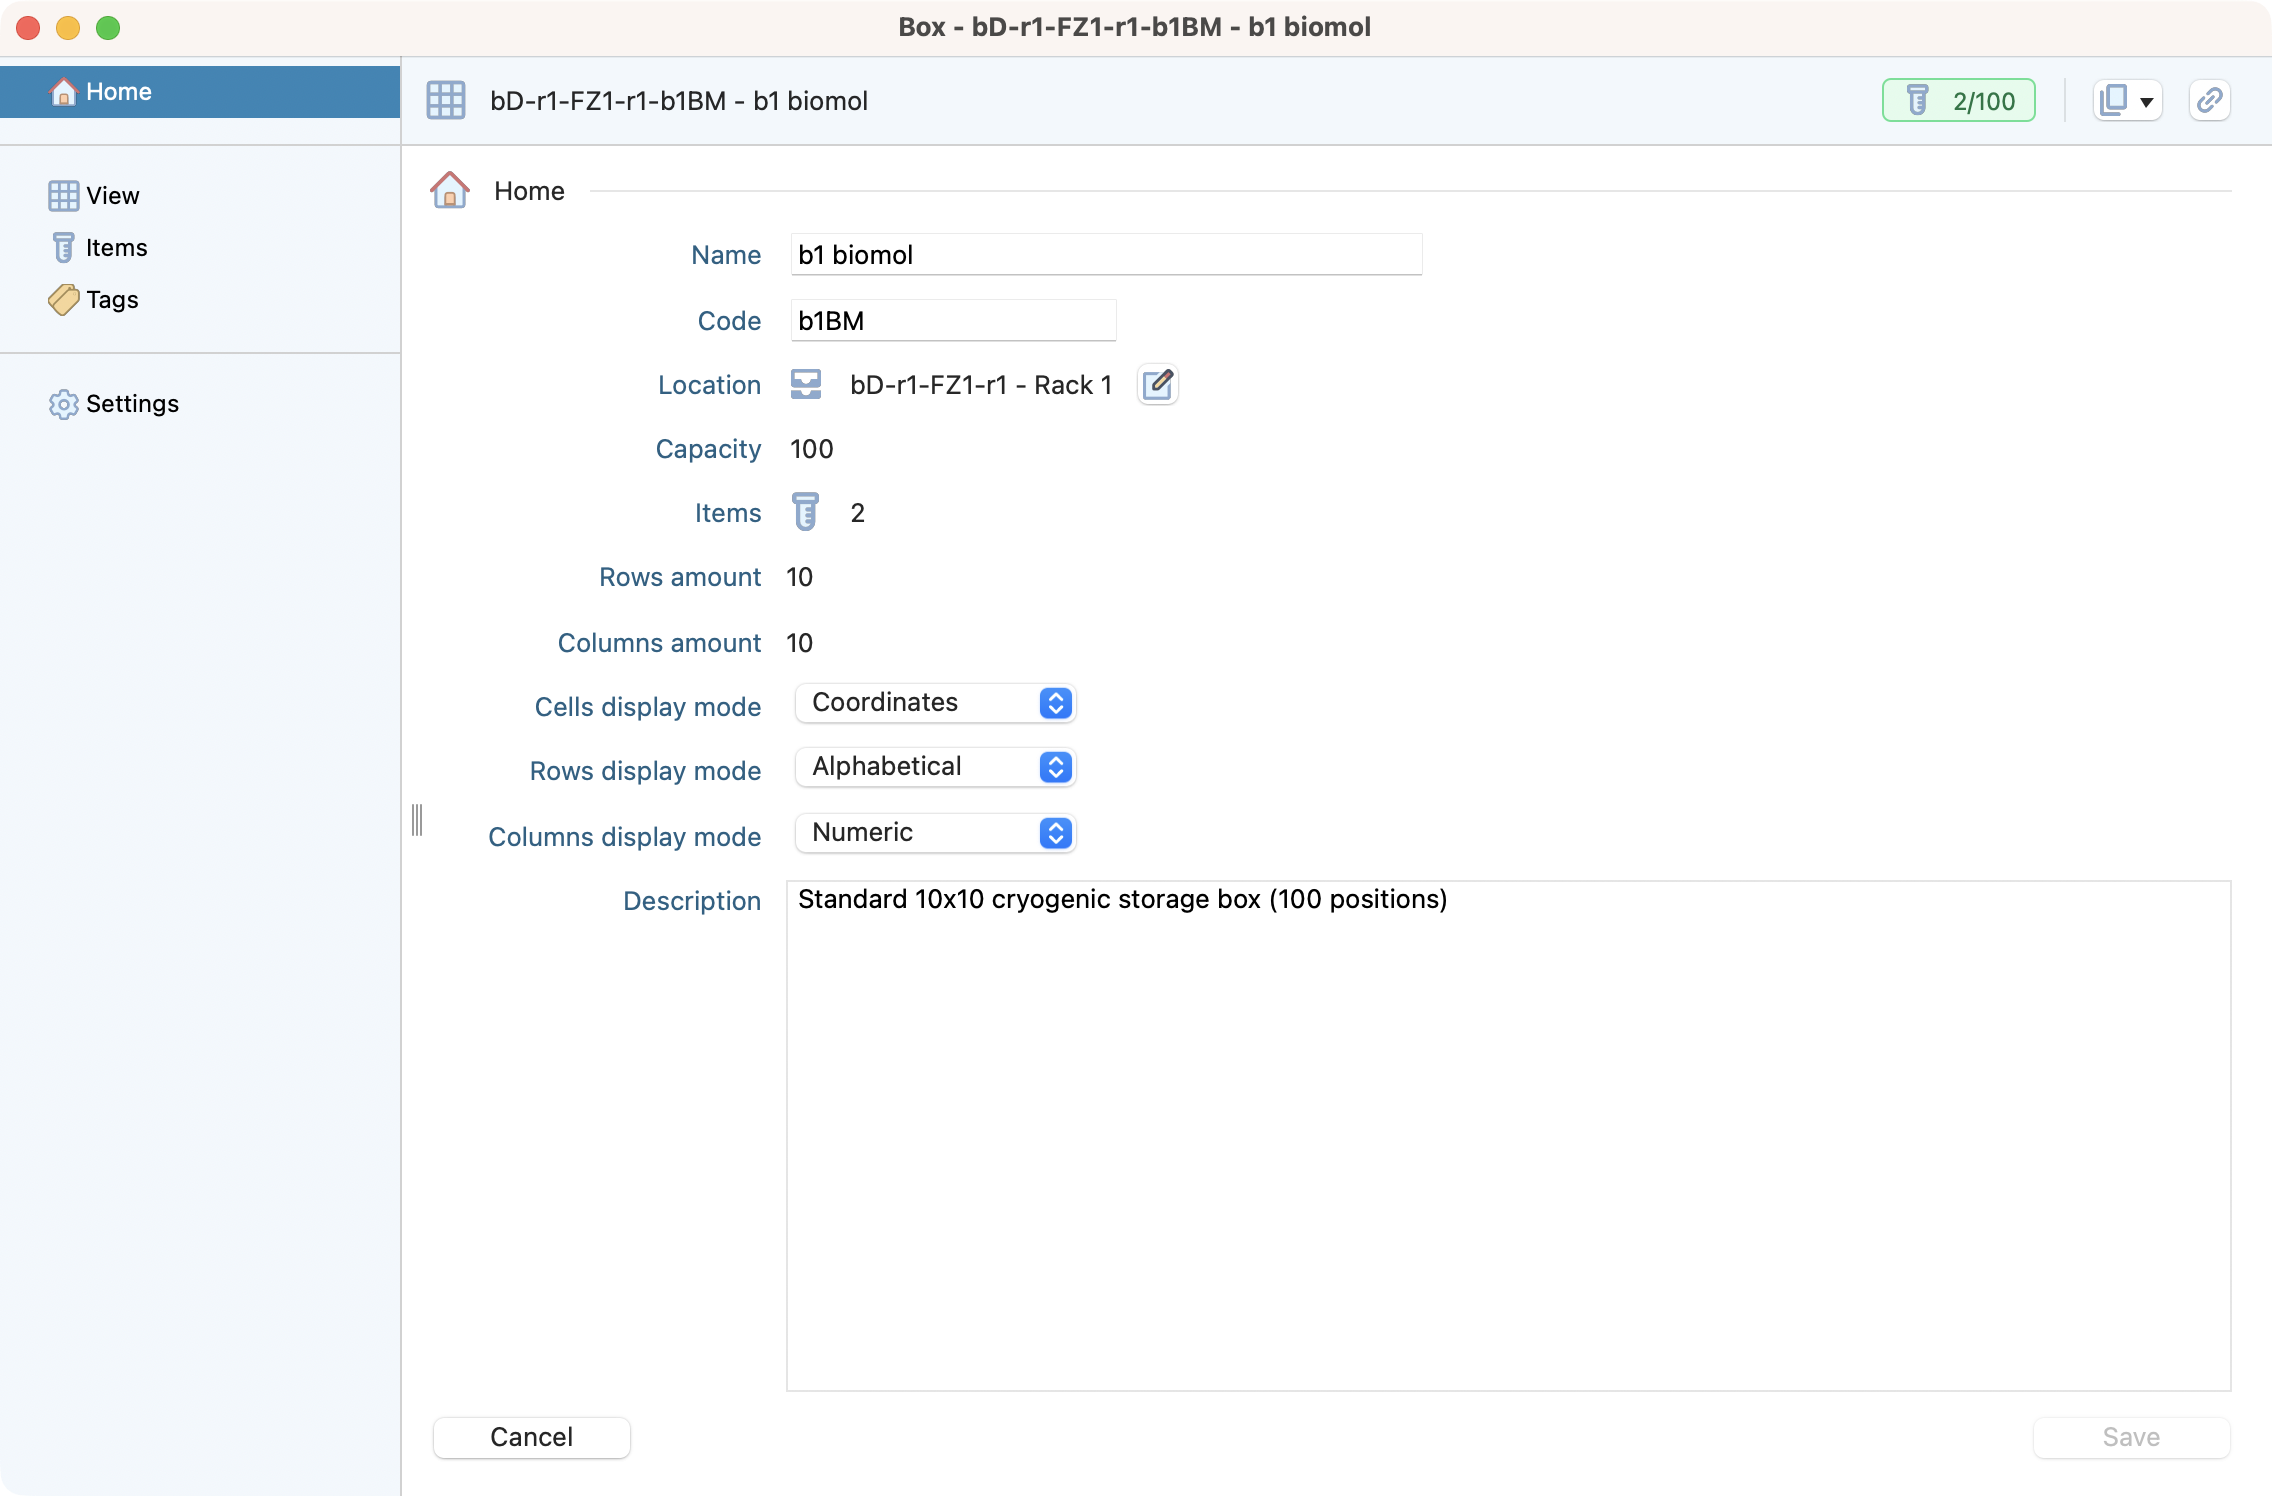
View of the détails and entities within a box.
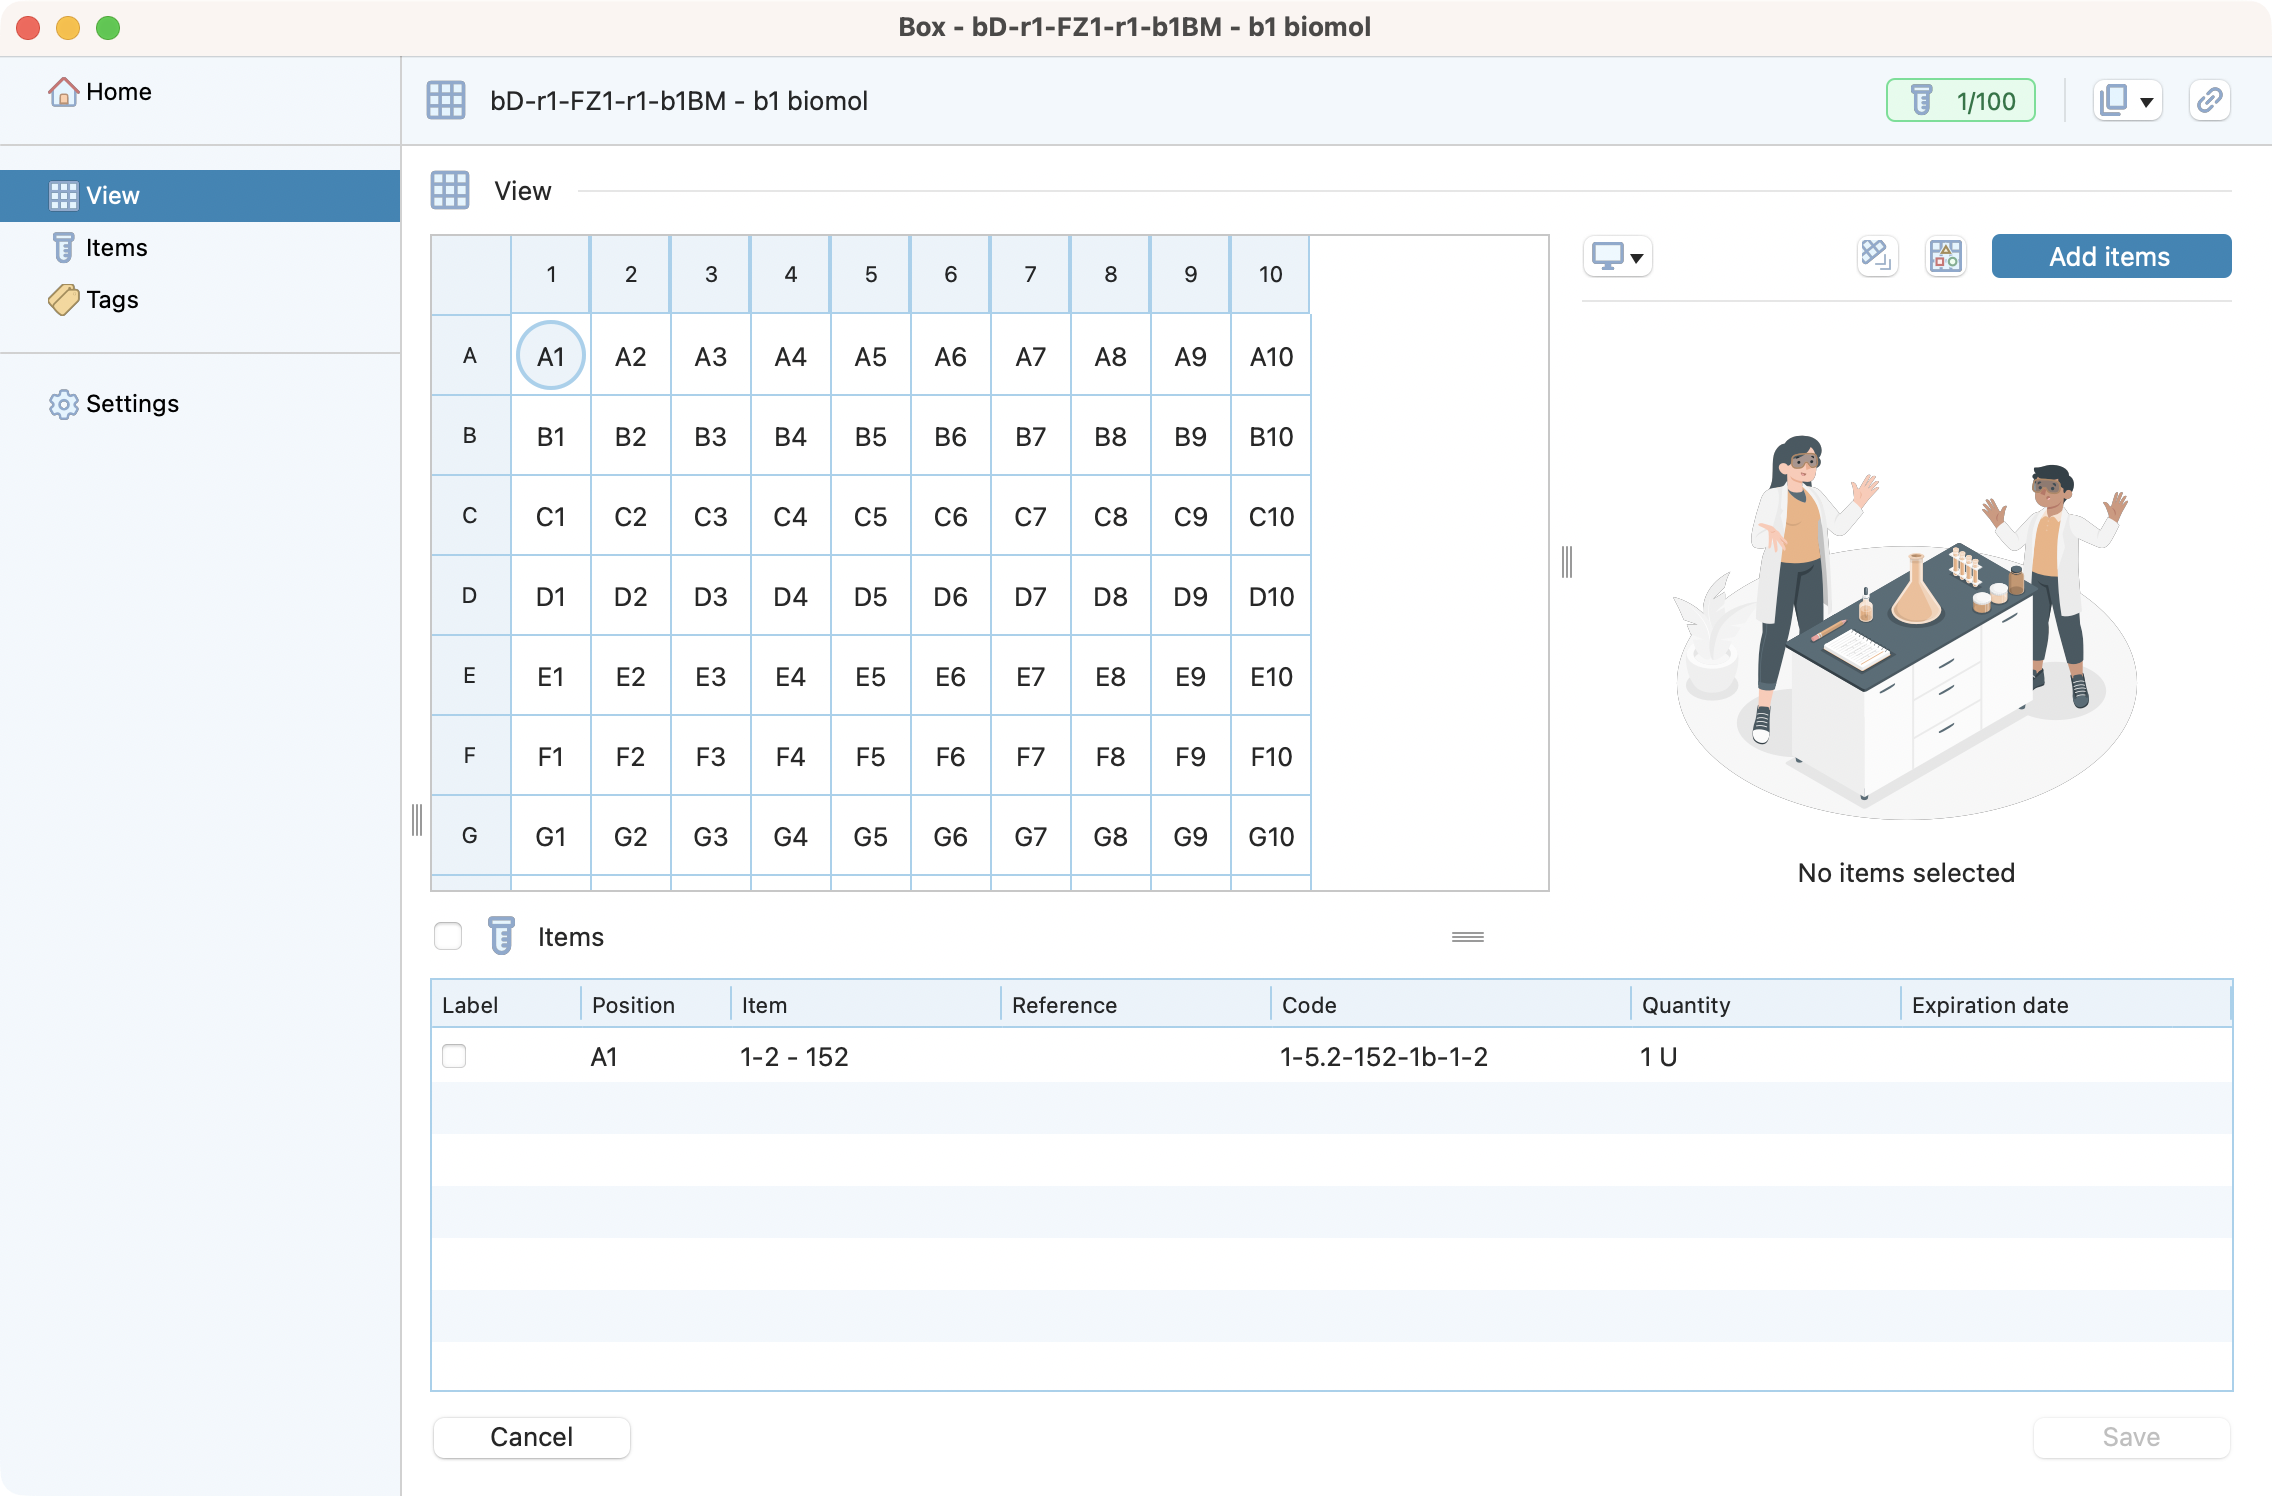
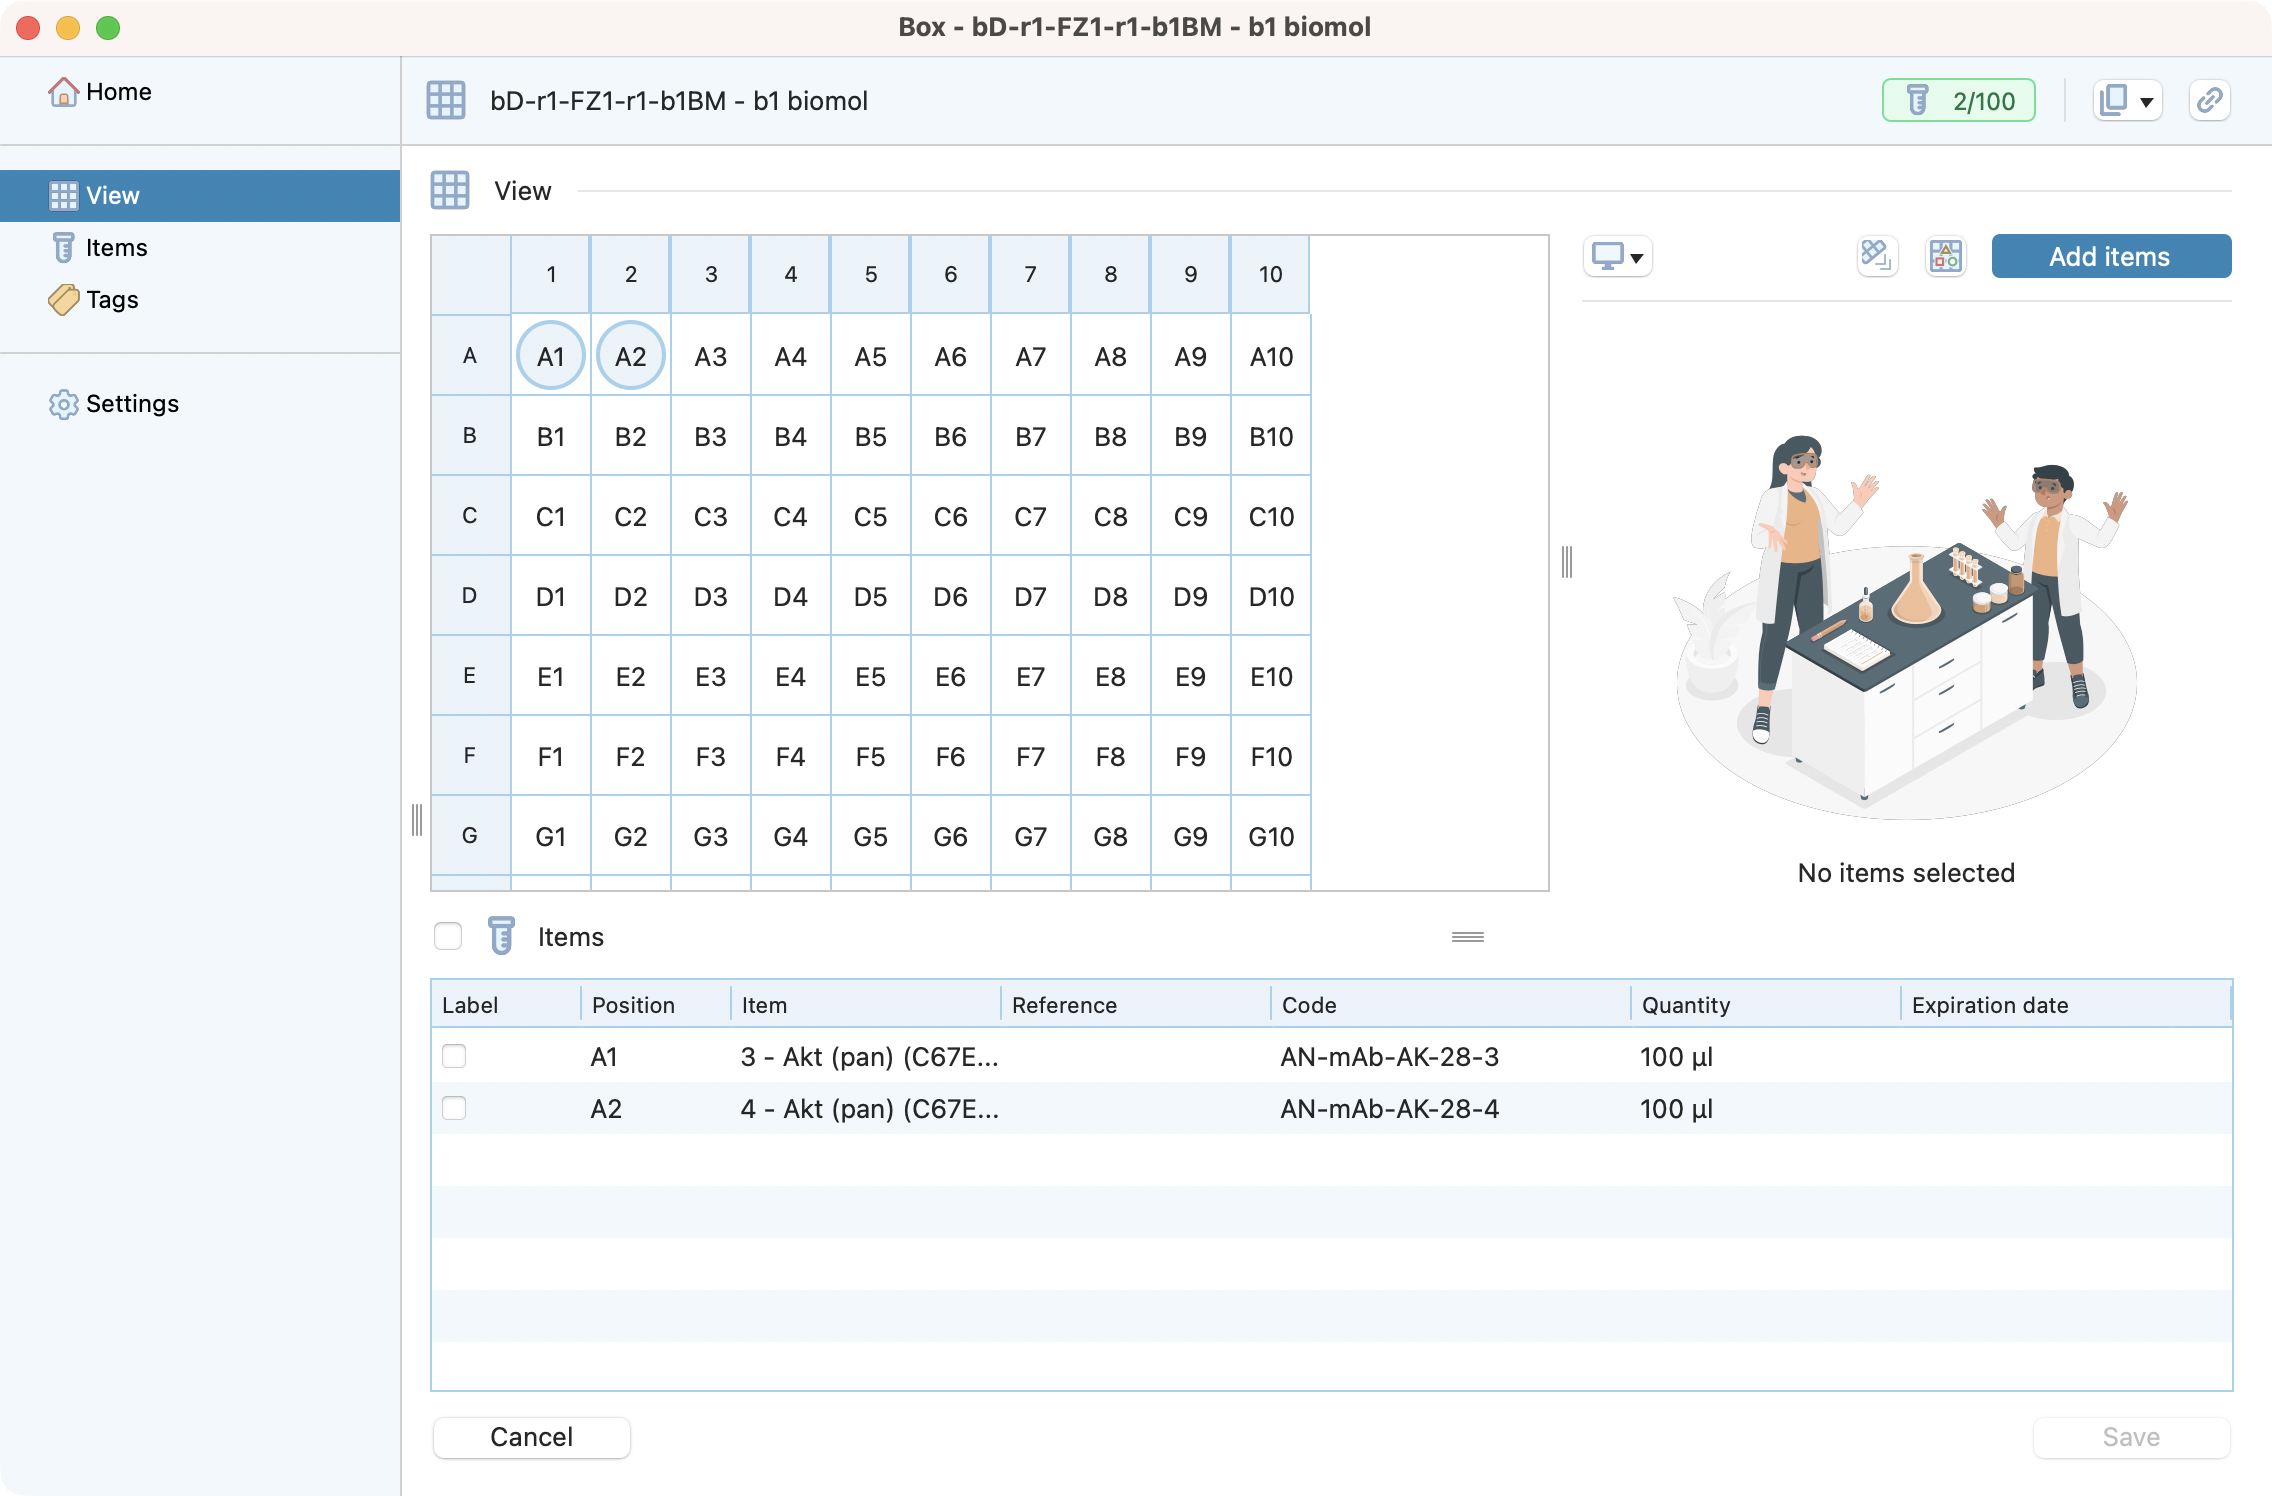
Vizualize the box content.
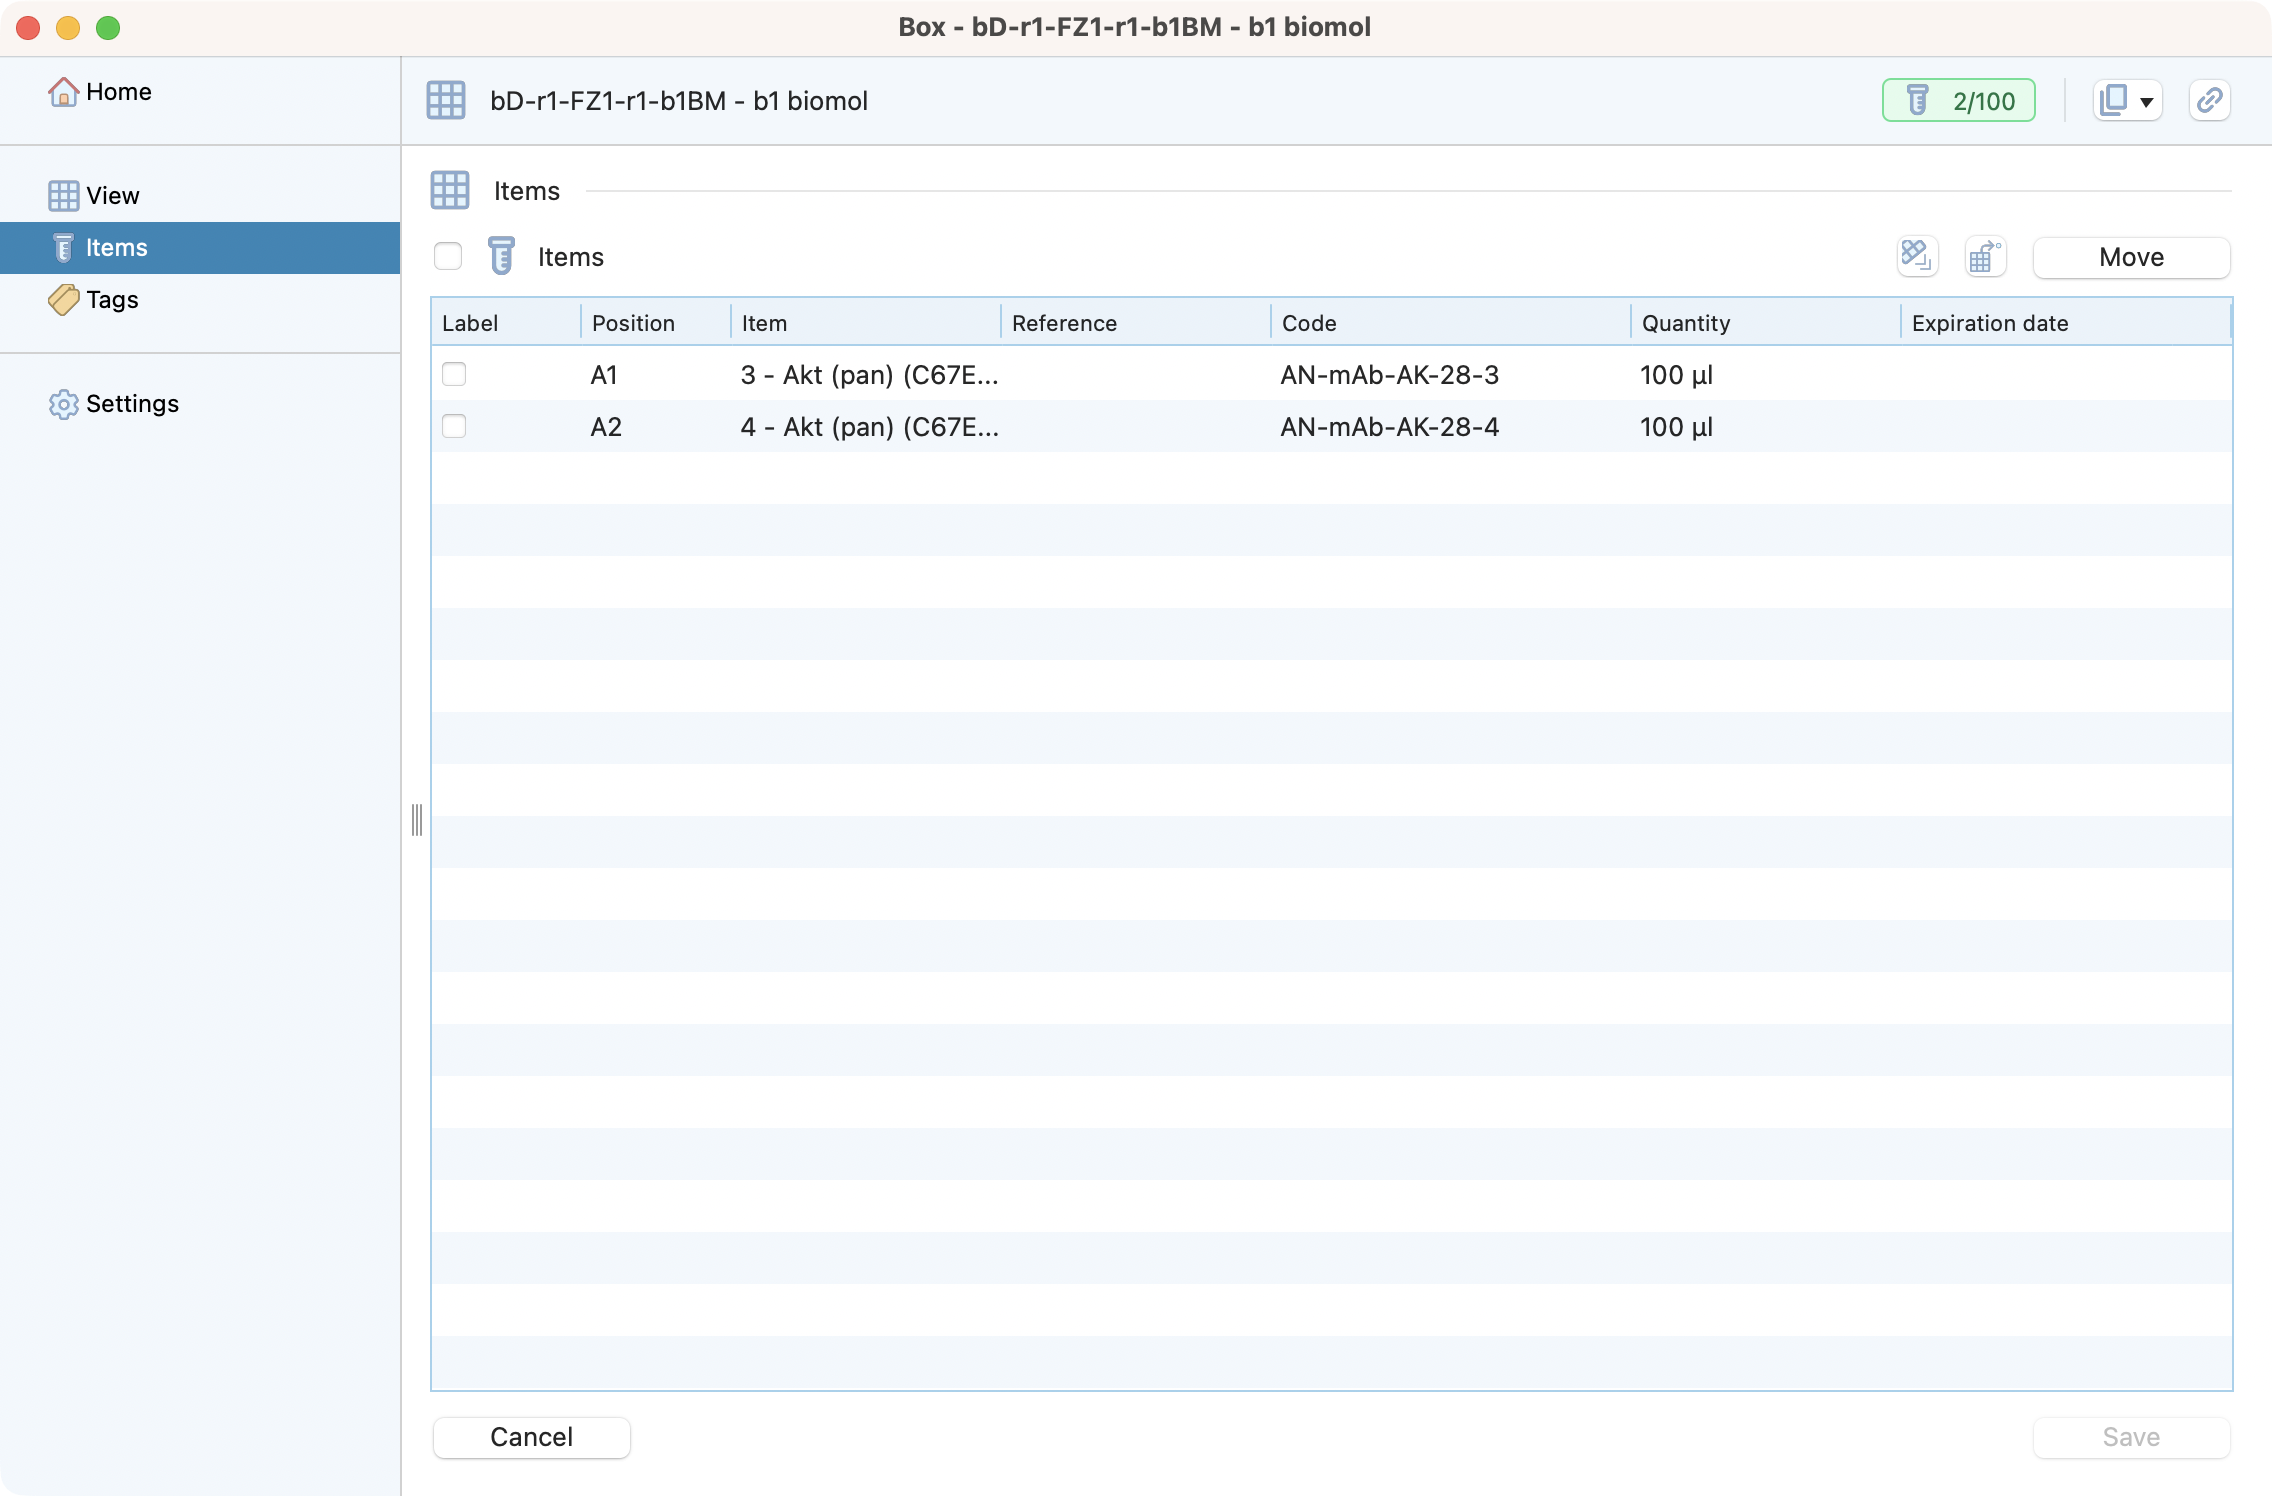
List of the items.
Tags related to a box.
Here you can visualize the items stored within the box from box the box and the list.
Available box options
click on an item to see its details like code, expiration date, metadata.
 : specify a label Box labels.
 : remove one or several items from the box.
 : observe reserved a/o expired items.
 : open the item in the stock hierarchy.
 : open the item details window.
move : one or several items to another box.
 : add item in the box .
 : reorganize the box by dragging and dropping the items within the box .
 : empty the box by clicking on the empty button.